


| Location | Outdoor Blinds |
|---|
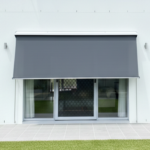
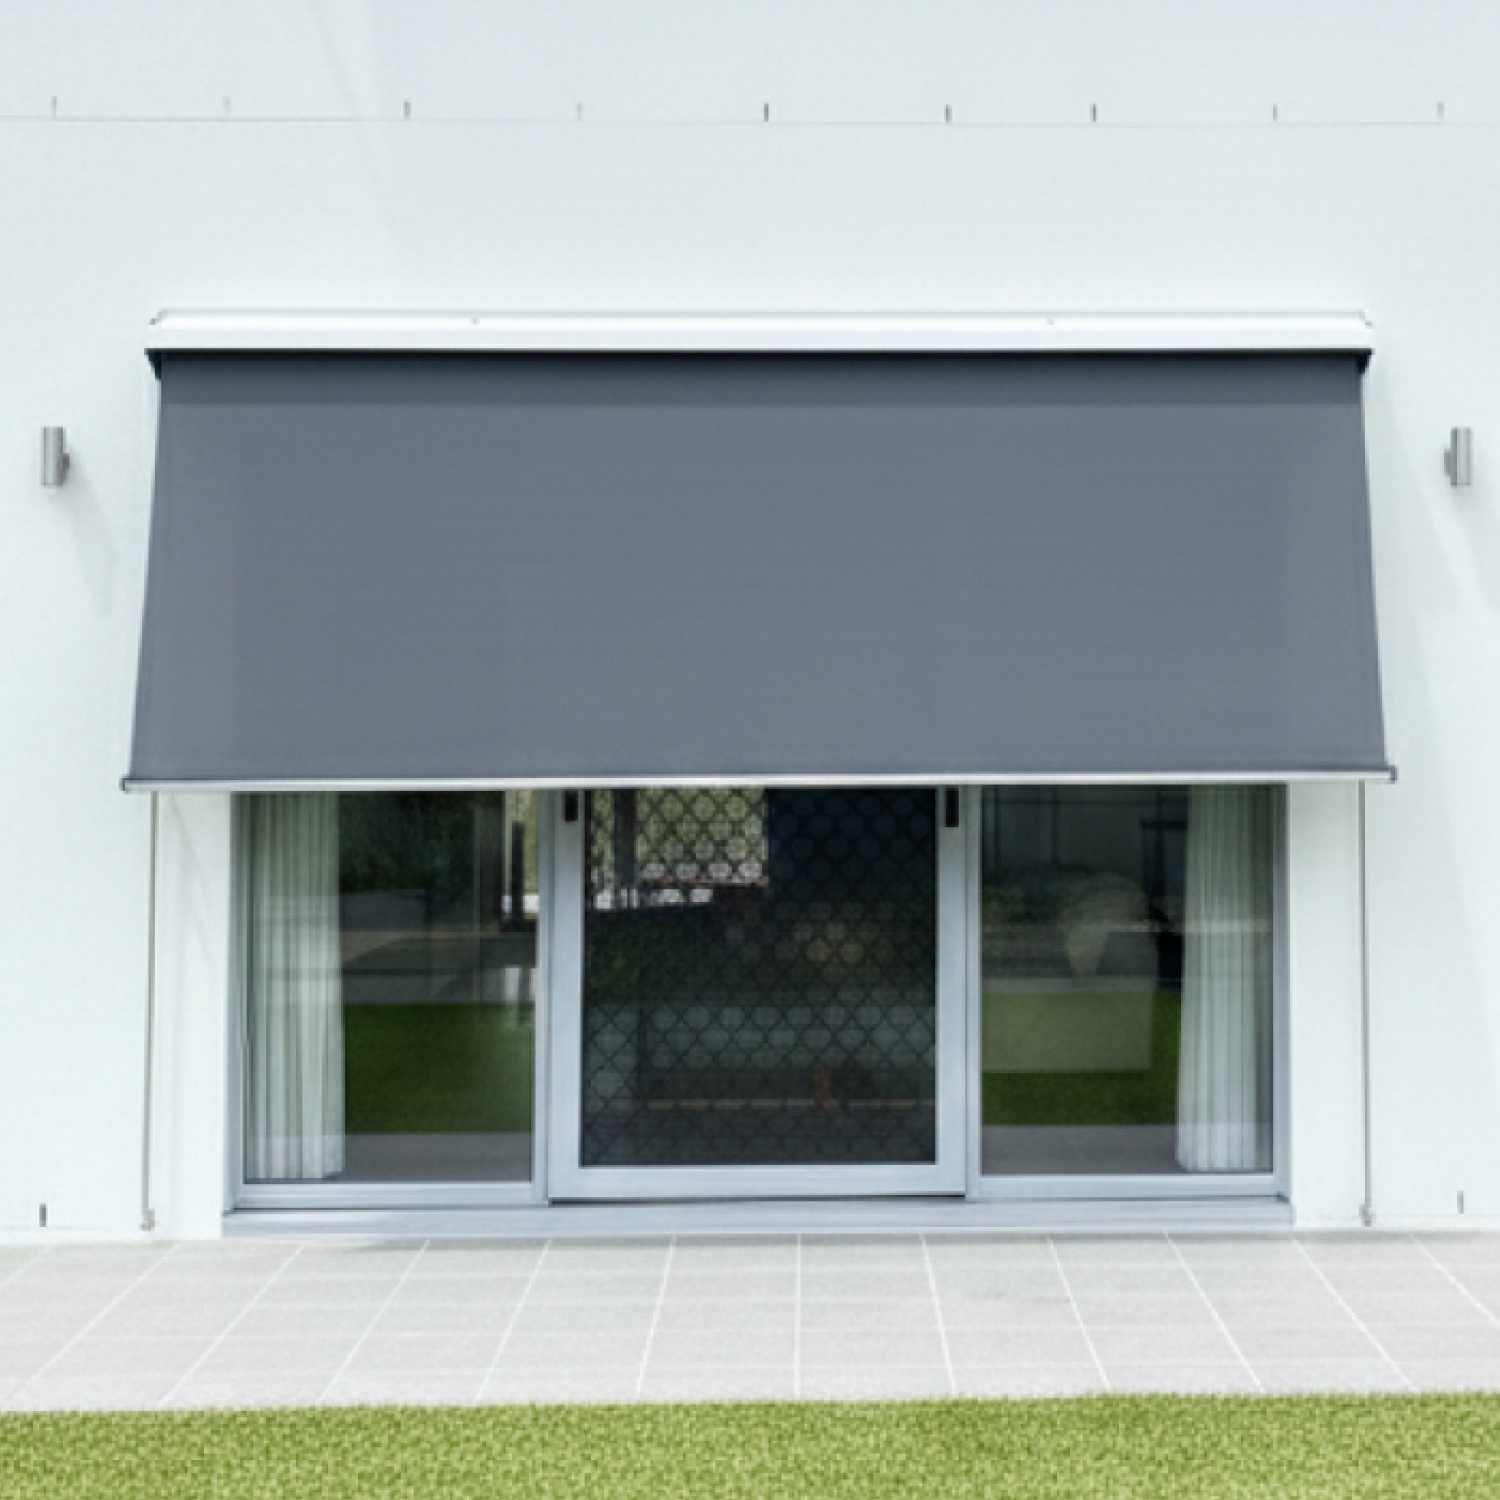
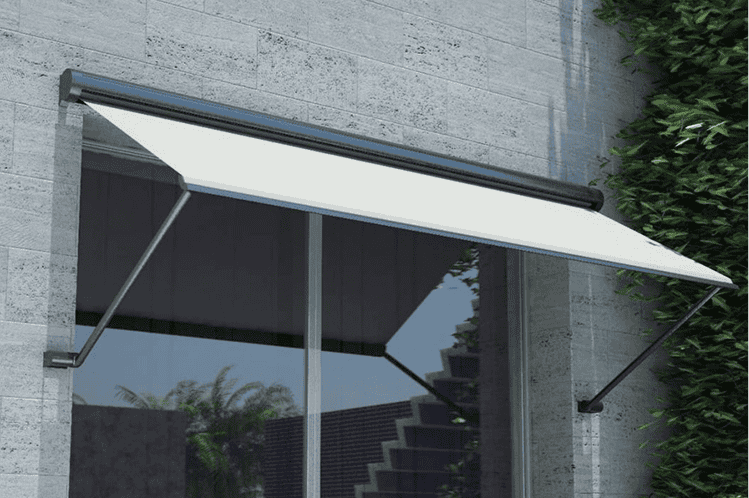
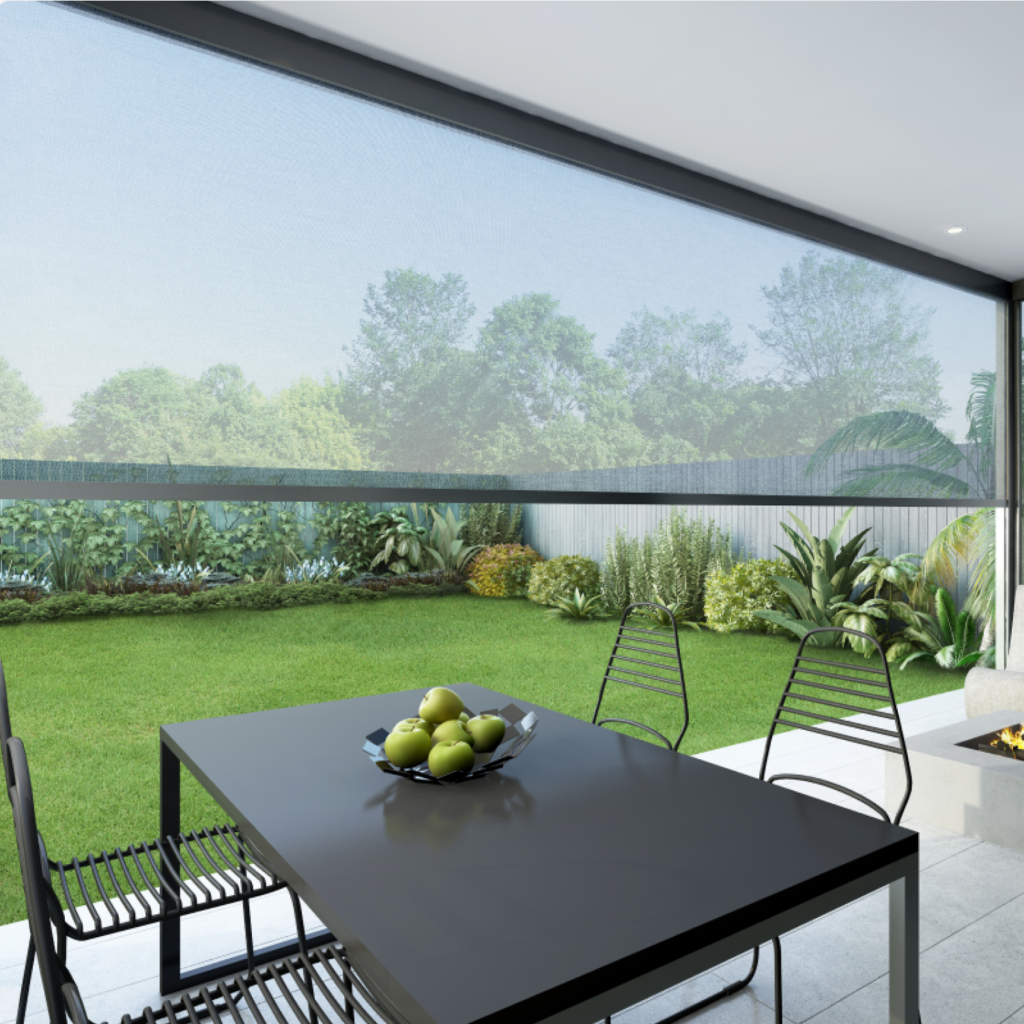
Smart Shade with Enhanced Airflow and Angled Protection
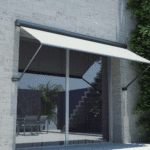
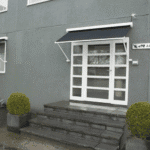
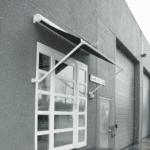
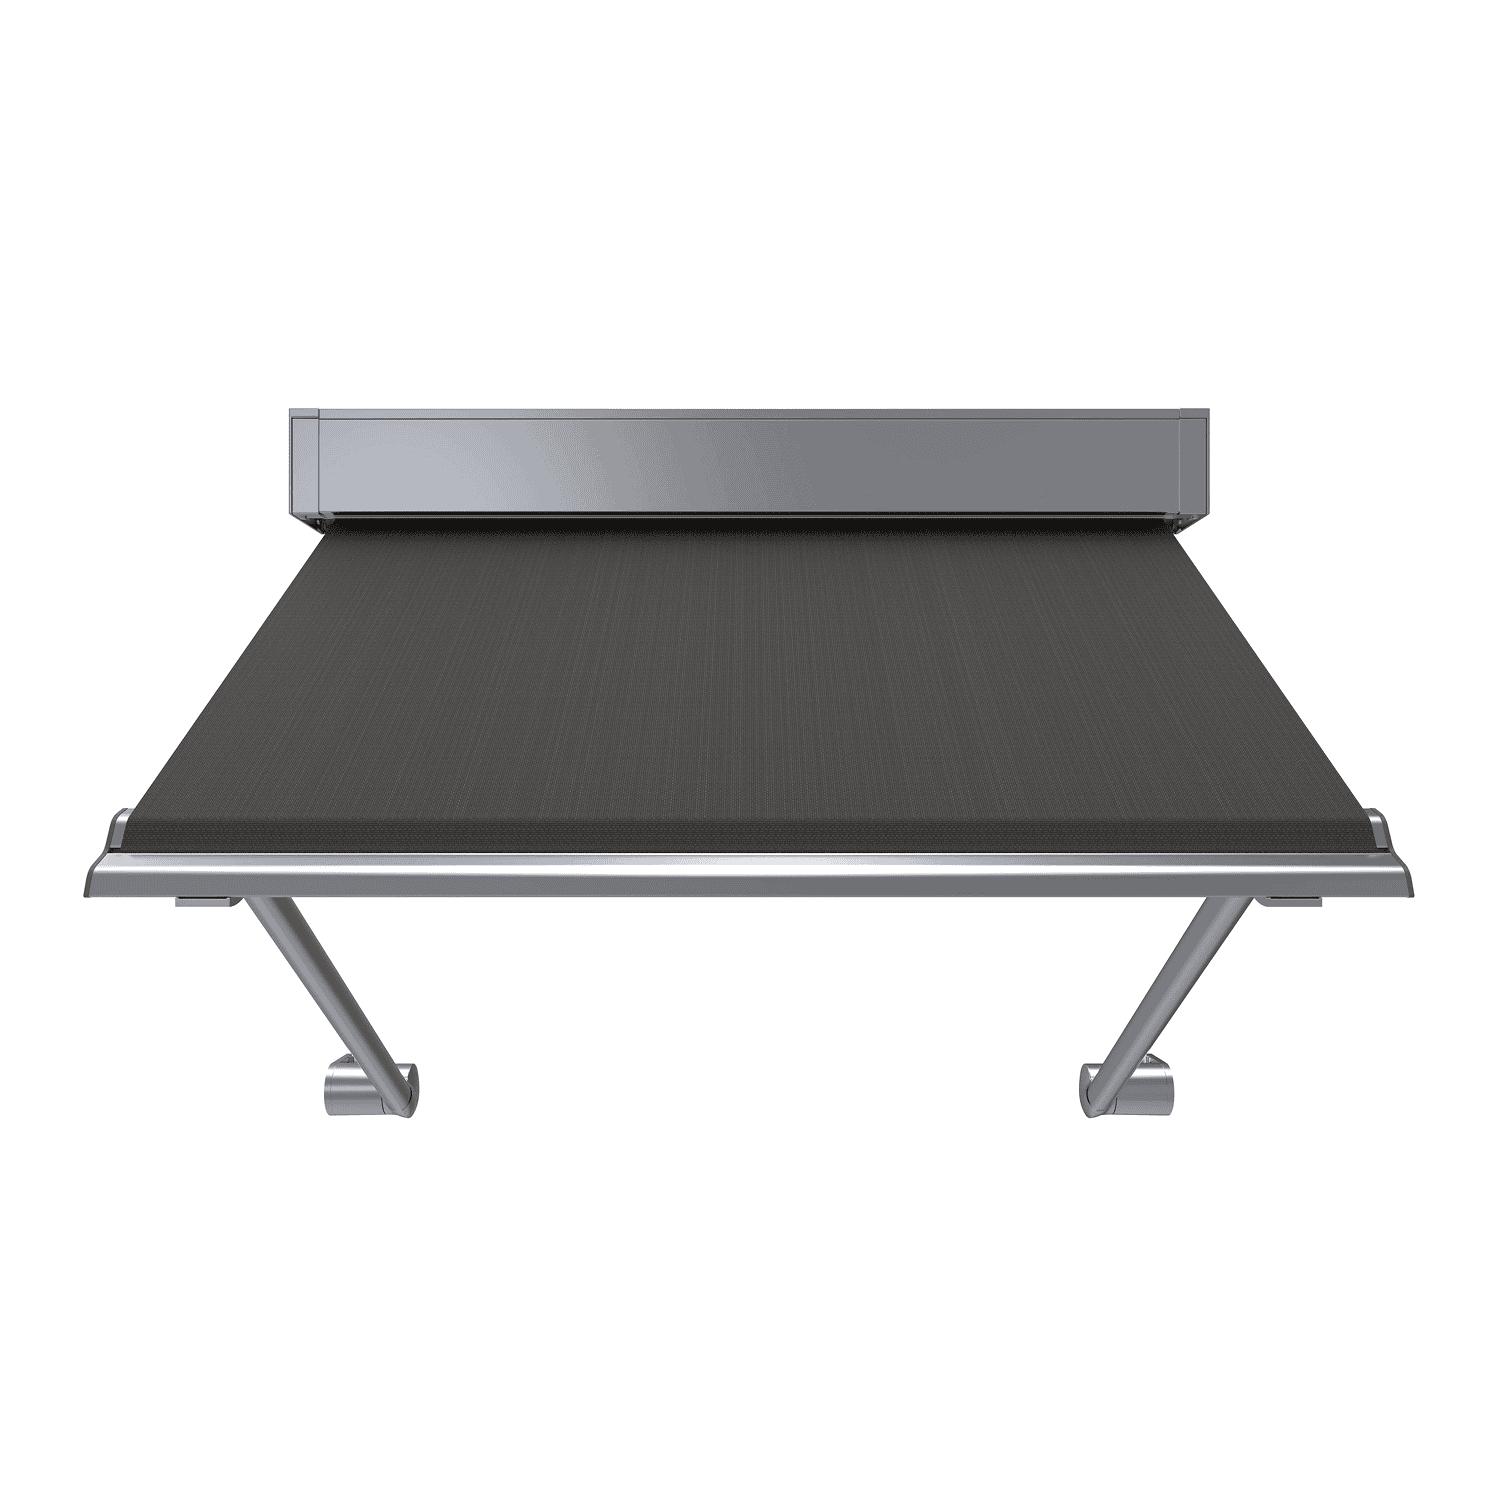
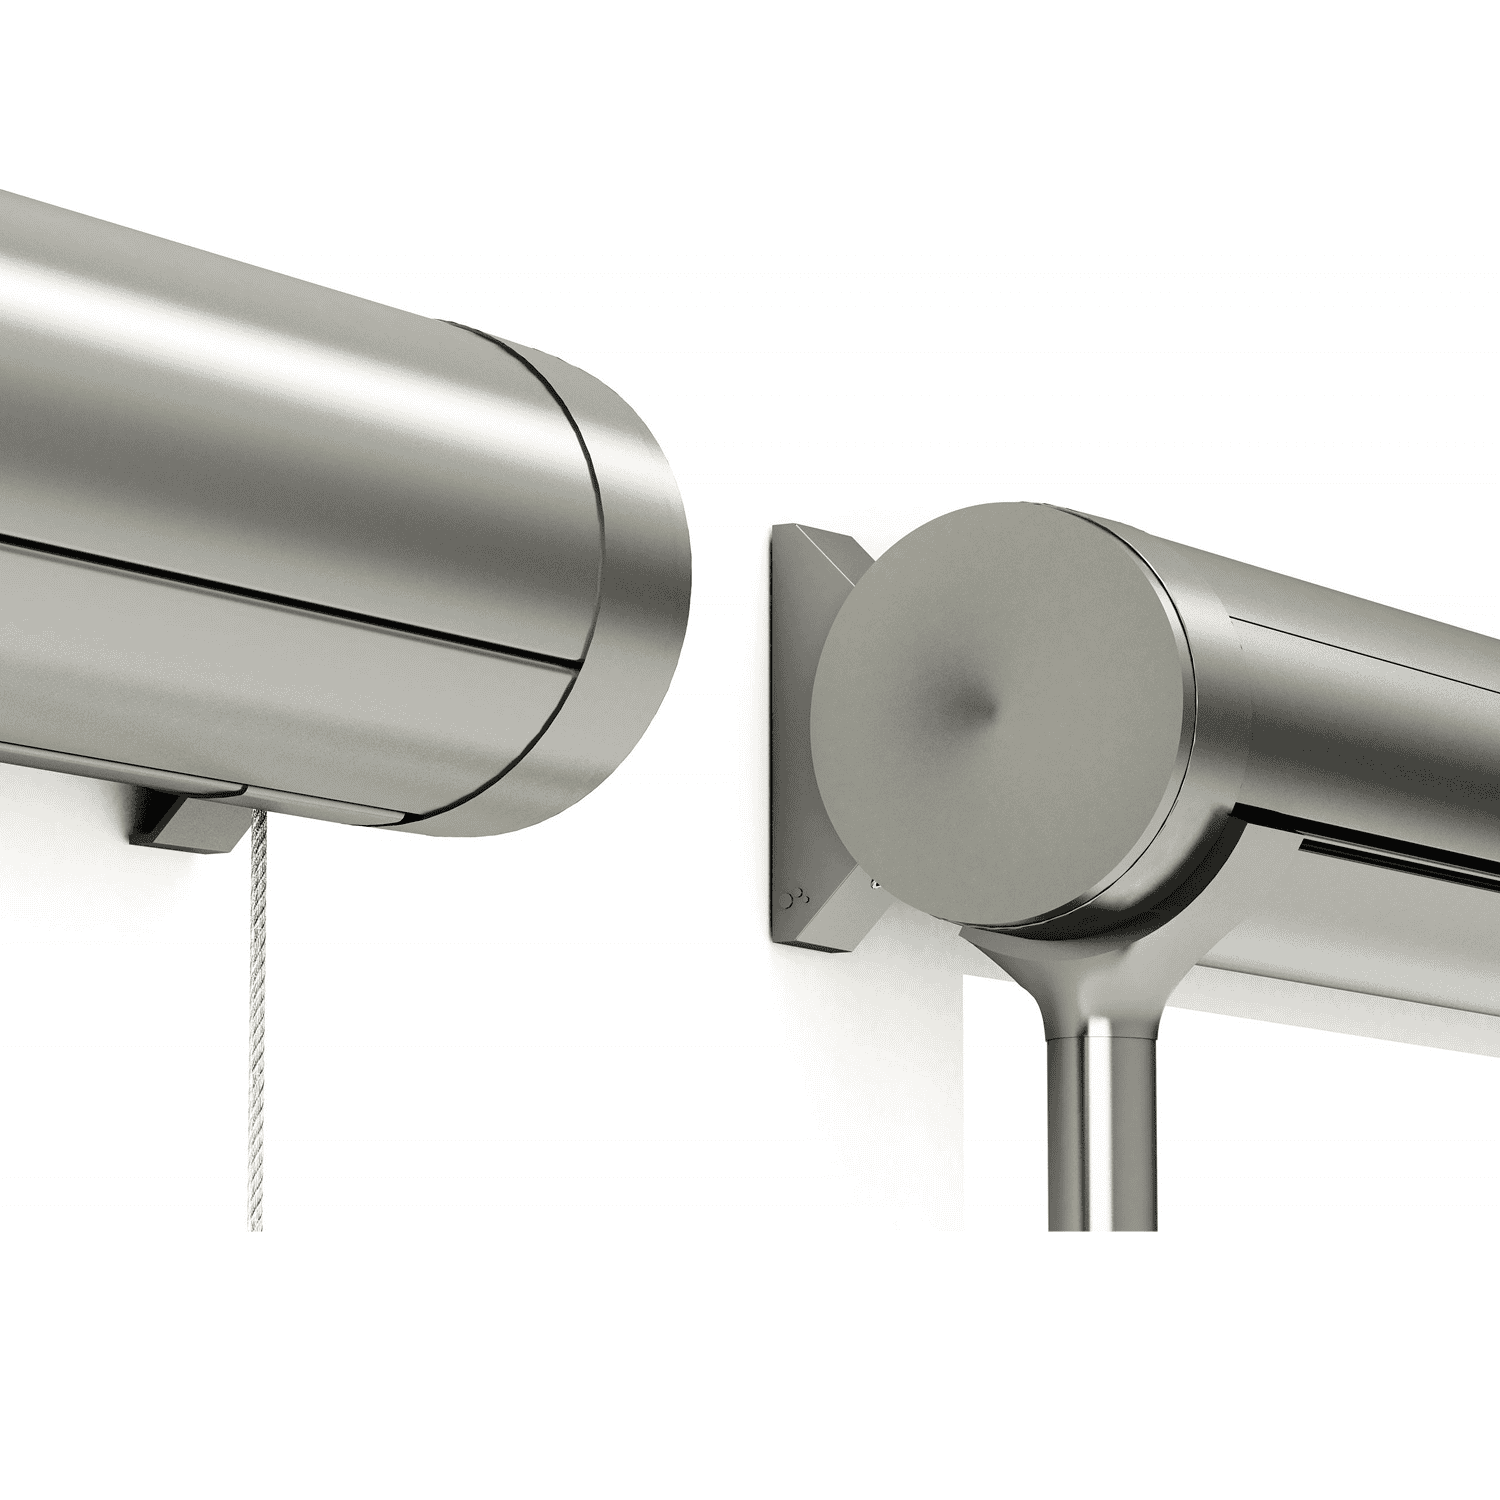
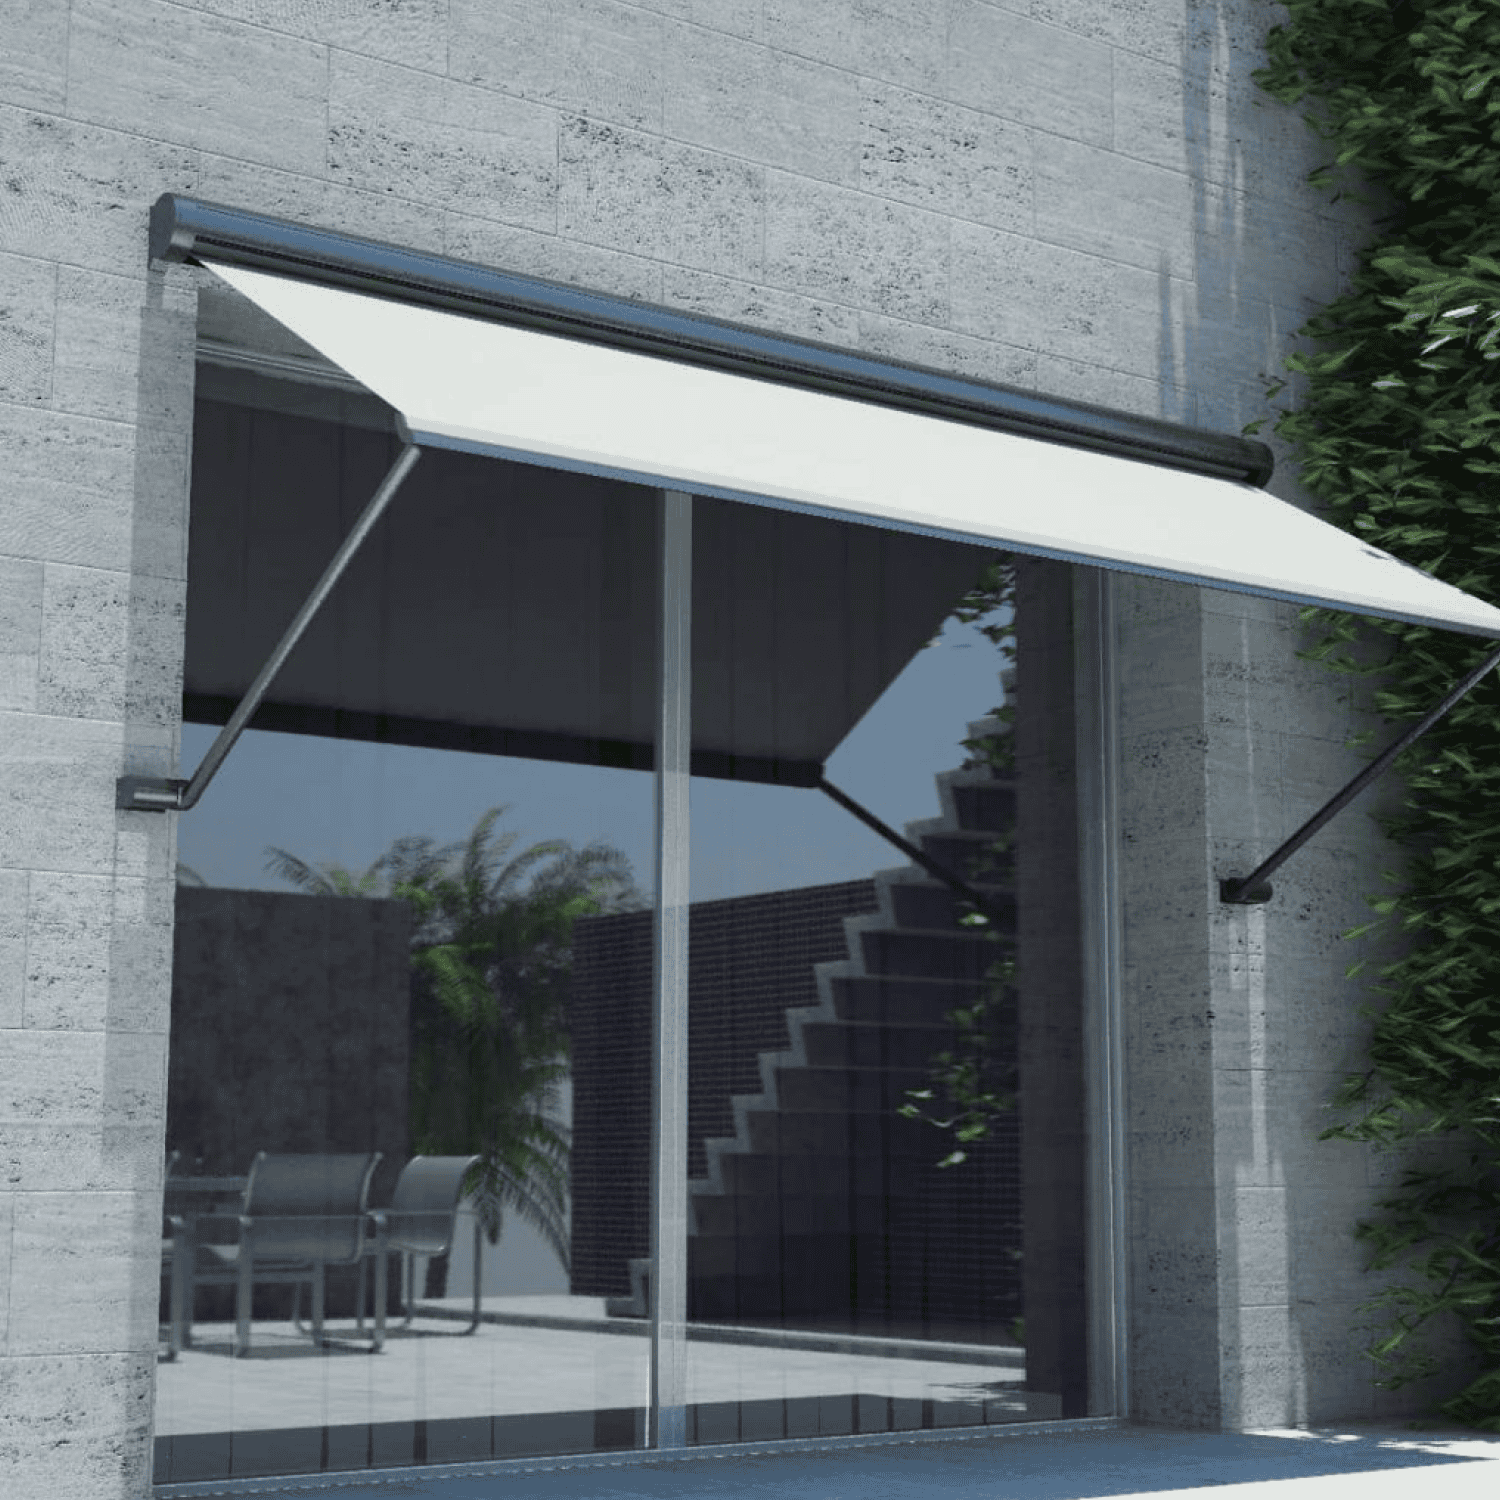
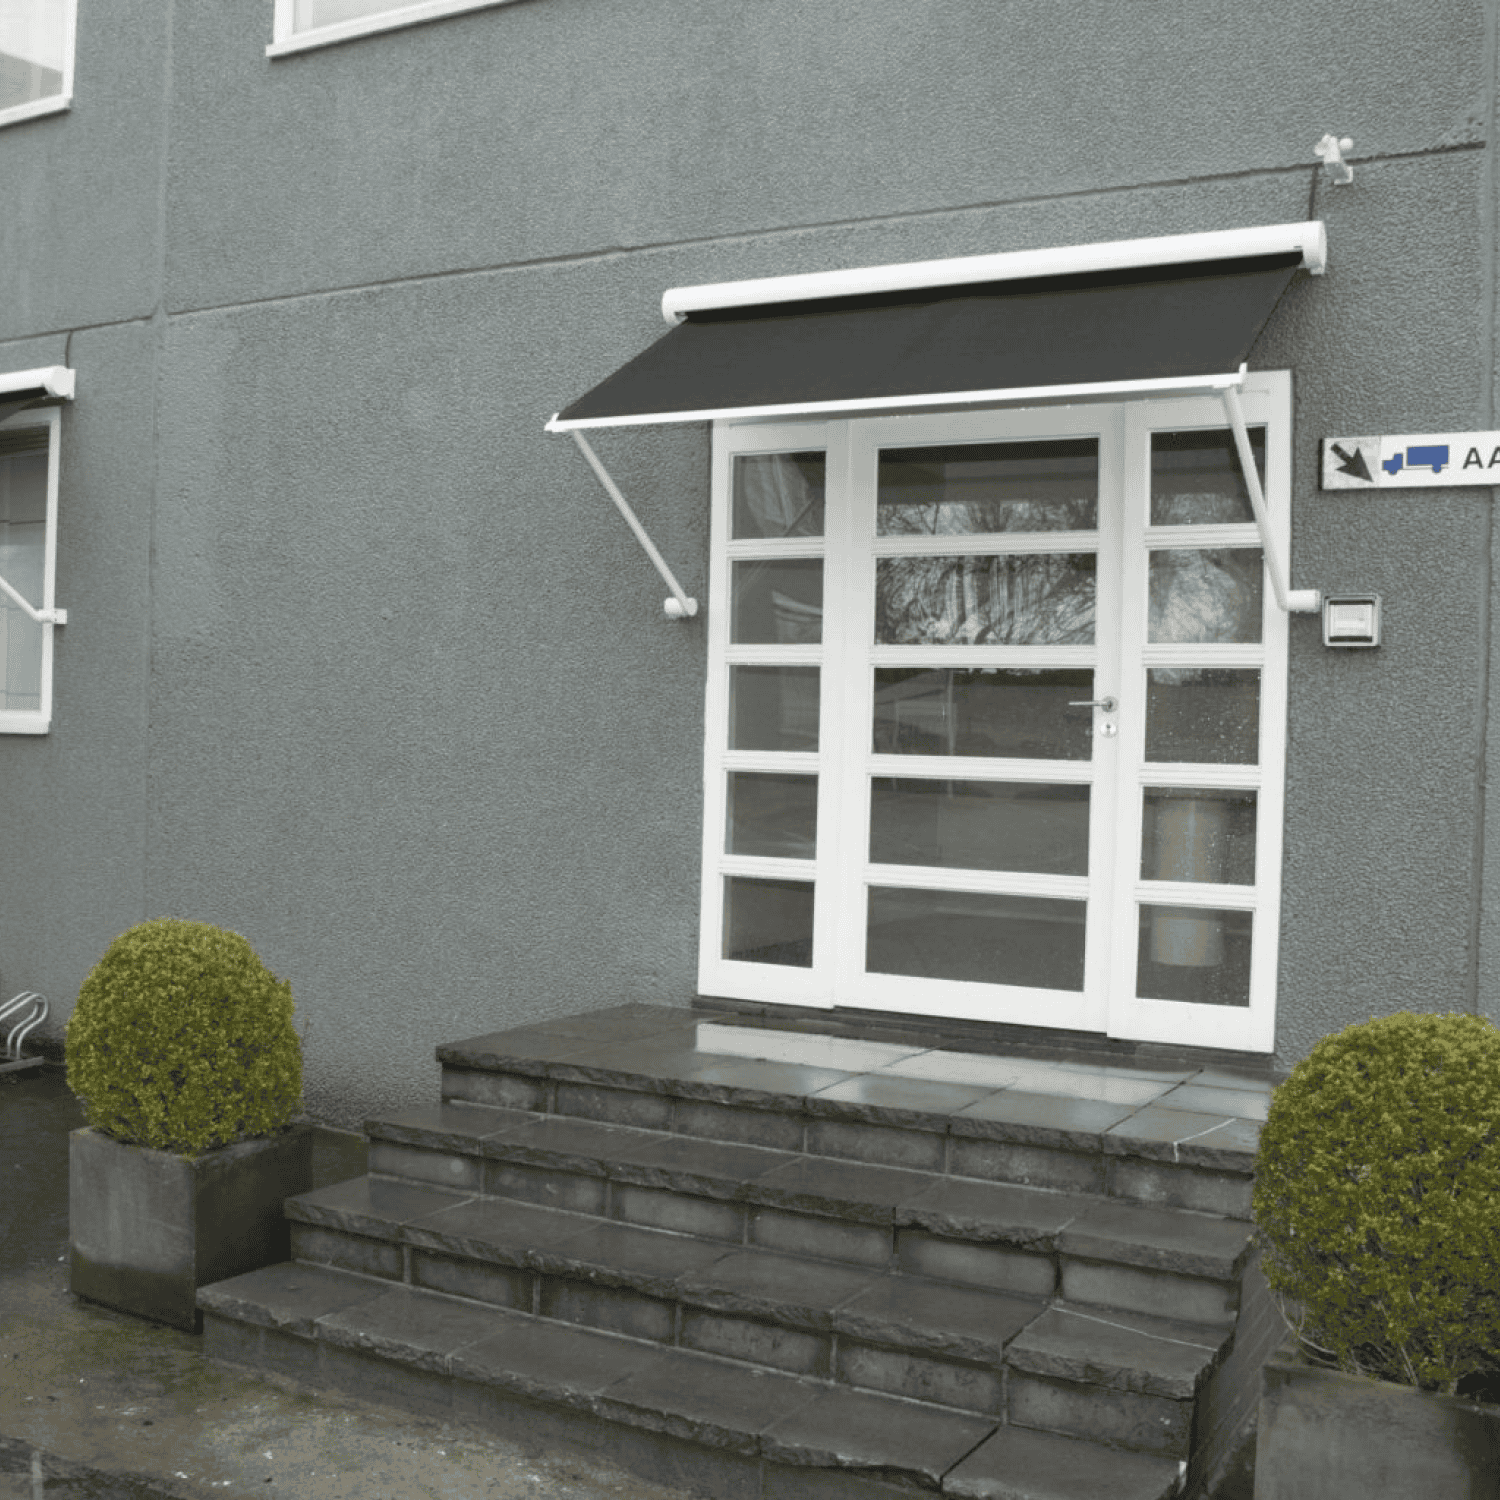
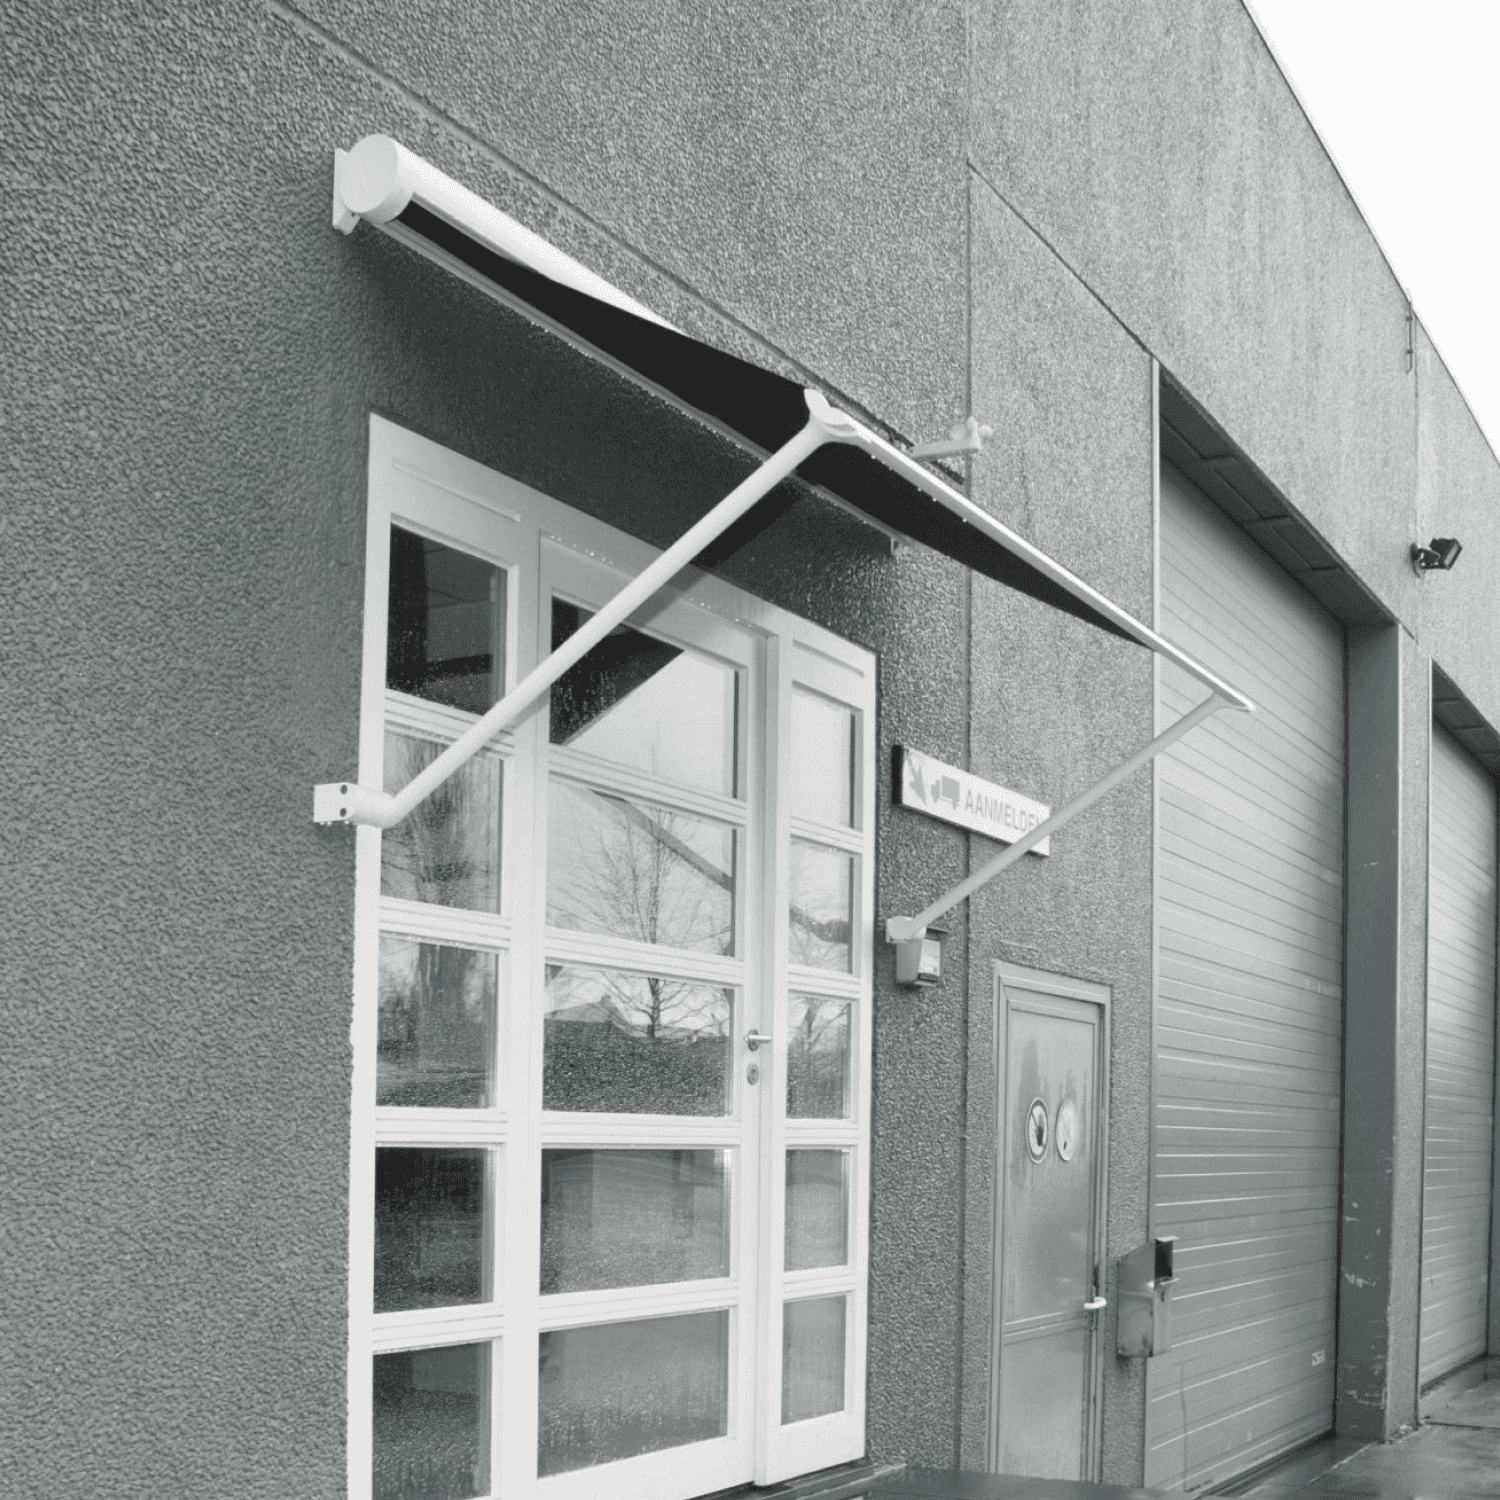
The Pivot Arm Awning is a classic yet versatile shading solution designed to project fabric away from the window, allowing excellent airflow while effectively reducing heat and glare. Ideal for second-storey windows, verandas, and hard-to-reach areas, it provides superior sun protection without sacrificing ventilation or outdoor views. Fitted with durable pivoting arms, this awning extends the fabric out and down in a smooth arc, offering greater control over shade angles and natural light. Its robust design can be operated manually or motorised for effortless convenience.
With its smart design and timeless function, the Pivot Arm Awning is a practical choice for homeowners and businesses seeking stylish, energy-efficient shading that enhances both comfort and curb appeal
Features
- Angled Sun Protection – Keeps interiors cooler while maintaining airflow
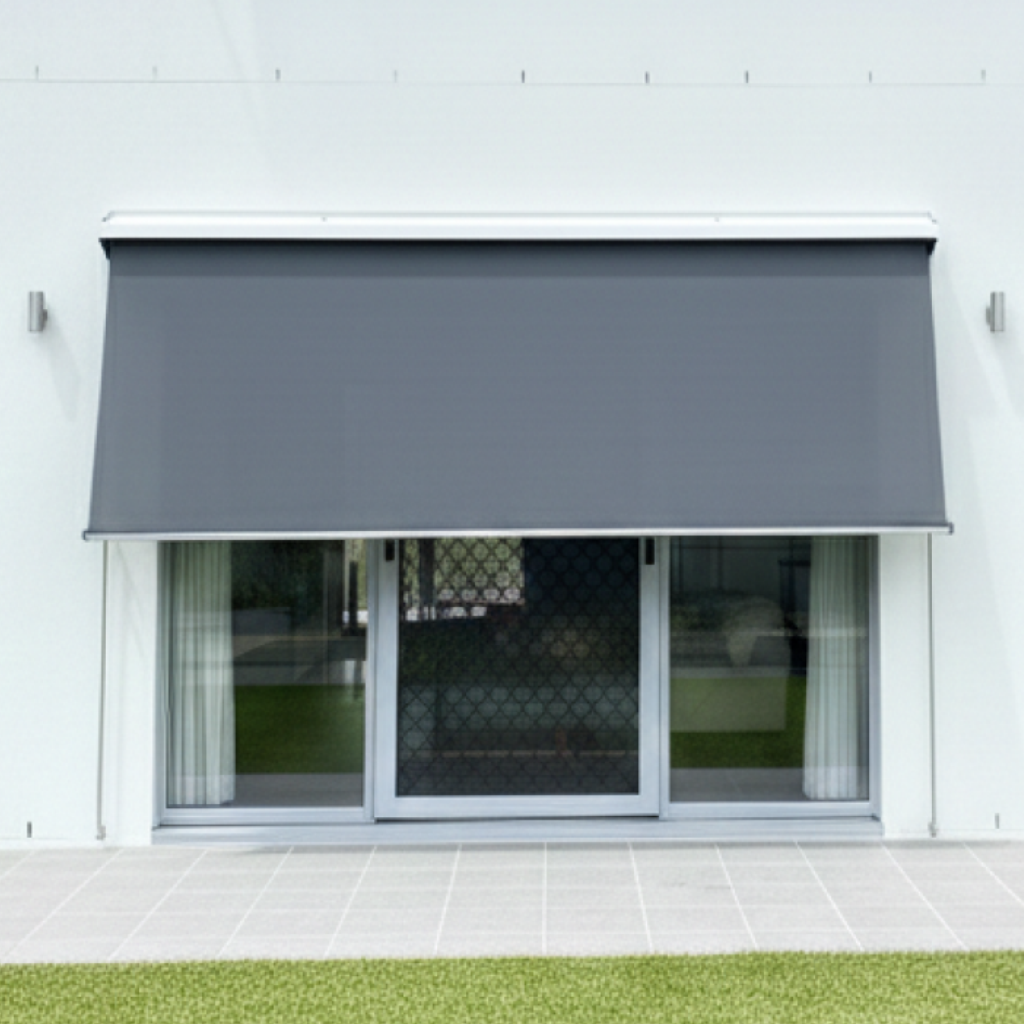
- Optimal Air Circulation – Fabric sits away from the window to let breezes through
- Smooth Operation – Choose from crank, internal winch, or motorised systems
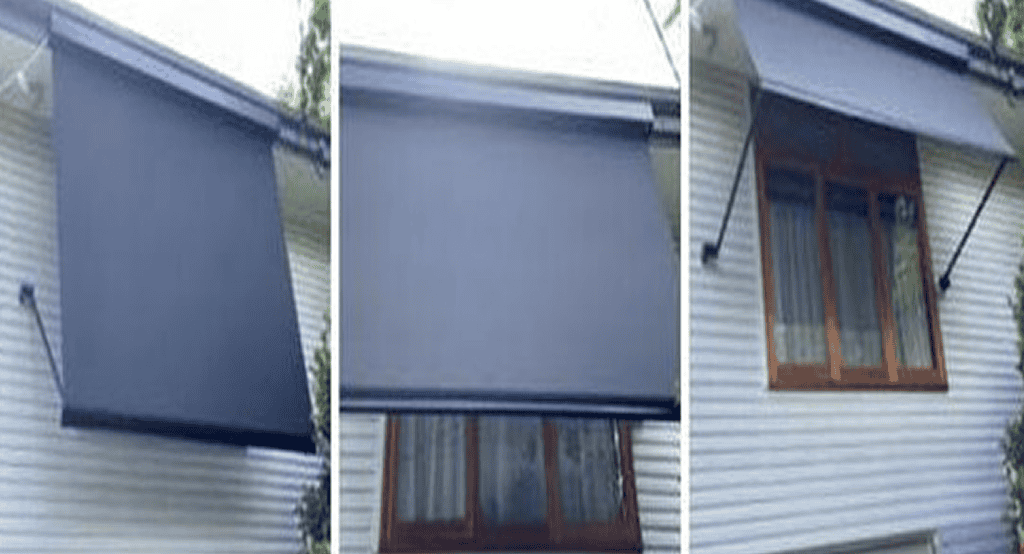
- Ideal for Upper Storeys – Perfect for second-floor and difficult-to-access windows
- Customisable Options – Wide range of fabrics, colours, and hardware finishes
- Strong & Weather-Resistant – Built for Australian sun and wind conditions


Installation Guide
Installing an outdoor pivot arm awning enhances your outdoor living space by providing adjustable shade and ventilation. Here’s a step-by-step guide to help you with the installation process:
Tools & Materials Needed
Tools:
- • Measuring Tape
- • Pencil or chalk
- • Level
- • Screws
- • Power drill with appropriate drill bits
- • Screwdriver
- • Ladder
- • Safety gear (gloves, safety glasses)
Materials:
- • Pivot arm awning kit (including cassette, arms, brackets, and fixings)
- • Screws and anchors suitable for your mounting surface
Step-by-Step Installation Guide
1. Prepare the Installation Area
- • Choose a location that is free from obstructions like lights, vents, or other fixtures.
- • Ensure the wall or mounting surface is sturdy enough to support the awning’s weight.
- • Use a level to mark a straight line where the top of the cassette will be mounted.
2. Mount the Cassette (or Brackets)
- • Align the cassette (or brackets) with the marks you’ve made.
- • Drill pilot holes into the mounting surface.
- • Secure the cassette using screws, ensuring it is level and tightly fixed.
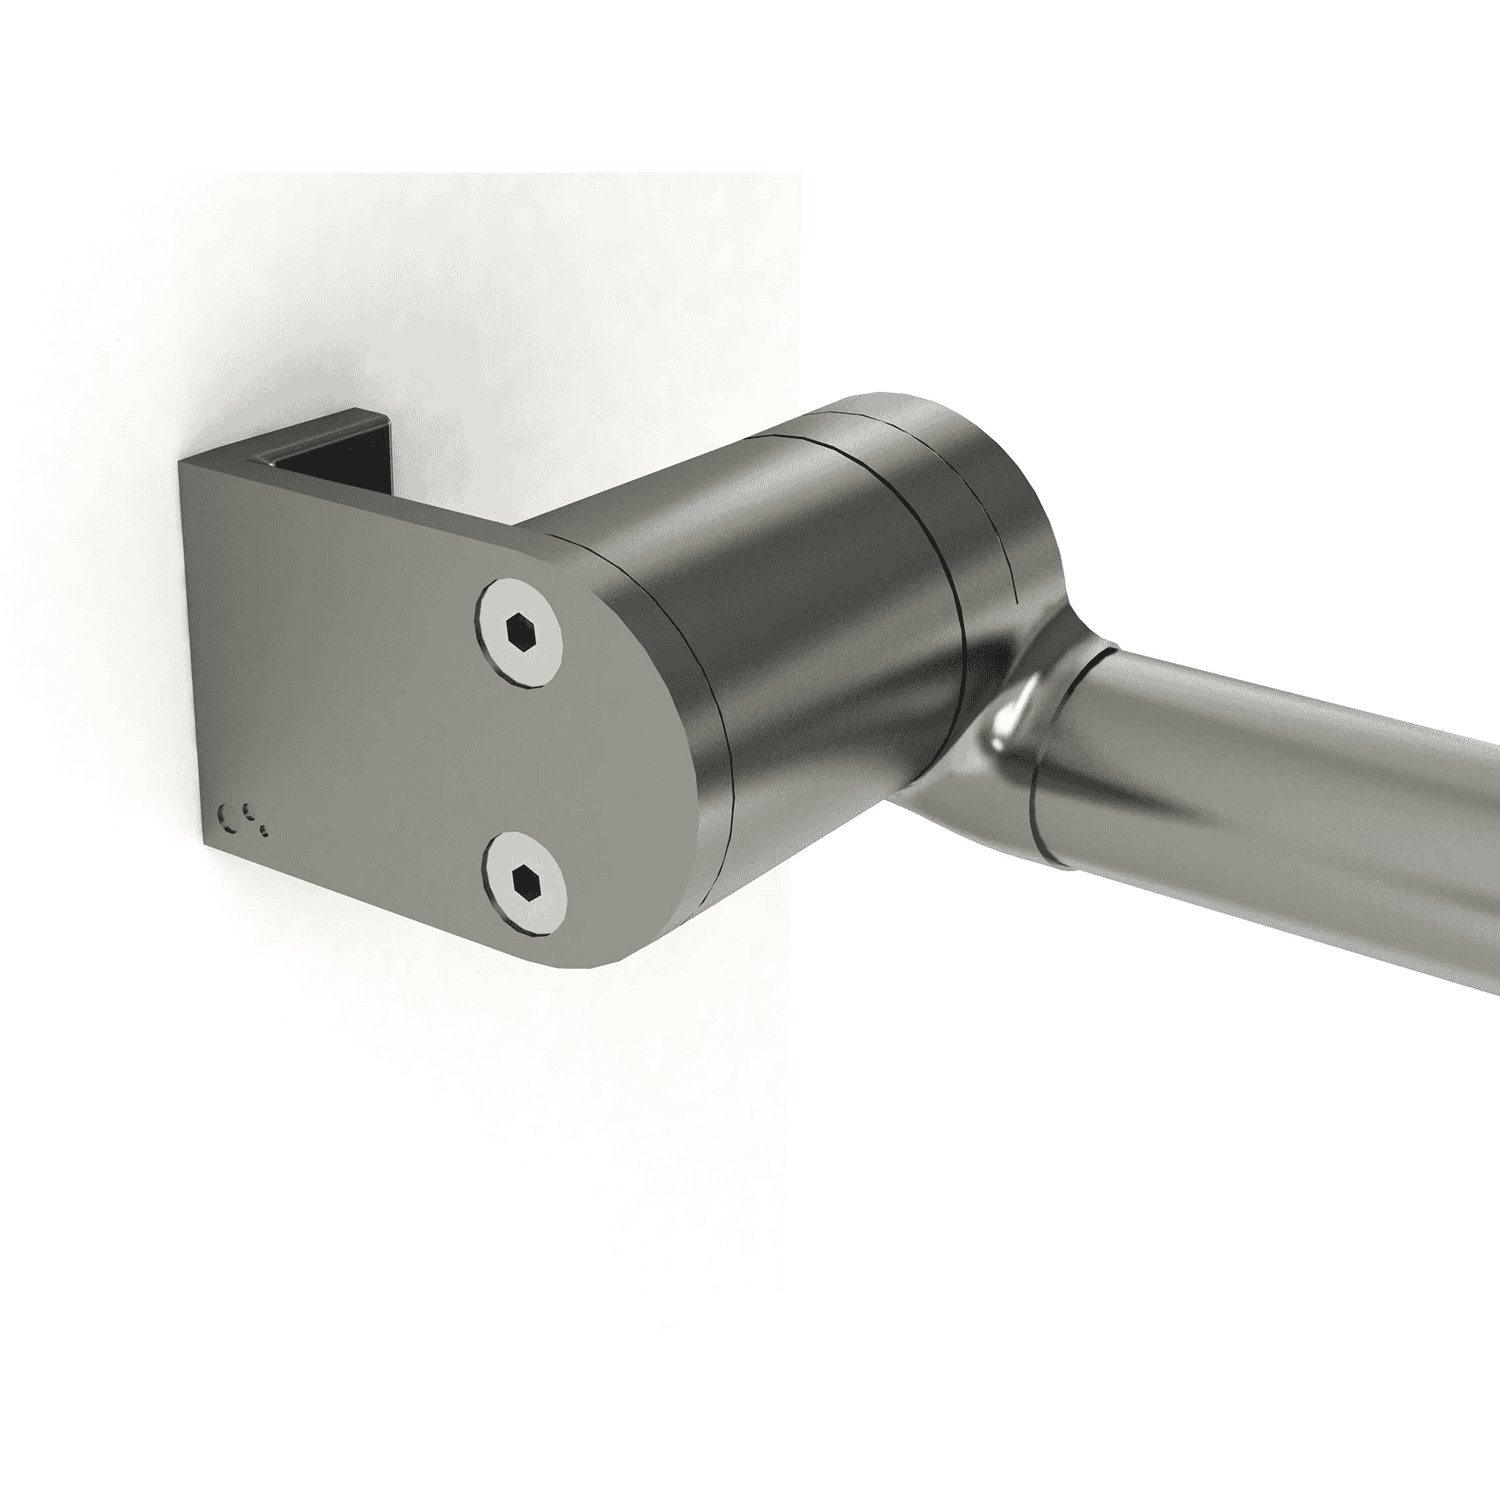
3. Attach the Pivot Arms
- • Determine the desired position for the arms (arm length is half the drop).
- • Drill pilot holes into the mounting surface.
- • Secure the arms ensuring they are level with each other and vertically level.
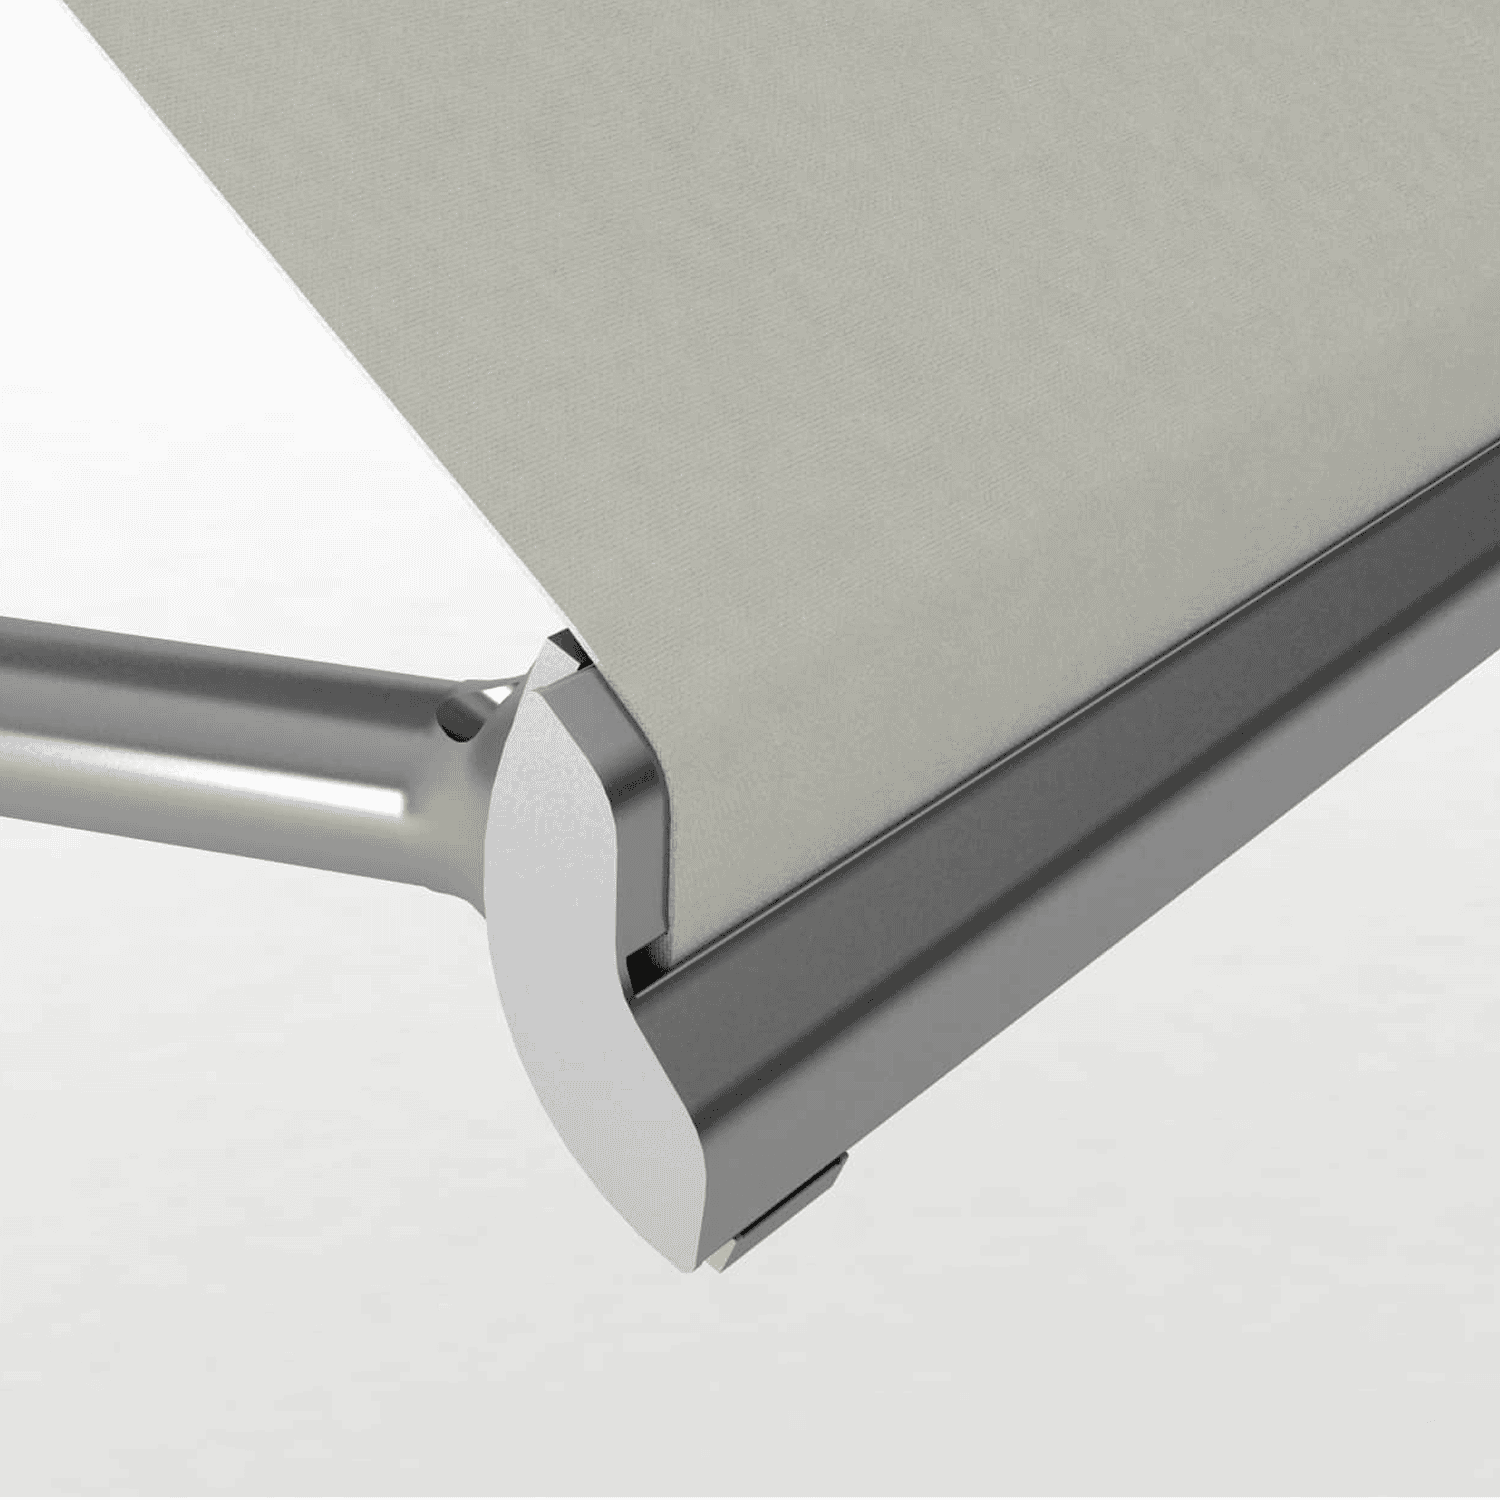
4. Install the Awning Fabric
- • Carefully unroll the awning fabric and attach it to the cassette (or brackets).
- • Unroll the awning down and then attach arms to the bottom bar.
- • Ensure the fabric is taut and free from wrinkles.
5. Adjust the Awning Angle
- • Adjust the pivot arms to achieve the desired angle for shade and ventilation.
- • Tighten all fasteners to secure the arms in place.
6. Test the Awning
- • Manually extend and retract the awning several times to ensure it operates smoothly.
- • Check that the awning is level and adjust if necessary.
Tips for a Successful Installation
- • Choose the Right Location: Install the blind in a sheltered area to protect it from strong winds.
- • Handle with Care: Avoid pulling the blind too tightly during installation, as it can expand and contract with temperature changes.
- • Safety First: Always use a ladder safely and wear appropriate safety gear.
Content goes here .. (2)
There are no reviews yet. Be the first one to write one.
You must be logged in to submit a review.
Only logged in customers who have purchased this product may leave a review.
Featured Collections
Sale 10% Off
Sale


Sale 10% Off
Sale


Sale 10% Off

Sale


Sale 10% Off
Sale
Australian Made Blinds
Expertly made, high-quality Australian blinds, built for durability — not mass-produced imports.

There are no reviews yet. Be the first one to write one.