
What if the most expensive part of your home update isn’t the high-end fabric, but a single millimetre of missed space on your window frame? It’s a common worry for many Aussie homeowners. We all want that sleek, custom-fit look, but the thought of drilling into masonry or ordering a blind that ends up with a massive light gap is enough to make anyone feel a bit anxious. You’ve likely spent hours picking the perfect colour, so the last thing you want is a finished product that doesn’t quite fit the bill.
The good news is that you don’t need to hire an expensive contractor to get professional results. By learning how to sidestep the most frequent blunders and gathering the essential tools needed for diy blind installation, you can achieve a flawless finish without the designer price tag. It’s about being prepared and having a bit of local confidence. In this guide, we’ll show you how to master the difference between inside and outside mounts, avoid common measuring traps, and ensure your new blinds operate smoothly for years to come.
Key Takeaways
- Master the ‘Three-Point Check’ to ensure your custom blinds fit perfectly to the millimetre and avoid frustrating light gaps.
- Identify the specific tools needed for diy blind installation so you can tackle timber, plasterboard, or masonry surfaces with ease.
- Select the ideal fabric for every room, from blockout rollers for bedrooms to moisture-resistant materials that prevent mould in wet areas.
- Learn how to perform a simple ‘Level Test’ to stop your blinds from telescoping or fraying due to a slight 2mm tilt.
- Discover how choosing custom-made DIY blinds saves you money while providing a higher quality finish than off-the-shelf, trim-to-fit alternatives.
The Reality of DIY Blind Installation: Why Preparation Beats Perspiration
Choosing to install your own window treatments is one of the smartest financial moves you can make for your home renovation. By cutting out the middleman and avoiding professional installation fees, you can redirect those savings into higher-quality materials that actually last. There’s a common myth that you need to be a qualified builder or a seasoned tradie to get a professional finish. In reality, modern DIY systems are designed for everyday homeowners. With a bit of patience and the right mindset, anyone can achieve a gap-free, custom fit that looks like it cost thousands more than it did.
At Aussie Online Blinds, we’re your partners in this project. We believe in the ‘Measure Twice, Order Once’ philosophy to ensure your different kinds of window blinds arrive ready to hang. We support your journey with detailed guides and high-quality components that are built for the Australian climate. This isn’t about struggling through a complex build; it’s about following a logical, step-by-step process that empowers you to take control of your home’s style. Our 3-year warranty on DIY products means you can proceed with confidence, knowing we stand behind the durability of our gear.
The Difference Between Custom-Made and Off-the-Shelf DIY
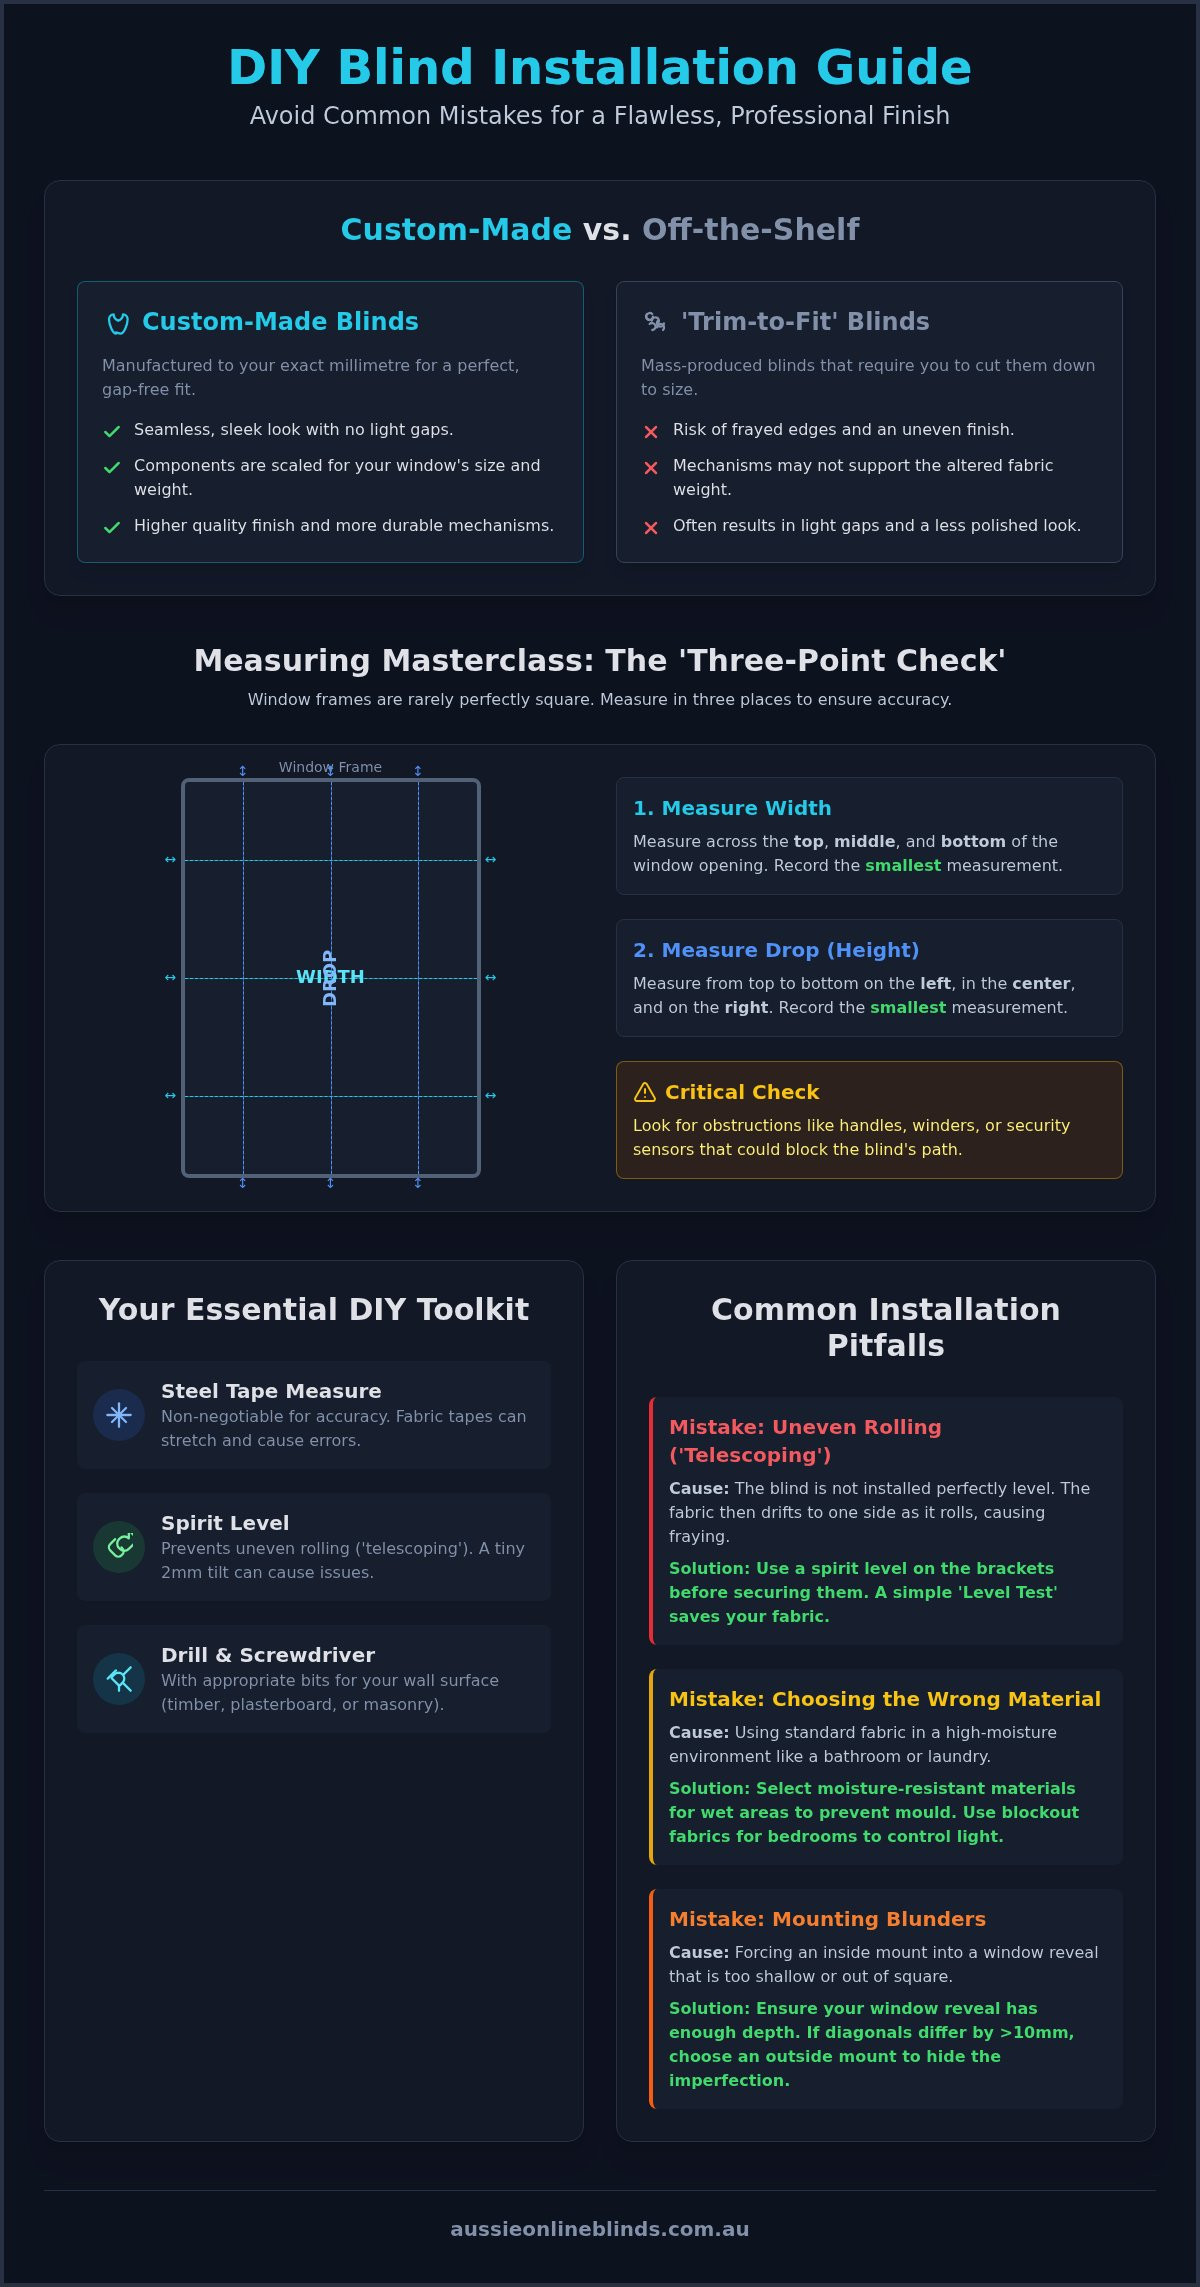
It’s tempting to grab ‘trim-to-fit’ blinds from a local hardware store, but these often lead to more headaches than they’re worth. When you cut fabric yourself, you risk frayed edges and uneven finishes that ruin the look of your room. Worse yet, the internal mechanisms in mass-produced blinds aren’t always built for the specific weight of the trimmed fabric. Custom-made blinds are manufactured to your exact millimetre. This precision means every component, from the brackets to the roller tubes, is perfectly scaled for your window. You get a seamless, sleek look that off-the-shelf options simply can’t match.
Setting Up Your DIY Workspace
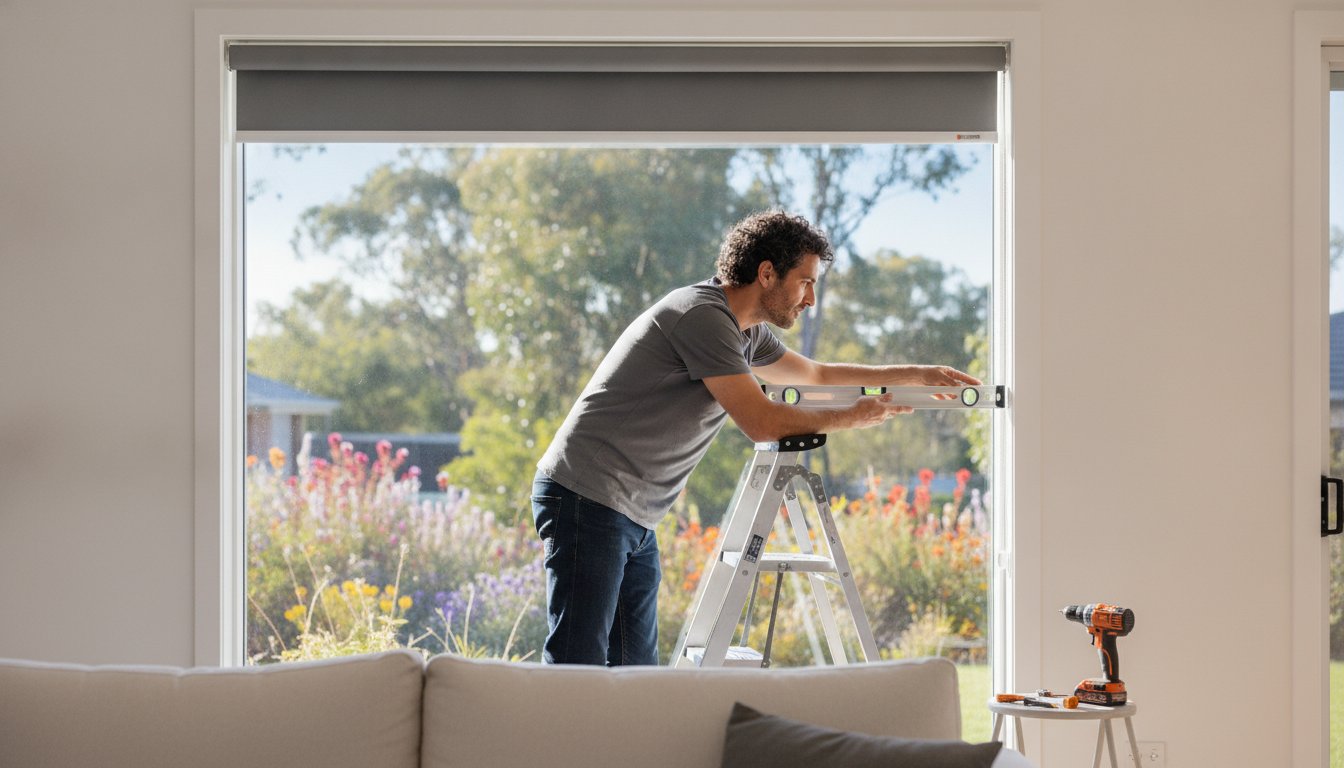
Getting your workspace ready is the first step toward a stress-free afternoon. Before you start, gather the essential tools needed for diy blind installation to avoid mid-project trips to the shops. A steel tape measure is absolutely non-negotiable. Fabric tapes can stretch over time, leading to errors that might seem small but cause huge gaps. You’ll also need a reliable spirit level. Even a tiny 2mm tilt can cause a roller blind to ‘telescope’, where the fabric rolls off to one side and frays against the brackets. Lay out all your hardware, screws, and brackets on a clean surface before you pick up the drill. This simple organisation ensures you aren’t hunting for a lost screw while balancing on a ladder.
Measuring Mishaps: How a Few Millimetres Can Ruin a Custom Fit
Measuring is the most critical stage of your project. If you get this right, the installation becomes a simple matter of clicking brackets into place. Many people assume their window frames are perfectly square, but even in brand-new Australian homes, frames can settle or be slightly off. To avoid a costly error, we recommend the ‘Three-Point Check’. This involves measuring the width and the drop in three different places to find any inconsistencies in the frame.
- Width: Measure across the top, the middle, and the bottom of the opening.
- Drop: Measure from the top to the bottom on the left, the centre, and the right.
- Obstructions: Check for window winders, handles, or security sensors that might sit in the way of the blind’s path.
While you’re gathering the tools needed for diy blind installation, make sure your steel tape measure is accurate and easy to read. Safety is just as vital as the fit itself. Following window blind safety recommendations ensures your new window treatments are secure for everyone in the family, especially when it comes to managing cords and chains correctly.
Inside Mount Pitfalls: Depth and Squareness
An inside mount provides a sleek, recessed look that sits flush with your wall. However, it requires enough depth within the window reveal to house the blind mechanism. If your recess is too shallow, the blind will protrude into the room. You should also check the ‘squareness’ of the frame by measuring the diagonals. If the two diagonal measurements differ by more than 10mm, the frame is significantly out of square. In these cases, we often suggest an outside mount to hide the unevenness. When ordering for an inside mount, give us the exact opening sizes; our factory handles the necessary deductions to ensure a smooth fit.
Outside Mount Errors: Coverage and Overlap
Outside mounts are perfect for blocking out every bit of light or hiding an unattractive window frame. The biggest mistake here is not allowing for enough overlap. For blockout roller blinds, we suggest adding at least 50mm to each side of the opening. This prevents light from ‘bleeding’ around the edges of the fabric. Ensure you mount your brackets into the architrave or a wall stud for a secure hold. For a deeper look at the technical side, read our How to measure for blinds online: The ultimate 2026 DIY guide. Getting these measurements spot on is the first step toward enjoying your custom-made blinds online with total confidence.
Material and Environment Mismatches: Avoiding the Wrong Blind for the Space
Even if your measurements are accurate to the millimetre, choosing the wrong fabric for your environment can lead to a frustrating and expensive replacement just a few months down the line. Australian homes face some of the harshest UV conditions in the world. This means that a fabric that looks great in a showroom might fade, warp, or even encourage mould growth if it isn’t suited to the specific room’s conditions. It’s vital to think about how each space functions before you commit to a style. While you’re gathering the tools needed for diy blind installation, take a moment to review your fabric choices against the light and moisture levels of your windows. Beyond window treatments, ensuring your other home textiles receive professional care is vital for a long-lasting finish; for example, you can discover Bancrofts Dry Cleaning to learn how to properly maintain premium items like down and feather bedding.
In high-traffic wet areas like bathrooms and kitchens, moisture resistance is your top priority. Standard fabrics can trap steam and humidity, creating a breeding ground for mould. We recommend specifically treated or PVC-coated materials for these spaces, as they can be easily wiped down and won’t absorb smells or moisture. Similarly, consider the orientation of your home. North and west-facing windows bear the brunt of the afternoon sun, requiring fabrics with high thermal protection to keep your cooling bills in check during a long Aussie summer.
One of the most frequent errors we see is a mismatch between light control and room use. Many homeowners choose light-filtering blinds for bedrooms because they love the soft glow, only to realise they can’t sleep past 6:00 AM. Blockout roller blinds are the standard for bedrooms to ensure total darkness and privacy. If you want the best of both worlds in a lounge room, sunscreen roller blinds are a savvy choice. They allow you to see outside and enjoy the view while preventing outsiders from looking in during the day. For a deep dive into these options, see our Indoor Roller Blinds: The Ultimate Australian Buying Guide (2026).
Outdoor Blind Durability: Wind and Heat
Outdoor blinds need to be significantly tougher than indoor versions. A common DIY mistake is assuming any external fabric will handle a coastal breeze or a suburban gust. Zipscreen outdoor blinds are engineered with side channels that lock the fabric in place, making them the superior choice for wind resistance on patios. If you’re looking to shade a window while allowing for airflow, Pivot Arm blinds are a fantastic alternative. They project the fabric away from the glass, creating a cool pocket of air. You can find more advice on protecting your alfresco areas in our Outdoor Blinds: The Ultimate 2026 Buying Guide for Australian Homeowners.
Mounting and Hardware Blunders: Why ‘Near Enough’ Is Not Good Enough
Once you’ve confirmed your measurements and selected your fabric, the physical installation begins. This is where the ‘near enough is good enough’ mentality can lead to serious trouble. In Australia, we deal with a variety of home constructions, from traditional timber studs and internal plasterboard to solid double-brick and modern steel-framed houses. You can’t use the same fastener for every surface. Using a standard timber screw in masonry without a proper wall plug is a recipe for a falling blind, while drilling into steel requires specific self-tapping screws. This is why checking your tools needed for diy blind installation must include a quick audit of your fasteners to ensure they match your wall type.
Alignment is just as critical as the hardware itself. We always recommend a ‘Level Test’ before you finalise your bracket positions. Even a tiny 2mm tilt across a standard window can cause the internal mechanisms to bind. If your brackets aren’t perfectly aligned, the blind will experience unnecessary friction, leading to a jerky movement or a snapped chain over time. Don’t just trust that your window frame is level; use your spirit level across the brackets themselves to ensure a perfectly horizontal path for the roller tube. Avoiding these small errors now ensures you can order custom blinds online with the certainty that they’ll function perfectly from day one.
The Dangers of Telescoping
Telescoping is the process where fabric rolls toward one side of the tube due to an unlevel install. If you notice your blind fabric bunching up at one end or starting to fray against the mounting bracket, you’re likely dealing with this common issue. You don’t always need to redrill your holes to fix it. Often, you can use thin plastic shims or even a small piece of folded cardboard behind one bracket to level things out. Taking ten minutes to shim a bracket now will save your fabric from being permanently ruined by uneven rolling.
Outdoor Mounting: Tension and Channels
Installing outdoor solutions like Zipscreen outdoor blinds requires an even higher level of precision. The side channels must be perfectly vertical and parallel; if they’re even slightly ‘toed-in’ or ‘toed-out’, the blind will jam or pull out of the tracks during a breeze. For wire guide blinds, managing the tension is a delicate balance. You need enough tension to stop the fabric from flapping, but not so much that you’re putting undue stress on the mounting points. If you live anywhere near the Australian coast, we strongly suggest using stainless steel hardware. Standard screws will corrode quickly in the salt air, making it nearly impossible to adjust or remove the blinds in the future.
Navigating the DIY Journey with Aussie Online Blinds
At Aussie Online Blinds, we’re an Australian family-owned and operated business that truly understands the local landscape. We’ve seen every mistake in the book, and that’s why we’ve built a system that protects you from common pitfalls. Our custom-to-the-millimetre manufacturing process is the best way to avoid the ‘trim-to-fit’ mess found in generic hardware store options. When you order from us, you’re getting a product specifically designed for your window, not a generic size that needs hacking. We back this up with a 3-year warranty on all our DIY products, giving you the peace of mind that usually only comes with expensive professional services.
Why Custom DIY Beats Professional Install Prices
Choosing the DIY route is a savvy financial move that lets you keep more of your hard-earned money. When you pay for professional installation, a large portion of your budget goes toward someone else’s vehicle overheads, fuel, and labour time. To see the level of craftsmanship offered by professional specialists, you can visit Axent Shutters Blinds & Shades LLC and explore their custom Roman and roller shade options. By handling the project yourself, those funds can be redirected into premium upgrades like Zipscreen outdoor blinds or high-end blockout rollers. There’s a unique sense of satisfaction in stepping back and seeing a professional finish that you achieved with your own hands. If you ever find yourself questioning the tools needed for diy blind installation or get stuck on a tricky window, our team of honest experts is just a phone call away to help you through the process.
Before you finalise your order, run through a final checklist to ensure everything is spot on. Double-check your ‘Three-Point’ measurements and confirm you have the tools needed for diy blind installation ready on your workbench. We highly recommend ordering our fabric swatches first. It’s the only way to be 100% certain the colour and texture perfectly match your interior lighting and existing decor. For a final confidence boost, take a look at our DIY Blinds: Your Ultimate Guide to Measuring & Installing Like a Pro in 2026. We’re here to ensure your project is a success from the first measurement to the final click of the bracket.
Achieve a Professional Finish with Confidence
Getting your window treatments right is about more than just picking a colour; it’s about the precision of your process. By mastering the three-point measurement check and ensuring you have the specific tools needed for diy blind installation, you’ve already bypassed the most common errors that plague standard home updates. Remember that choosing custom-made solutions over off-the-shelf alternatives means you’re investing in a product built to your exact millimetre. This ensures a seamless fit that functions perfectly for years to come.
As an Australian family-owned and operated business, we’re here to support you throughout your project. We provide national shipping across Australia and offer a 3-year warranty on all products, so you can tackle your installation with total peace of mind. You don’t need to be a qualified builder to get high-end results; you just need the right partner and a bit of local savvy. Order Your Custom-Made DIY Blinds Today and start your home transformation with the confidence of an expert. You’ve got the skills to make it look spectacular!
Frequently Asked Questions
What is the most common mistake when measuring for blinds?
The most frequent error is measuring the width at only one point. Window frames often taper or bow, meaning a blind that fits at the top might jam halfway down. Always measure the top, middle, and bottom to find the smallest width for an inside mount. This ensures your custom-made blinds slide into place without scratching the paintwork or leaving unsightly gaps that let in the early morning sun.
Can I fix a blind that I have measured too short?
Unfortunately, you cannot add fabric or width back to a blind once it’s manufactured. If your blind is slightly too narrow for an inside mount, you might be able to salvage the project by converting it to an outside mount. By fixing the brackets to the architrave or the wall above the window instead of inside the recess, you can cover the opening effectively. This often hides the measurement error while still providing excellent privacy.
What happens if my window frame is not perfectly square?
If your frame is out of square, an inside-mounted blind will likely show uneven light gaps or struggle to roll straight. You can often correct this by using small plastic shims behind the brackets to level the roller tube. If the frame is significantly warped, we suggest opting for an outside mount. This style sits on the face of the wall, completely masking the fact that the window frame underneath isn’t perfectly straight.
Do I need special tools to install DIY blinds?
Most tools needed for diy blind installation are likely already in your garage. You’ll need a power drill with various bits, a spirit level to ensure a horizontal install, and a steel tape measure. If you’re mounting into internal plasterboard, make sure you have high-quality wall anchors. For external installations on brick or concrete, a hammer drill and masonry bits are essential to ensure the brackets are anchored securely against the Australian wind.
Is it better to mount blinds inside or outside the window recess?
It depends on your specific goals for the room. An inside mount offers a modern, recessed look that keeps the window architraves visible. It’s perfect for a clean aesthetic. An outside mount is superior for total light blockout in bedrooms, as the fabric can overlap the frame to stop light leakage. Outside mounts are also much more forgiving if your window frame is older, damaged, or not perfectly square.
How do I stop my roller blinds from rolling to one side (telescoping)?
Telescoping is usually caused by the blind being slightly unlevel. Check your brackets with a spirit level first. If the fabric still rolls to the left, try placing a small piece of masking tape on the right side of the metal tube, right under the fabric. This tiny increase in the tube’s diameter helps steer the fabric back to the centre. Repeat the process with more tape until the blind rolls perfectly straight every time.
Are DIY outdoor blinds as strong as professionally installed ones?
Absolutely. When you choose high-quality systems like Zipscreen outdoor blinds, the durability comes from the engineering of the side channels and the quality of the fabric. DIY doesn’t mean flimsy if you’re using professional-grade components. As long as you use the correct fasteners for your mounting surface and follow our step-by-step guides, your self-installed outdoor blinds will withstand the local elements just as well as a professional installation would.
What should I do if I am drilling into brick or masonry?
When drilling into brick, you must use a hammer drill and a dedicated masonry bit. These are essential tools needed for diy blind installation on Australian exteriors. Once the hole is drilled, insert a plastic wall plug before driving in your screw. This ensures the fastener expands and grips the brickwork. Avoid drilling into mortar joints if possible, as the brick itself provides a much more stable and secure mounting point.