


| Location | Outdoor Blinds |
|---|
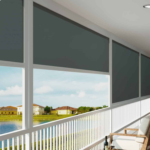
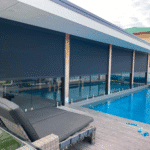
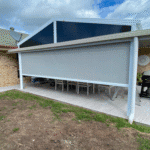
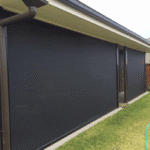
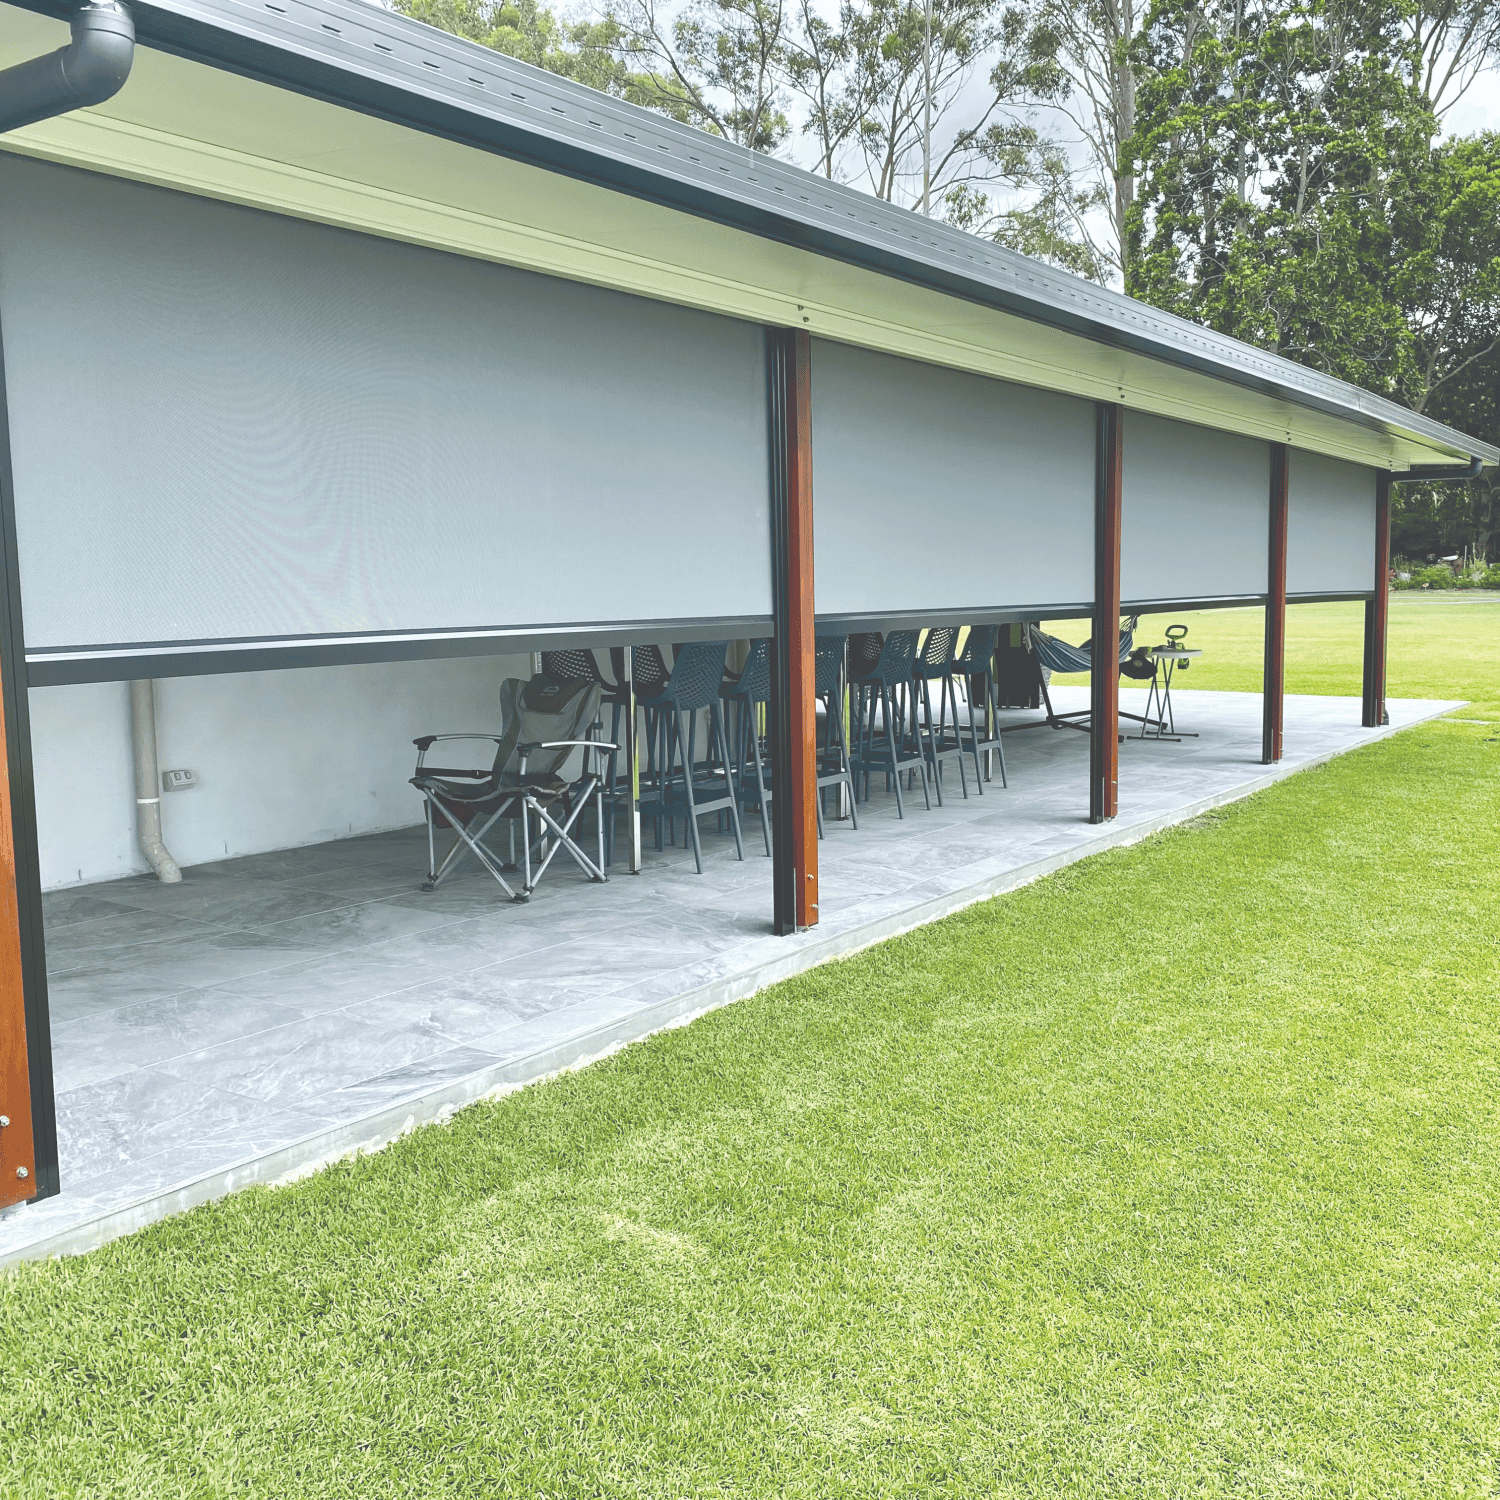
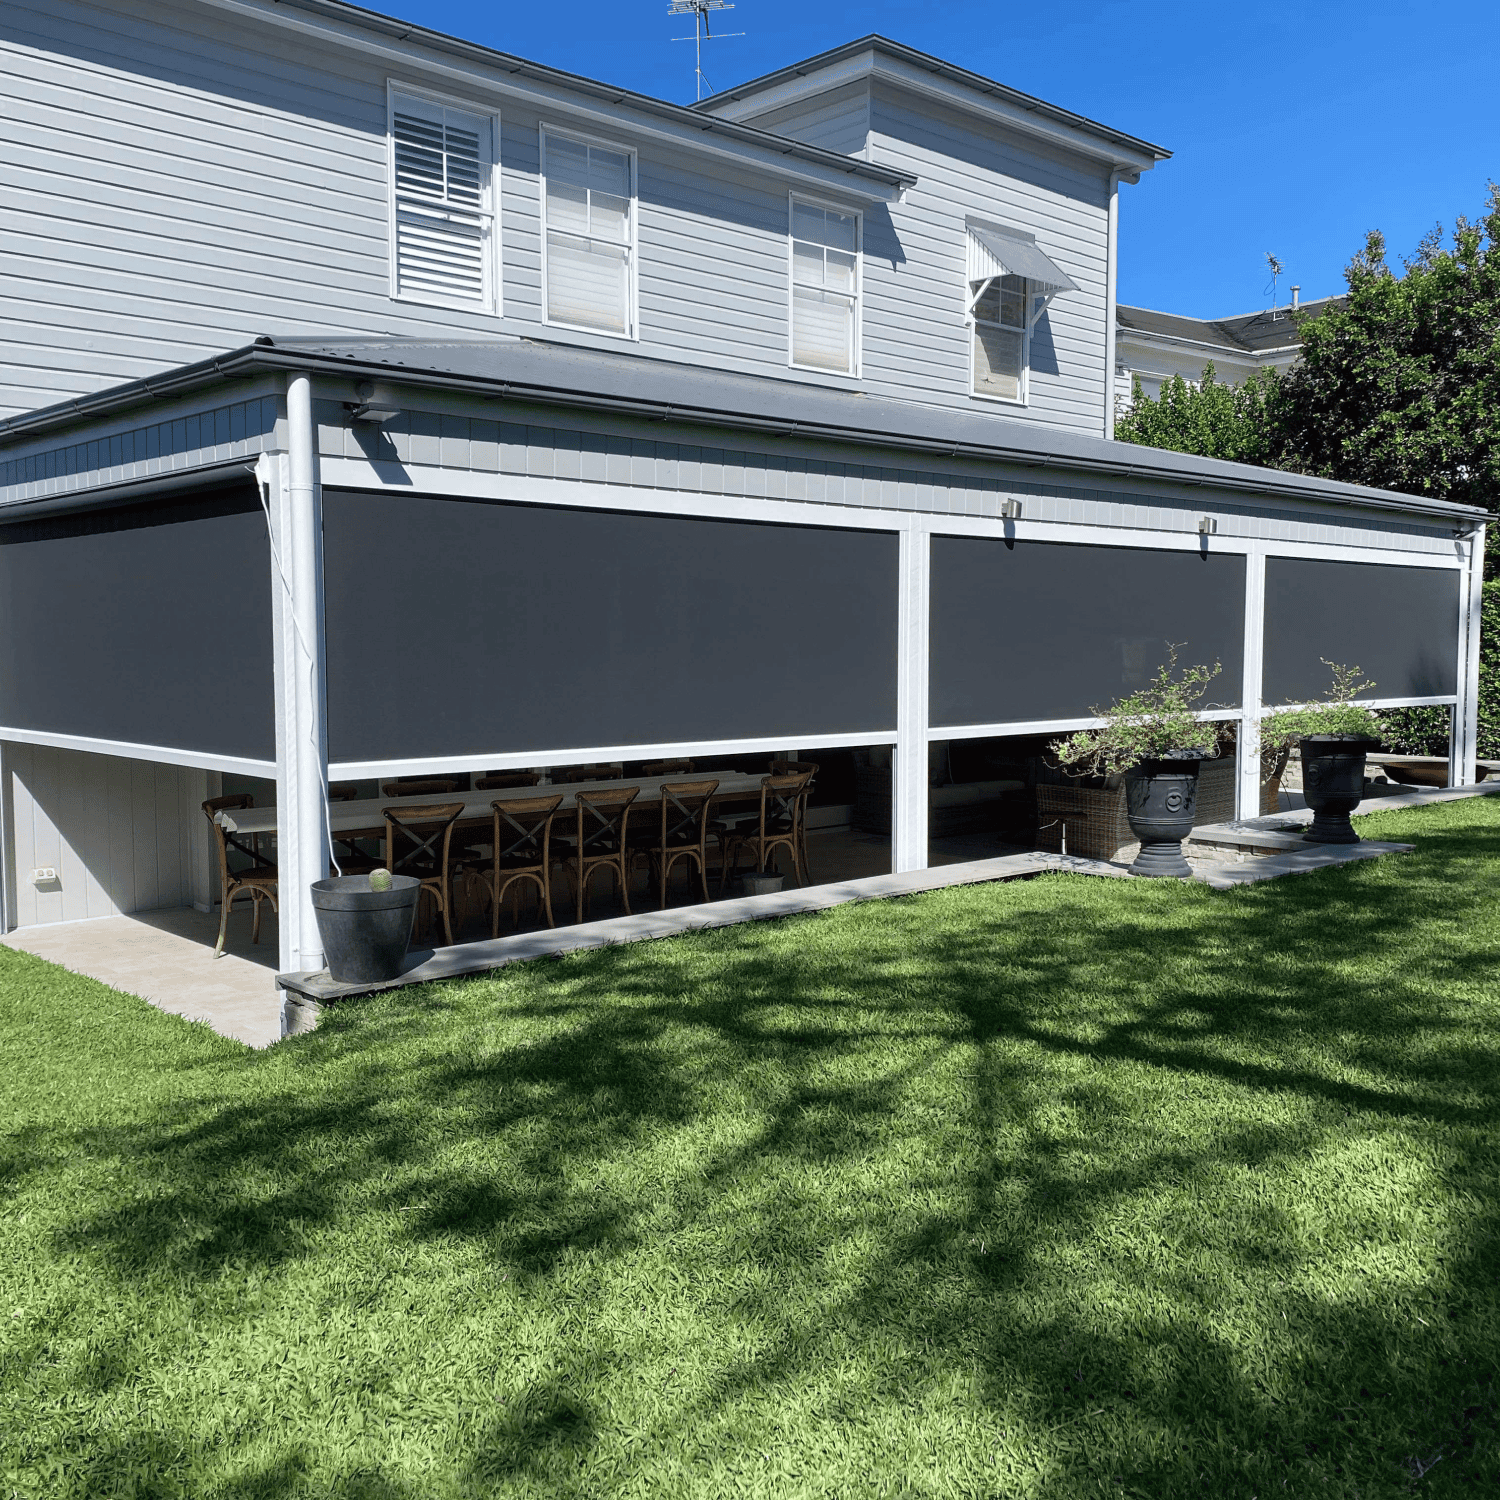
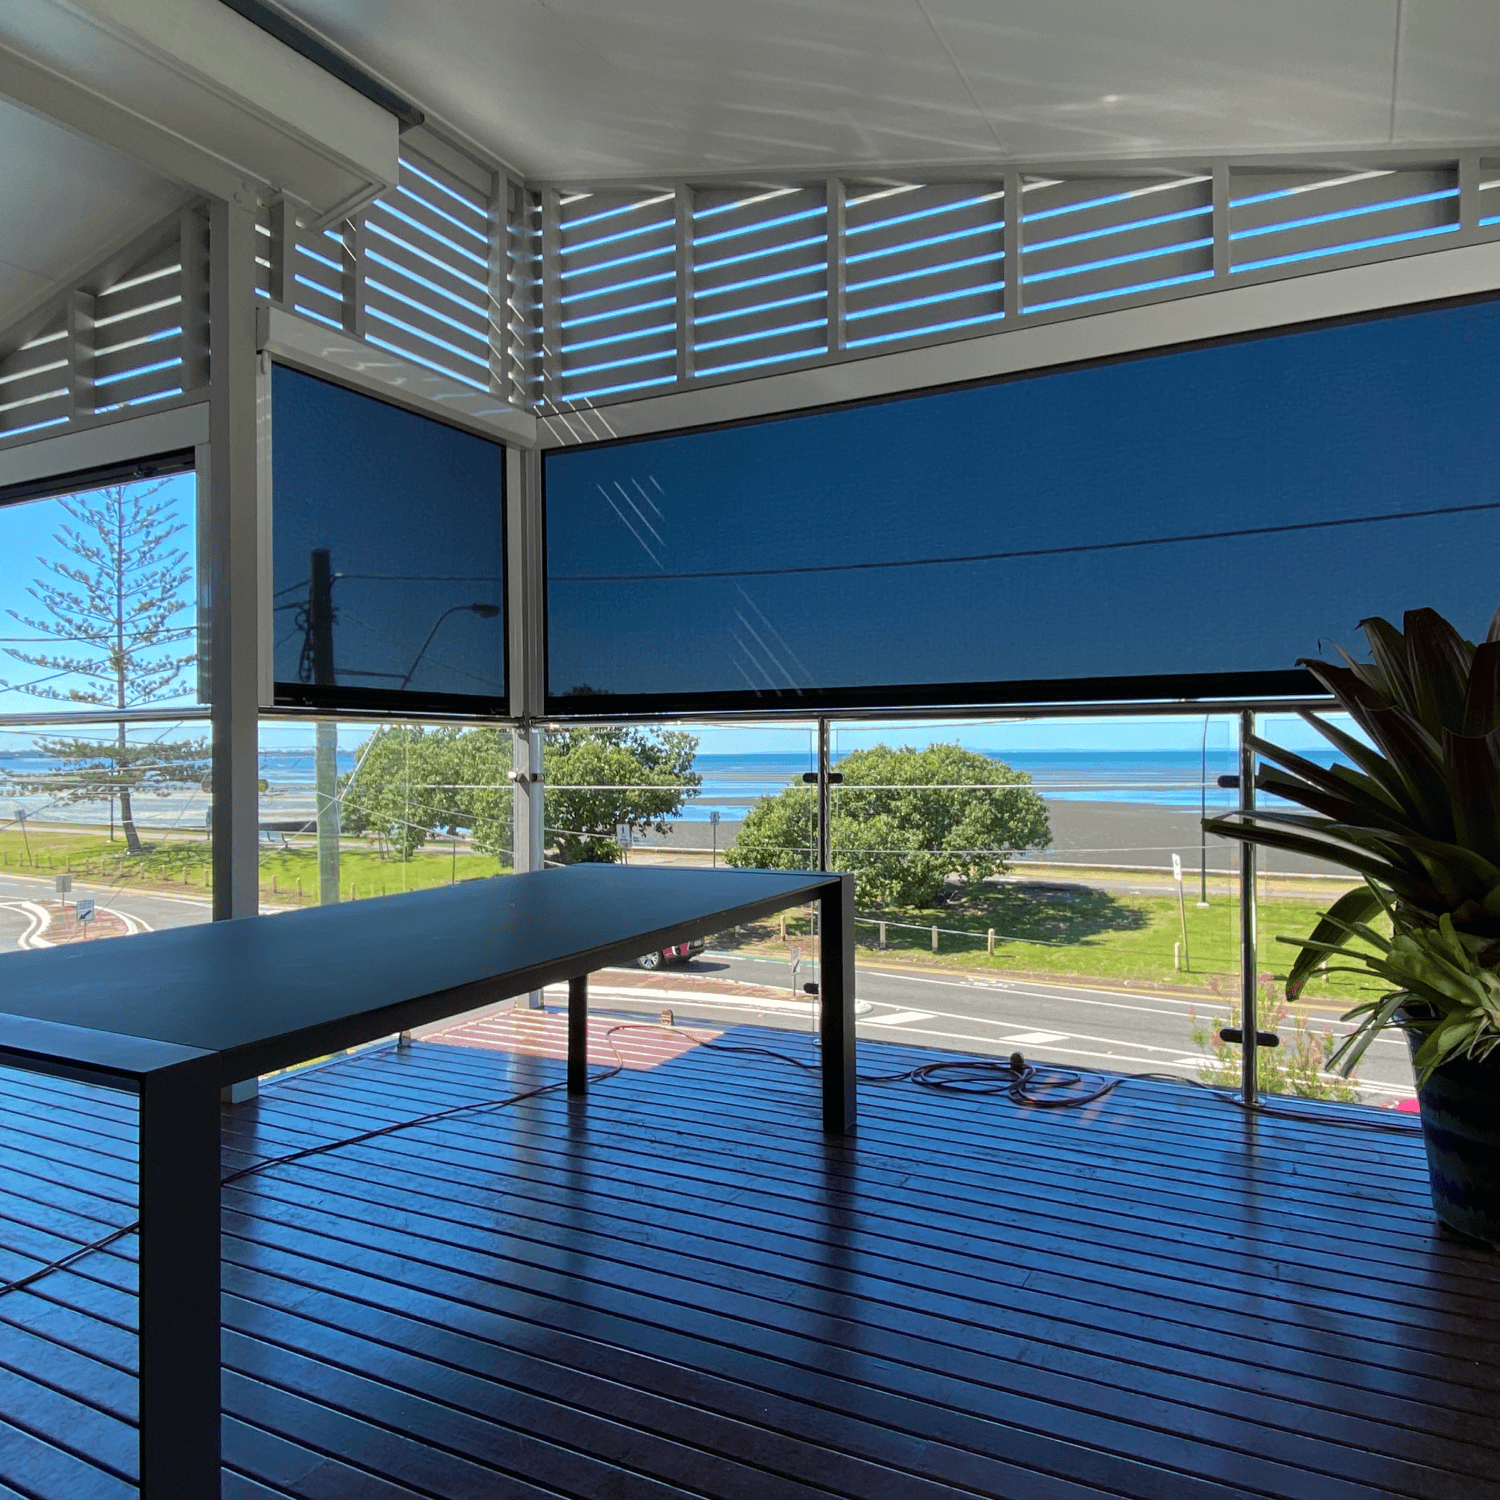
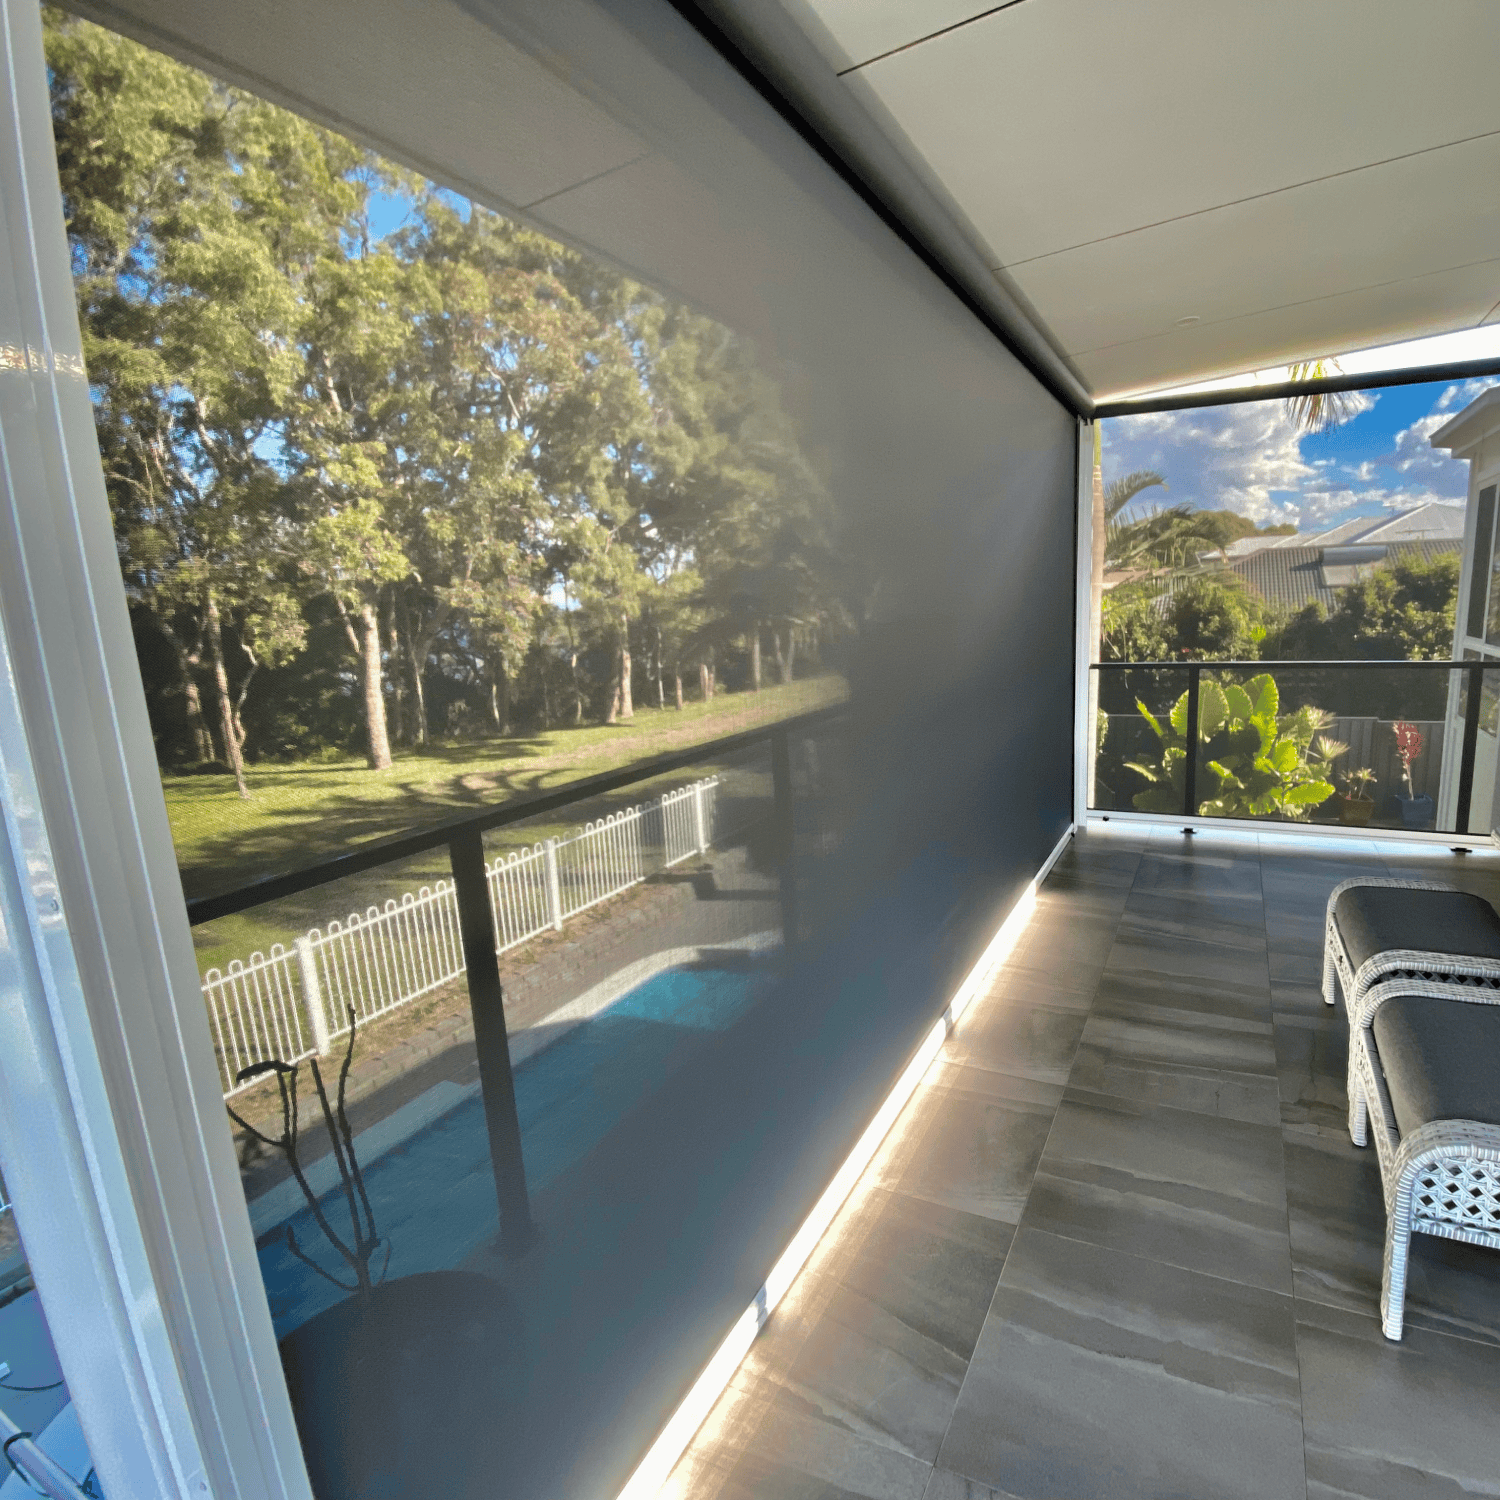
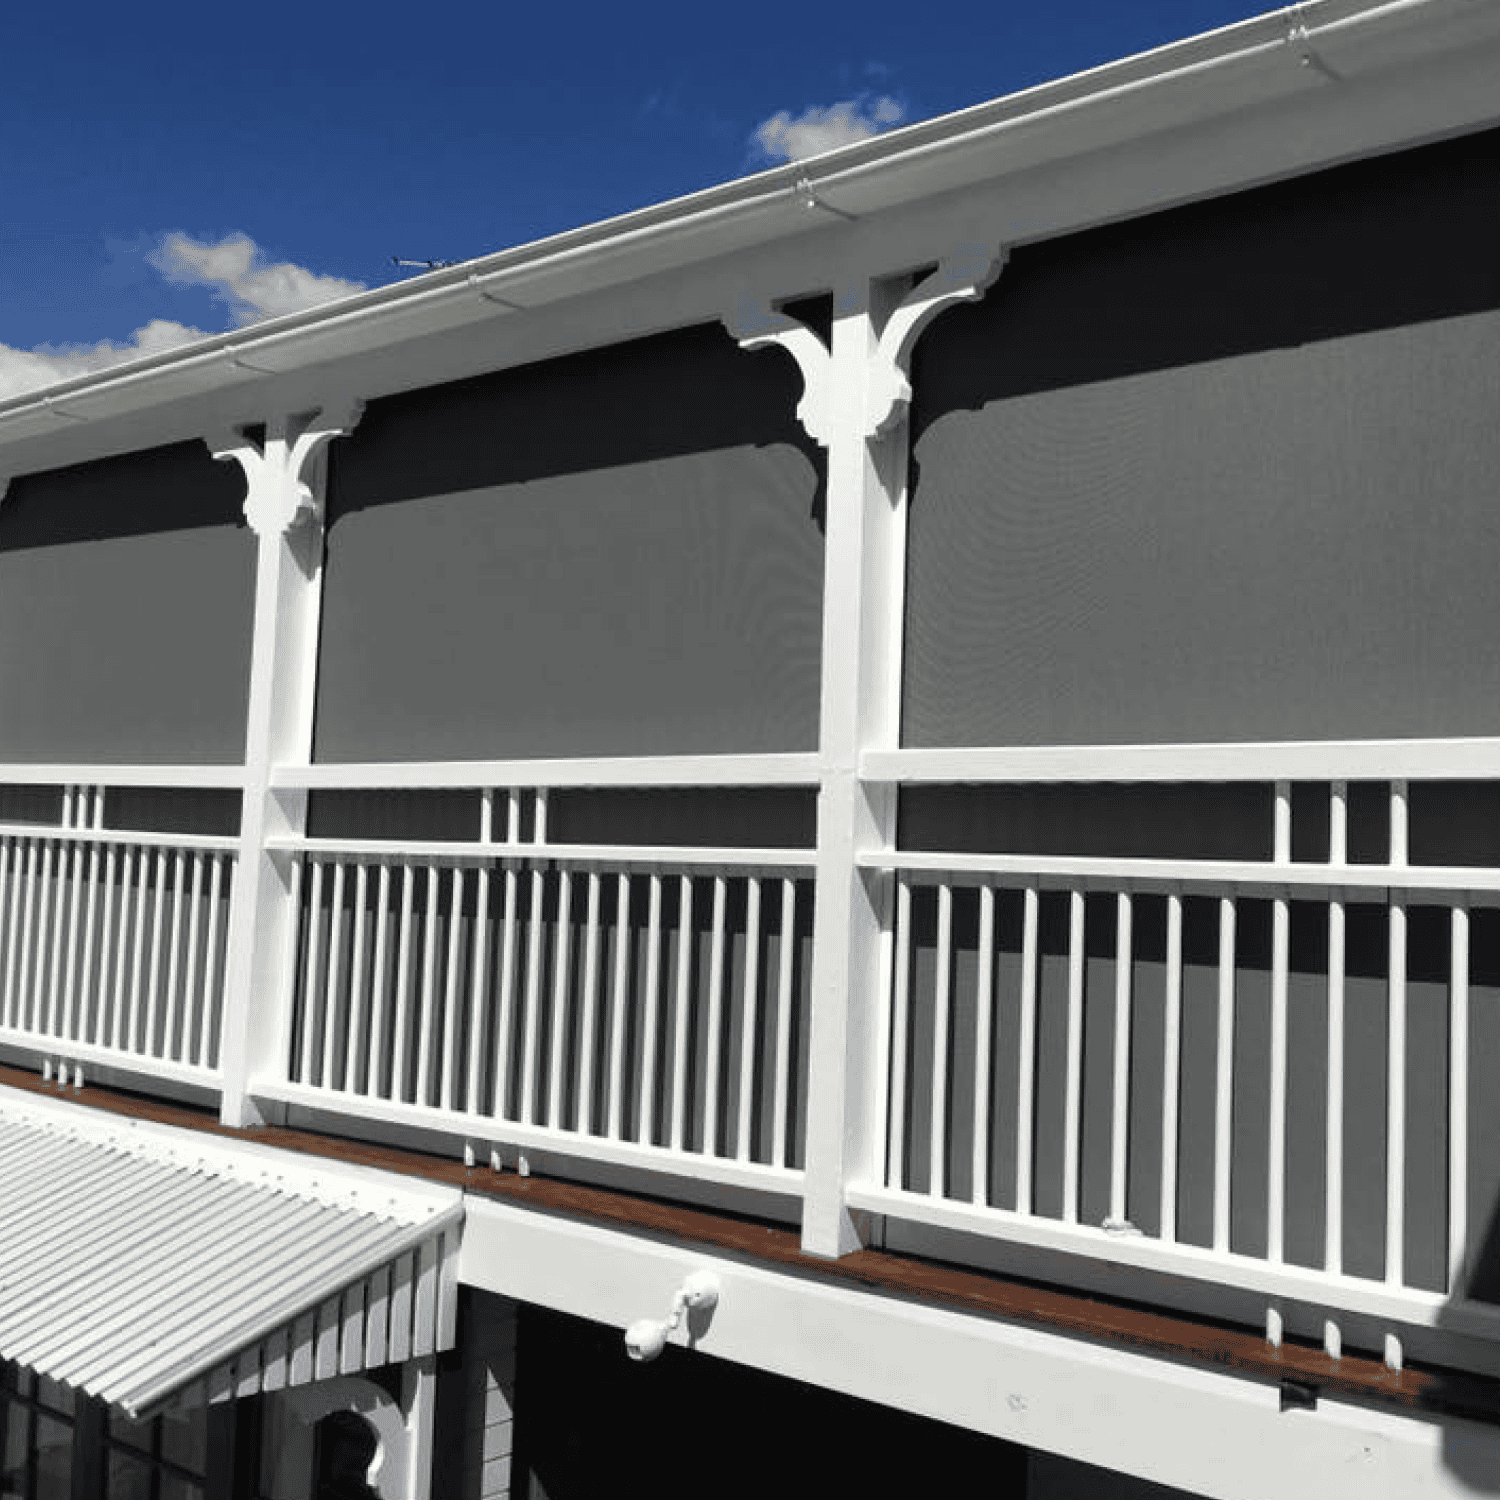
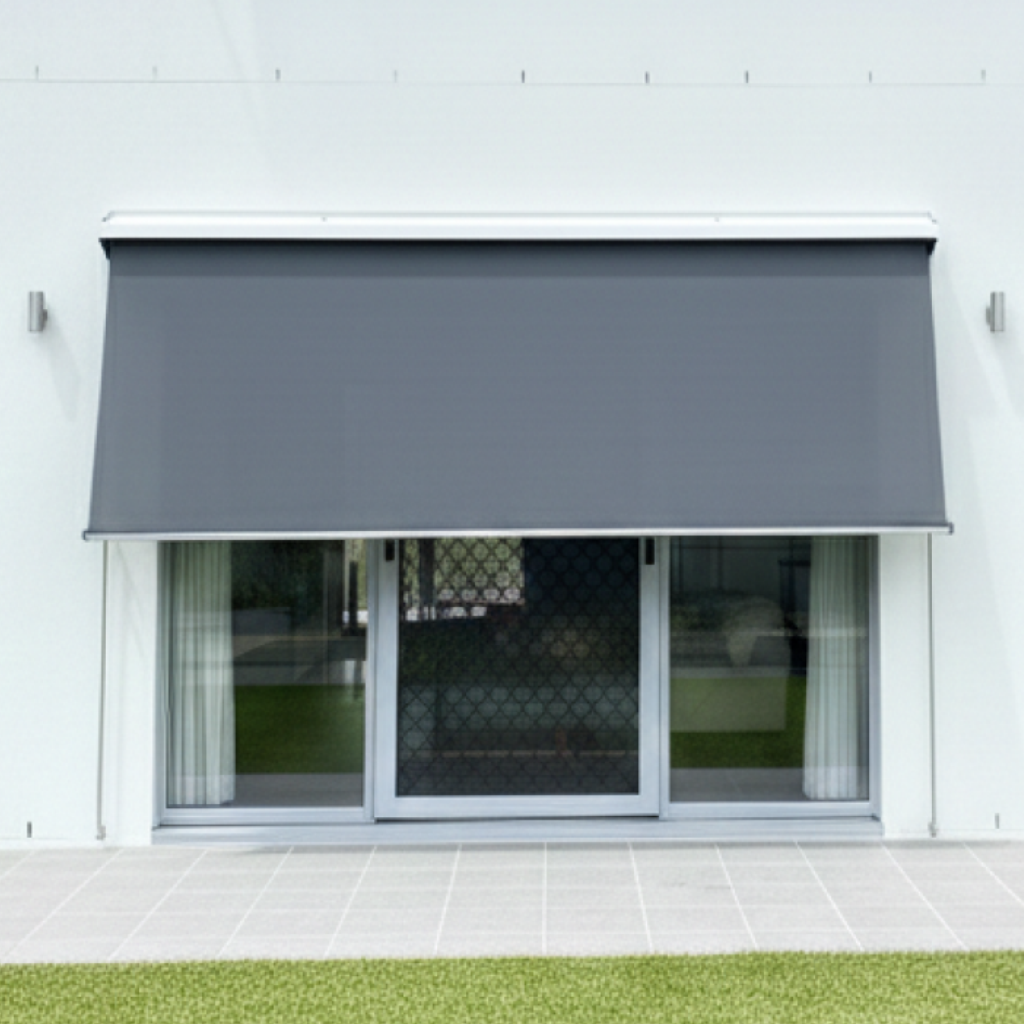
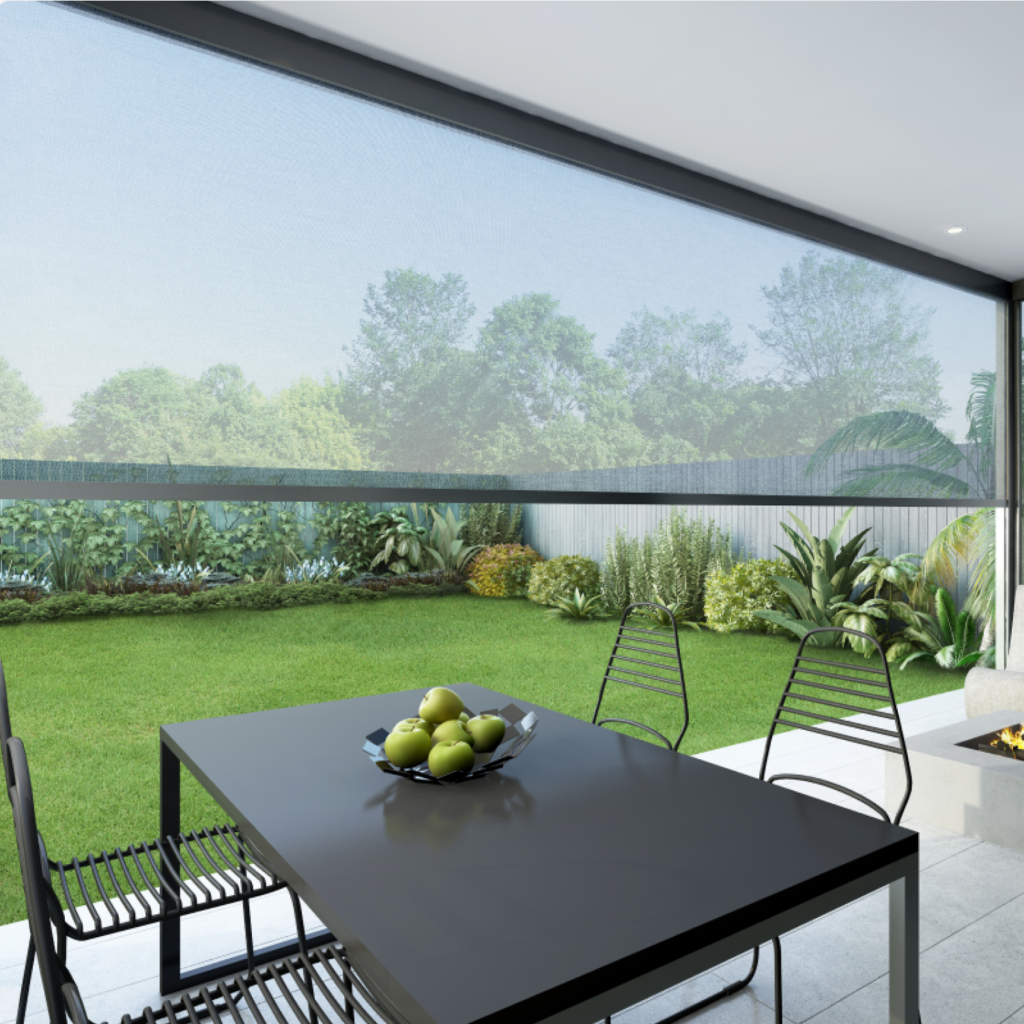
Engineered for Strength, Designed for Durability
Built to outperform in harsh conditions, our Channel Blind is one of the strongest and most reliable outdoor blinds on the market. Unlike fully enclosed systems with zips on the sides, the fabric is guided within side channels but not fully locked in, allowing controlled flexibility during windy conditions, reducing the risk of damage commonly seen in zip-style or tensioned alternatives in extreme circumstances.
Every component is purposefully over-engineered for long-term reliability, from the heavy-duty channels to the high-tensile hardware. This design ensures years of smooth operation with minimal maintenance, making it ideal for patios, pergolas, and exposed outdoor areas.
Every component is purposefully over-engineered for long-term reliability, from the heavy-duty channels to the high-tensile hardware. This design ensures years of smooth operation with minimal maintenance, making it ideal for patios, pergolas, and exposed outdoor areas.
Tough, practical, and made to last, our Channel Blind is the go-to choice for serious outdoor performance without compromise.
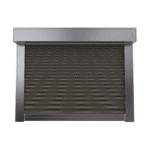
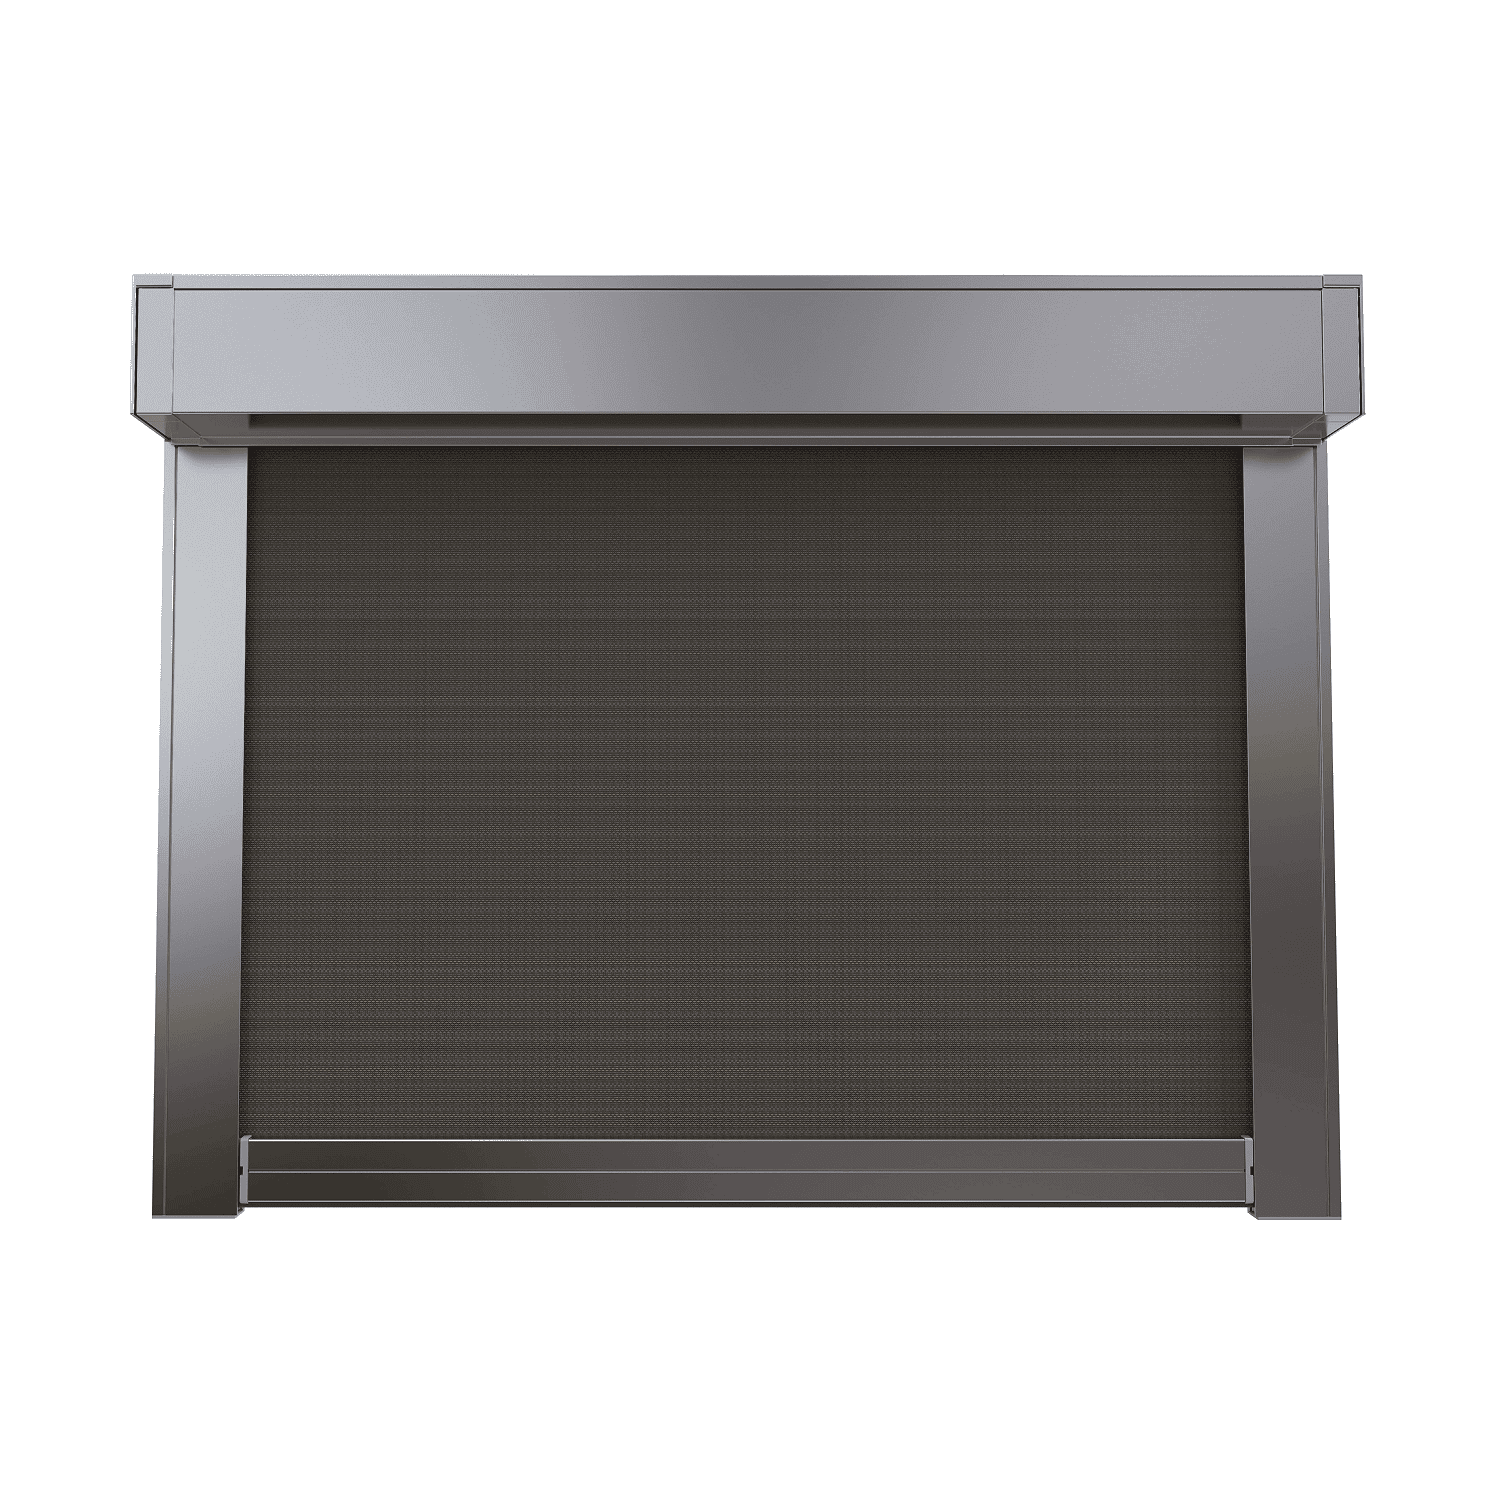
Features
- Robust Construction – strong stainless steel locking pins
- Wind-Friendly Design – Flexible fabric guides reduce stress in gusty conditions
- Heavy-Duty Hardware – Engineered for high-use and harsh environments
- Smooth Operation – Compatible with manual or motorised systems
- Custom Look – Choose from a wide range of fabrics and finishes


Installation Guide
Installing an outdoor channel blind enhances your alfresco area by providing effective wind resistance and a sleek, modern appearance. Here’s a step-by-step guide to help you with the installation:
Tools & Materials Needed
Tools:
- • Measuring Tape
- • Pencil or chalk
- • Level
- • Screws
- • Power drill with appropriate drill bits
- • Screwdriver
- • Ladder
- • Safety gear (gloves, safety glasses)
Materials:
- • Deep channel blind kit (including brackets, blind, and side channels)
- • Screws and anchors suitable for your mounting surface
Step-by-Step Installation Guide
1. Measure and Mark Mounting Points
- • Determine the desired position for your blind.
- • Use a measuring tape to mark the locations for the top brackets, ensuring they are level and equidistant from each end.
- • For a clean installation, use a chalk line to mark a straight line across the mounting surface.
2. Install the Top Brackets
- • Align the brackets with the marks you’ve made.
- • Drill pilot holes into the mounting surface (e.g., wall or ceiling).
- • Secure the brackets using screws, ensuring they are tight and level.
3. Prepare the Side Channels
- • Take measurements and make matching marks on the insides of your side channels, being as accurate as possible.
- • Drill a hole through the side channels at each mark using a small (3.5mm) drill bit through both surfaces, then widen the hole on the inside with a larger (11mm) bit.
4. Install the Side Channels
- • Position the side channels against the mounting surface, aligning them with the top brackets.
- • Secure the channels in place using screws, ensuring they are vertical and level.
5. Install the Blind
- • Lift the blind and hook it onto the installed top brackets.
- • Ensure the blind is securely seated and operates smoothly.
6. Adjust and Test the Blind
- • Manually test the blind to ensure it raises and lowers smoothly without obstruction.
- • Adjust the side channels if necessary to ensure the blind moves freely.
Tips for a Successful Installation
- • Choose the Right Location: Install the blind in a sheltered area to protect it from strong winds.
- • Handle with Care: Avoid pulling the blind too tightly during installation, as it can expand and contract with temperature changes.
- • Safety First: Always use a ladder safely and wear appropriate safety gear.
Content goes here .. (2)
There are no reviews yet. Be the first one to write one.
You must be logged in to submit a review.
Only logged in customers who have purchased this product may leave a review.
Featured Collections
Sale 10% Off
Sale


Sale 10% Off
Sale


Sale 10% Off

Sale


Sale 10% Off
Sale
Australian Made Blinds
Expertly made, high-quality Australian blinds, built for durability — not mass-produced imports.

There are no reviews yet. Be the first one to write one.