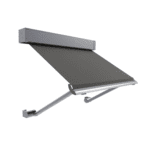
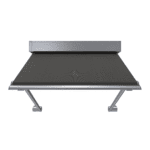
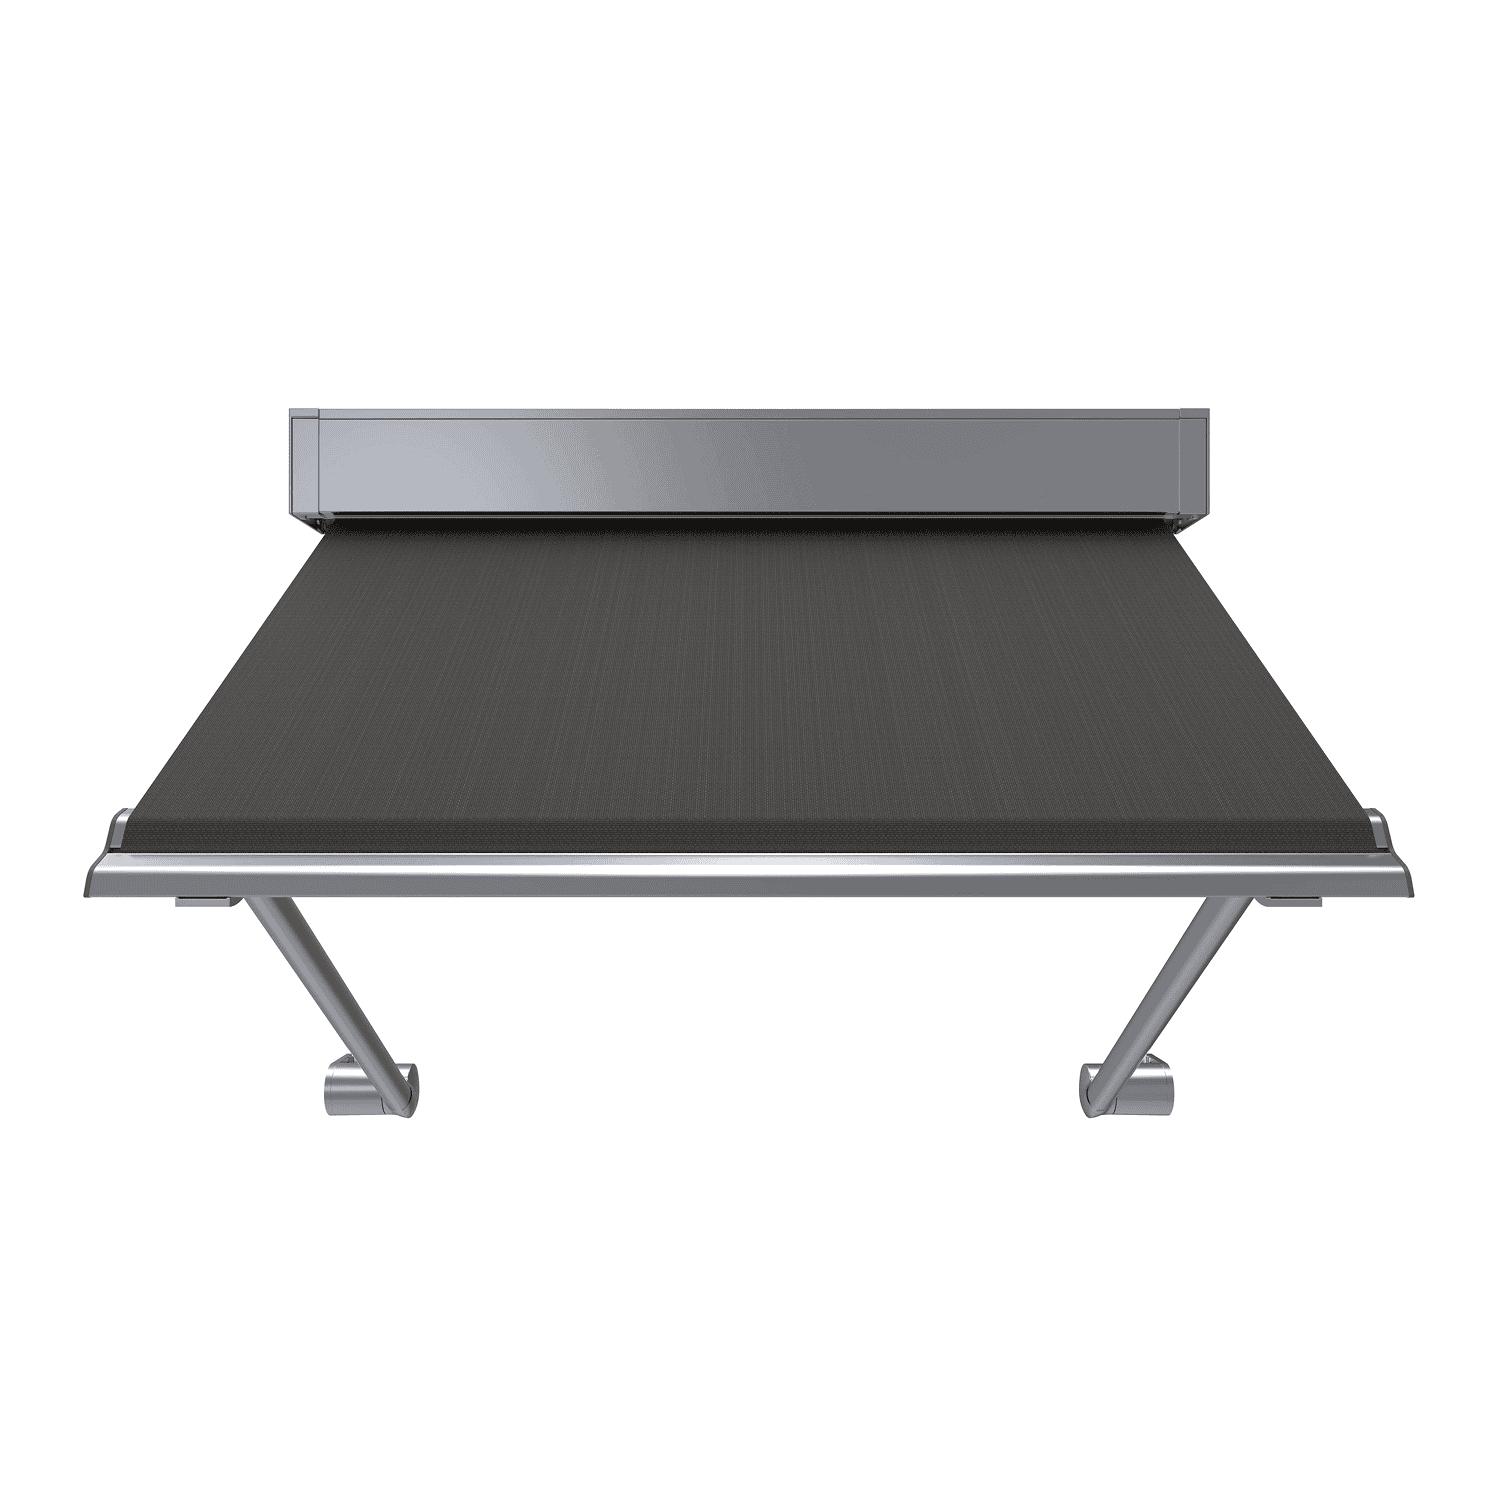
Outdoor Pivot Arm Blinds
Now starting from $756.73! (Was $840.81 – Save 10%)


Features
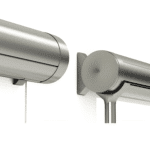
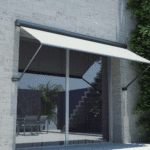
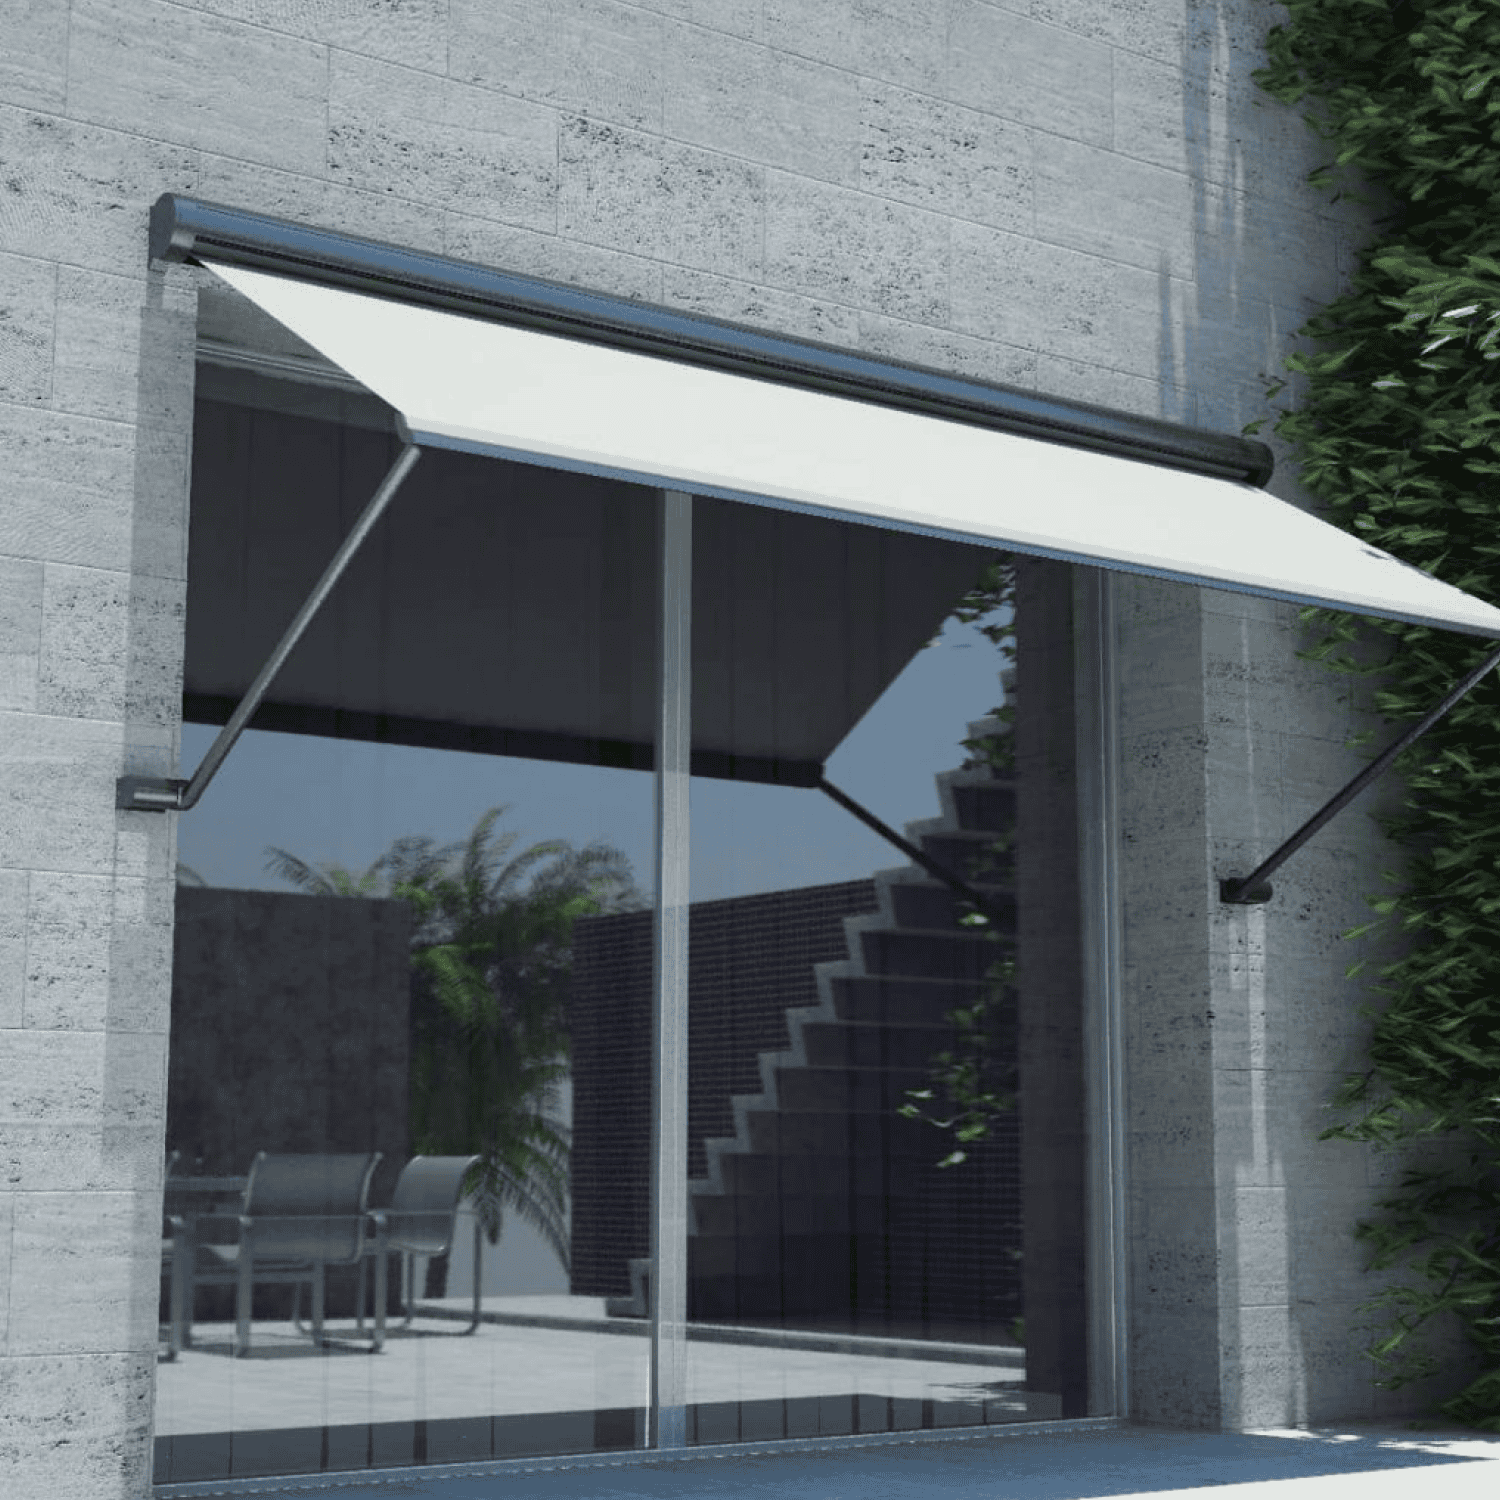
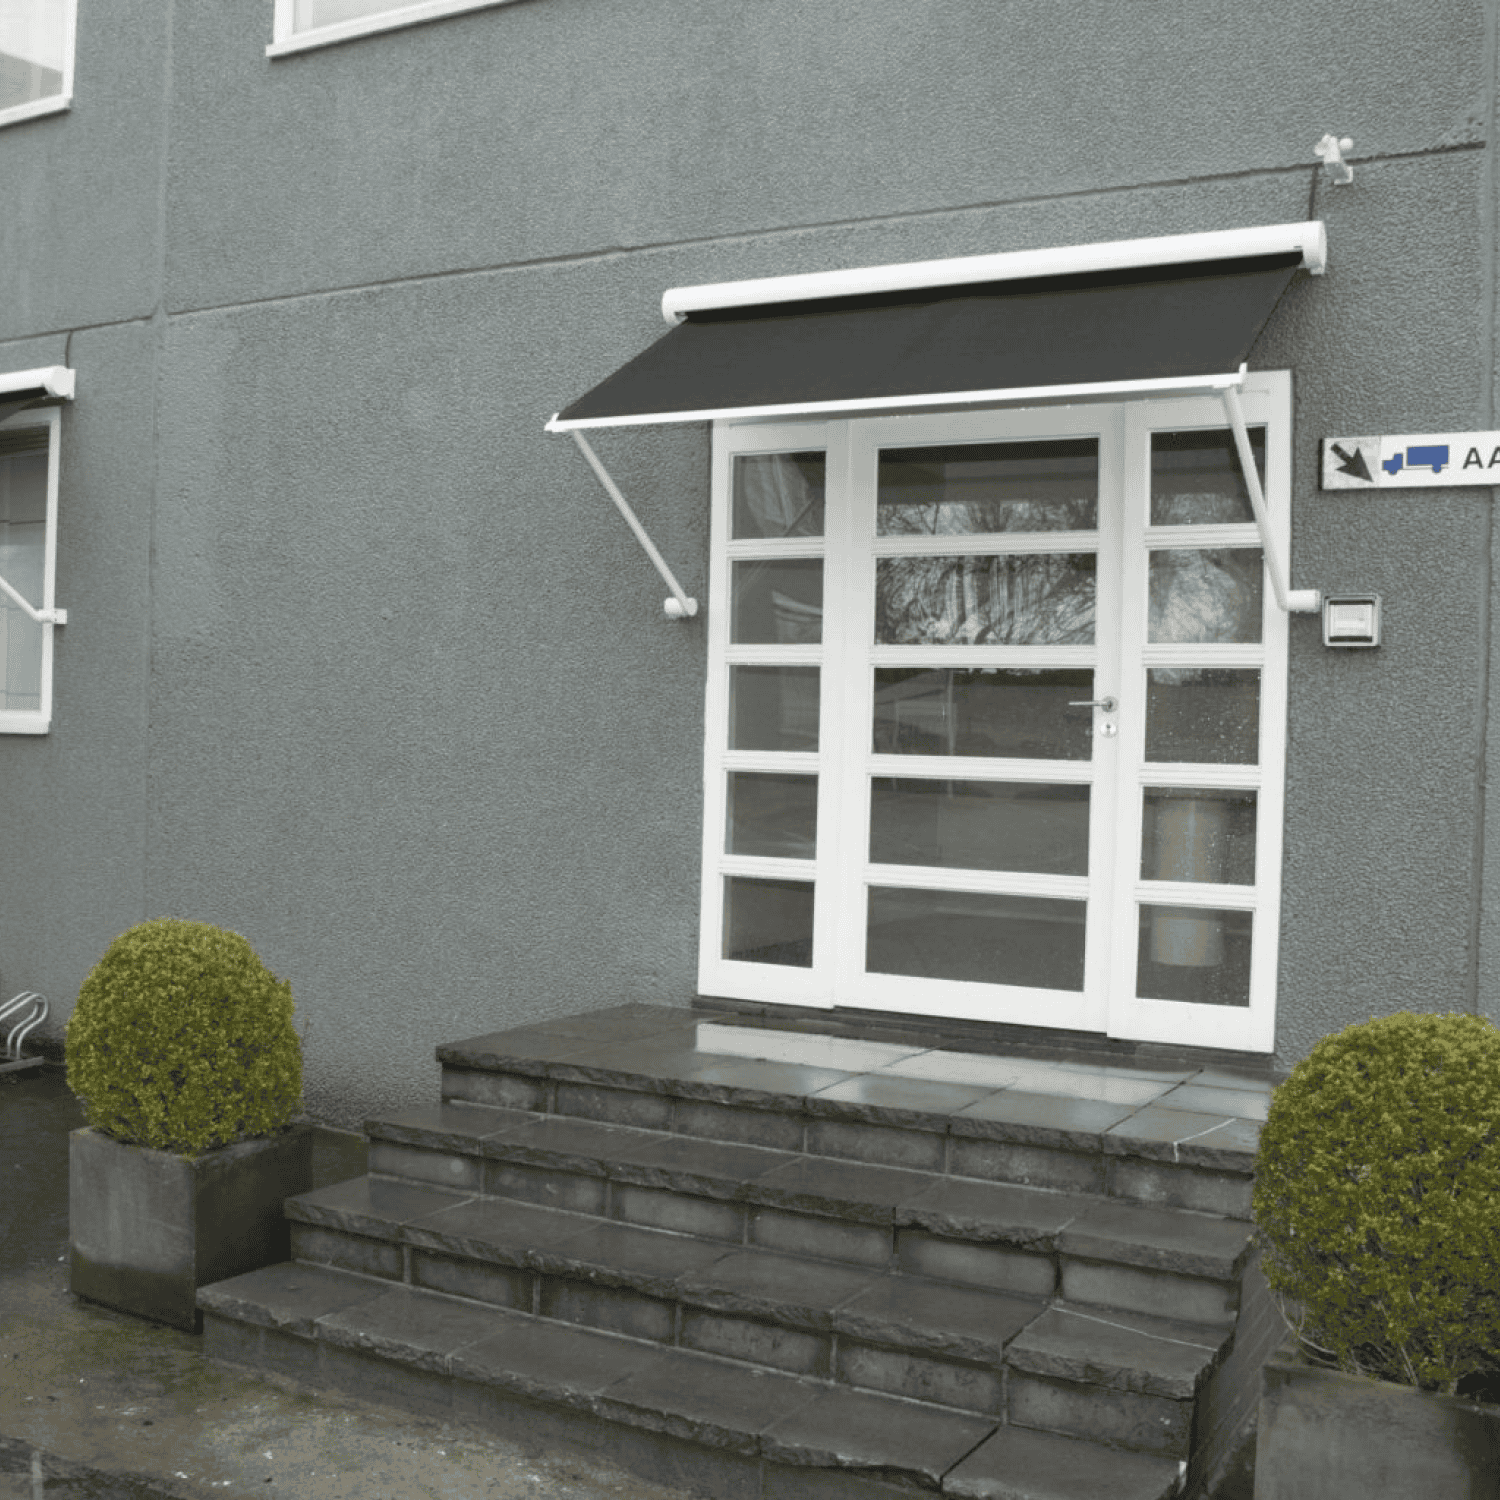
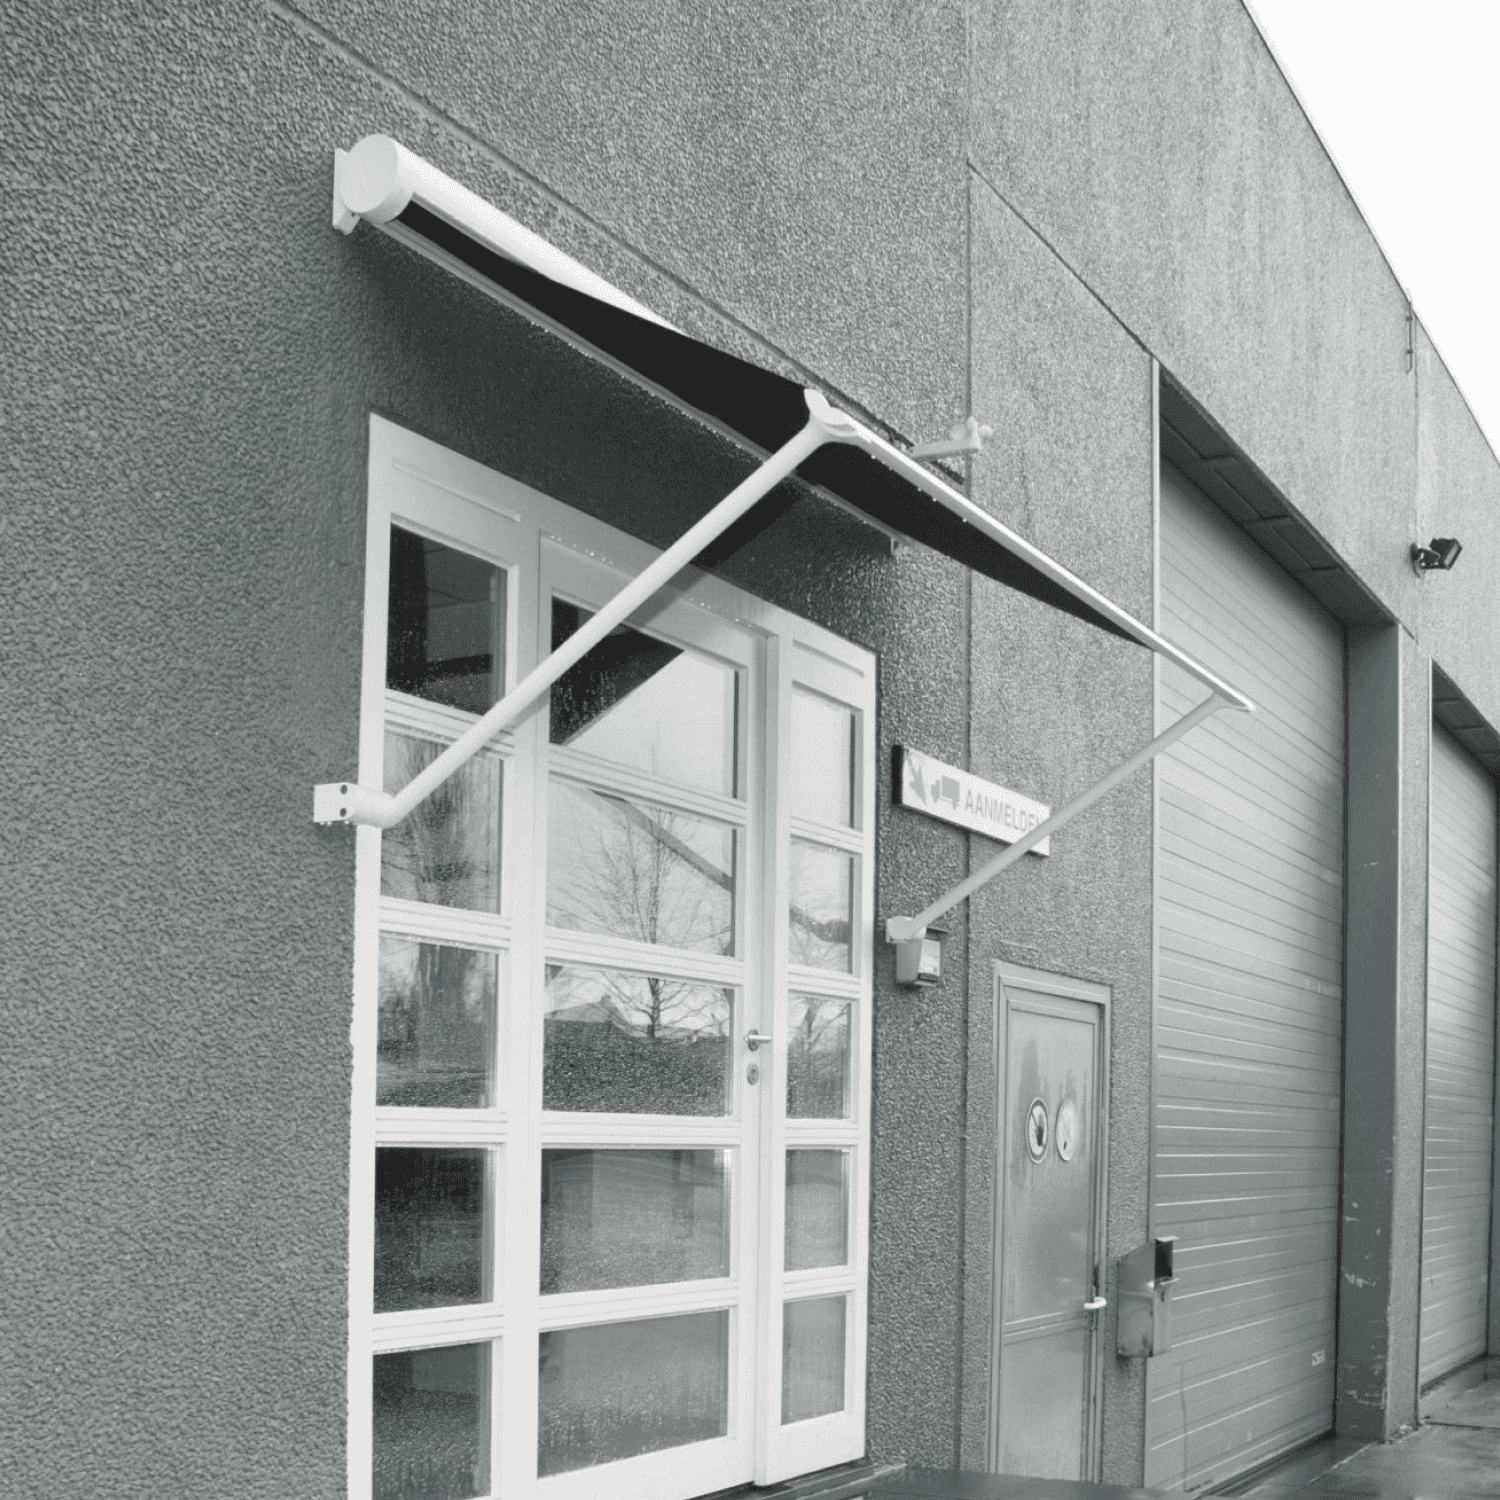
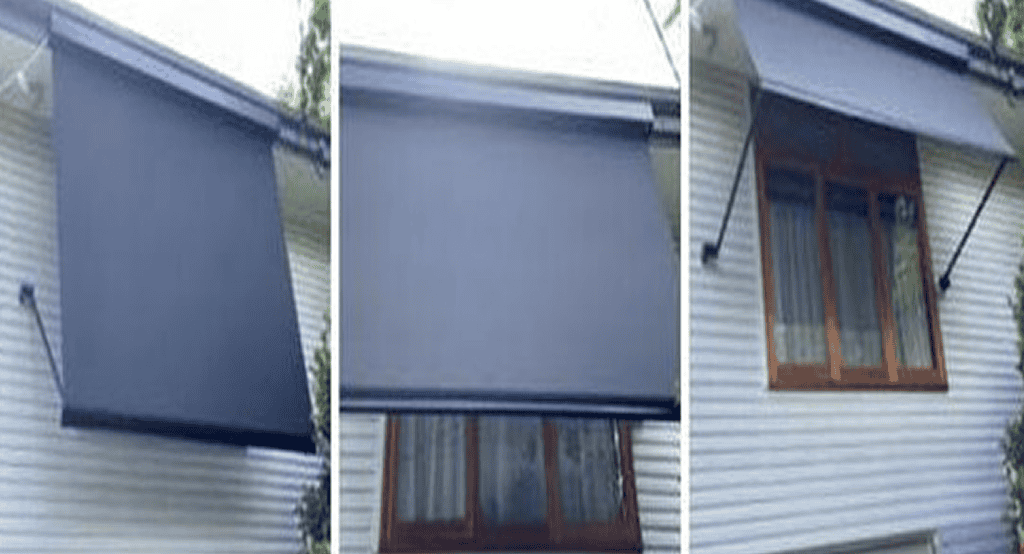
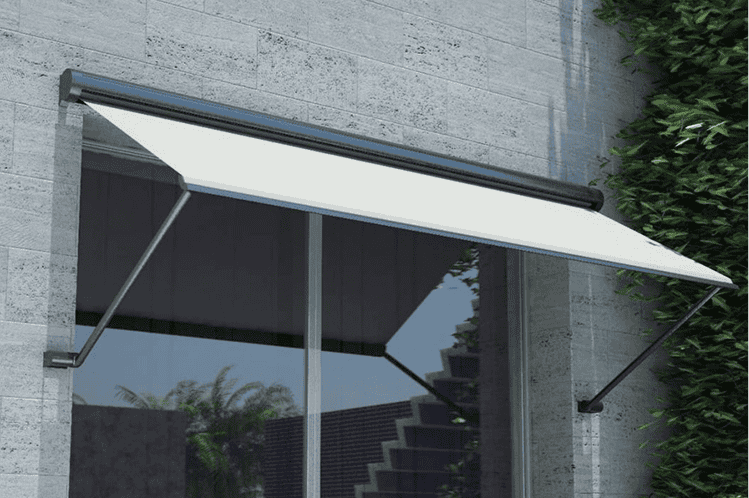
- Angled Sun Protection – Keeps interiors cooler while maintaining airflow
- Optimal Air Circulation – Fabric sits away from the window to let breezes through
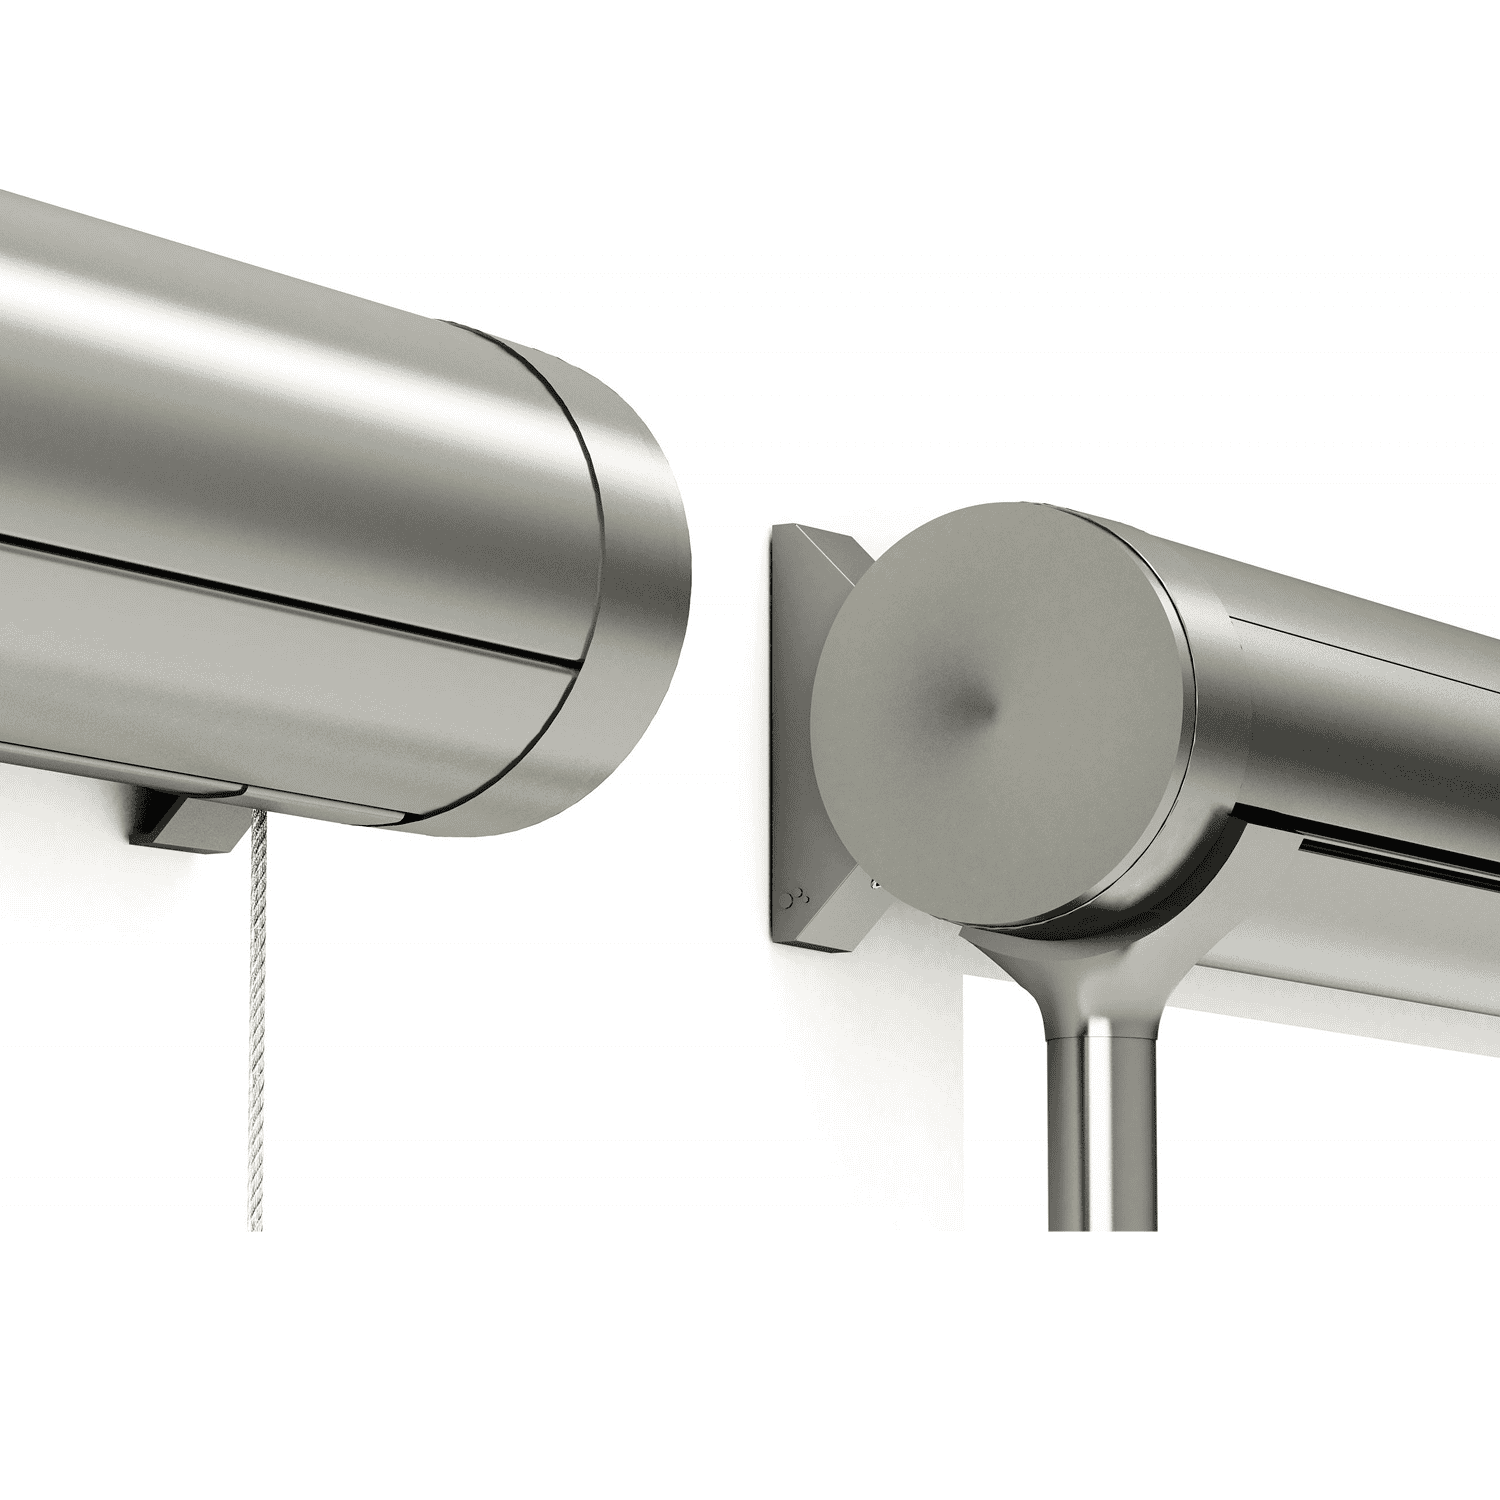
- Smooth Operation – Choose from crank, internal winch, or motorised systems
- Ideal for Upper Storeys – Perfect for second-floor and difficult-to-access windows
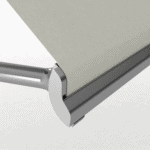
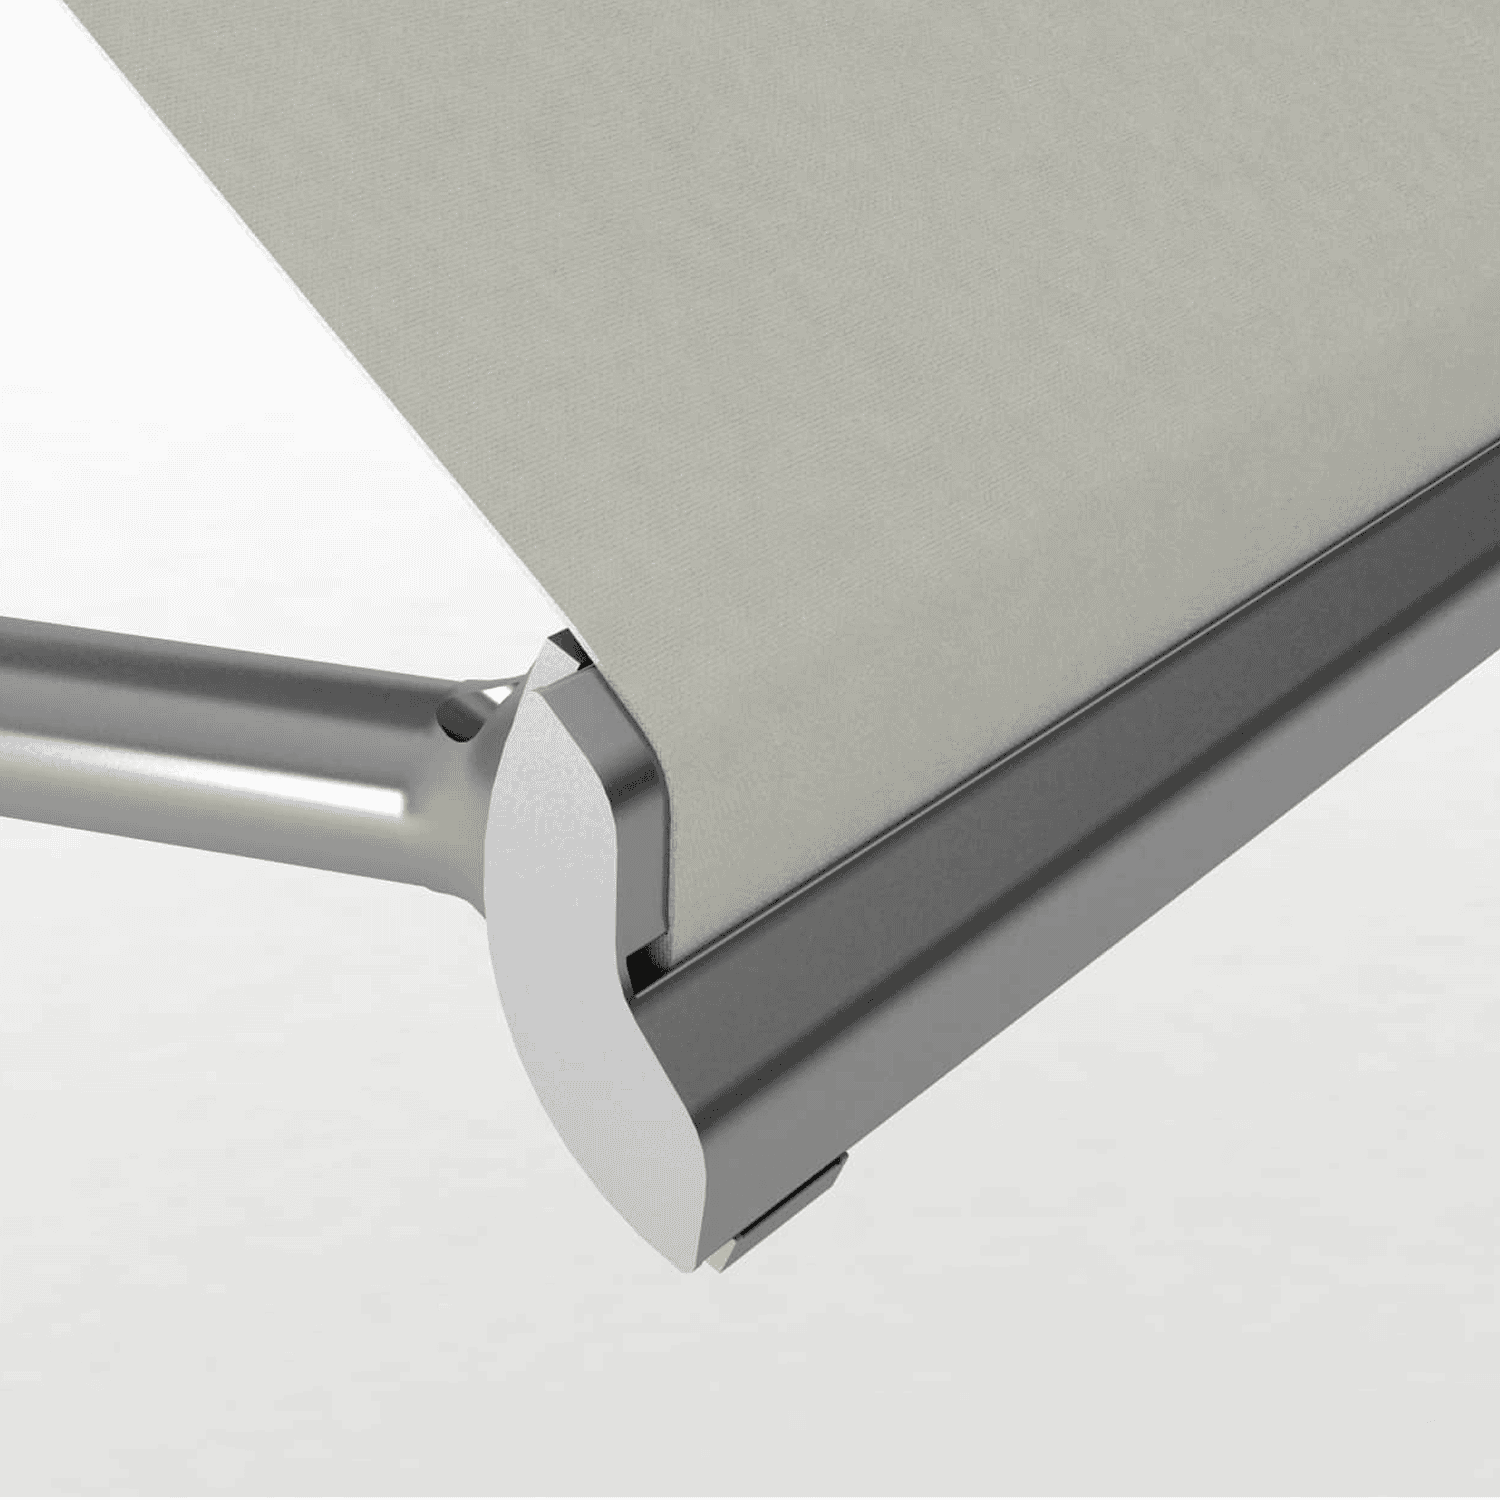
- Customisable Options – Wide range of fabrics, colours, and hardware finishes
- Strong & Weather-Resistant – Built for Australian sun and wind conditions
Installation Guide
Installing an outdoor pivot arm awning enhances your outdoor living space by providing adjustable shade and ventilation. Here’s a step-by-step guide to help you with the installation process:
Tools & Materials Needed
Tools:
- • Measuring Tape
- • Pencil or chalk
- • Level
- • Screws
- • Power drill with appropriate drill bits
- • Screwdriver
- • Ladder
- • Safety gear (gloves, safety glasses)
Materials:
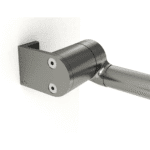
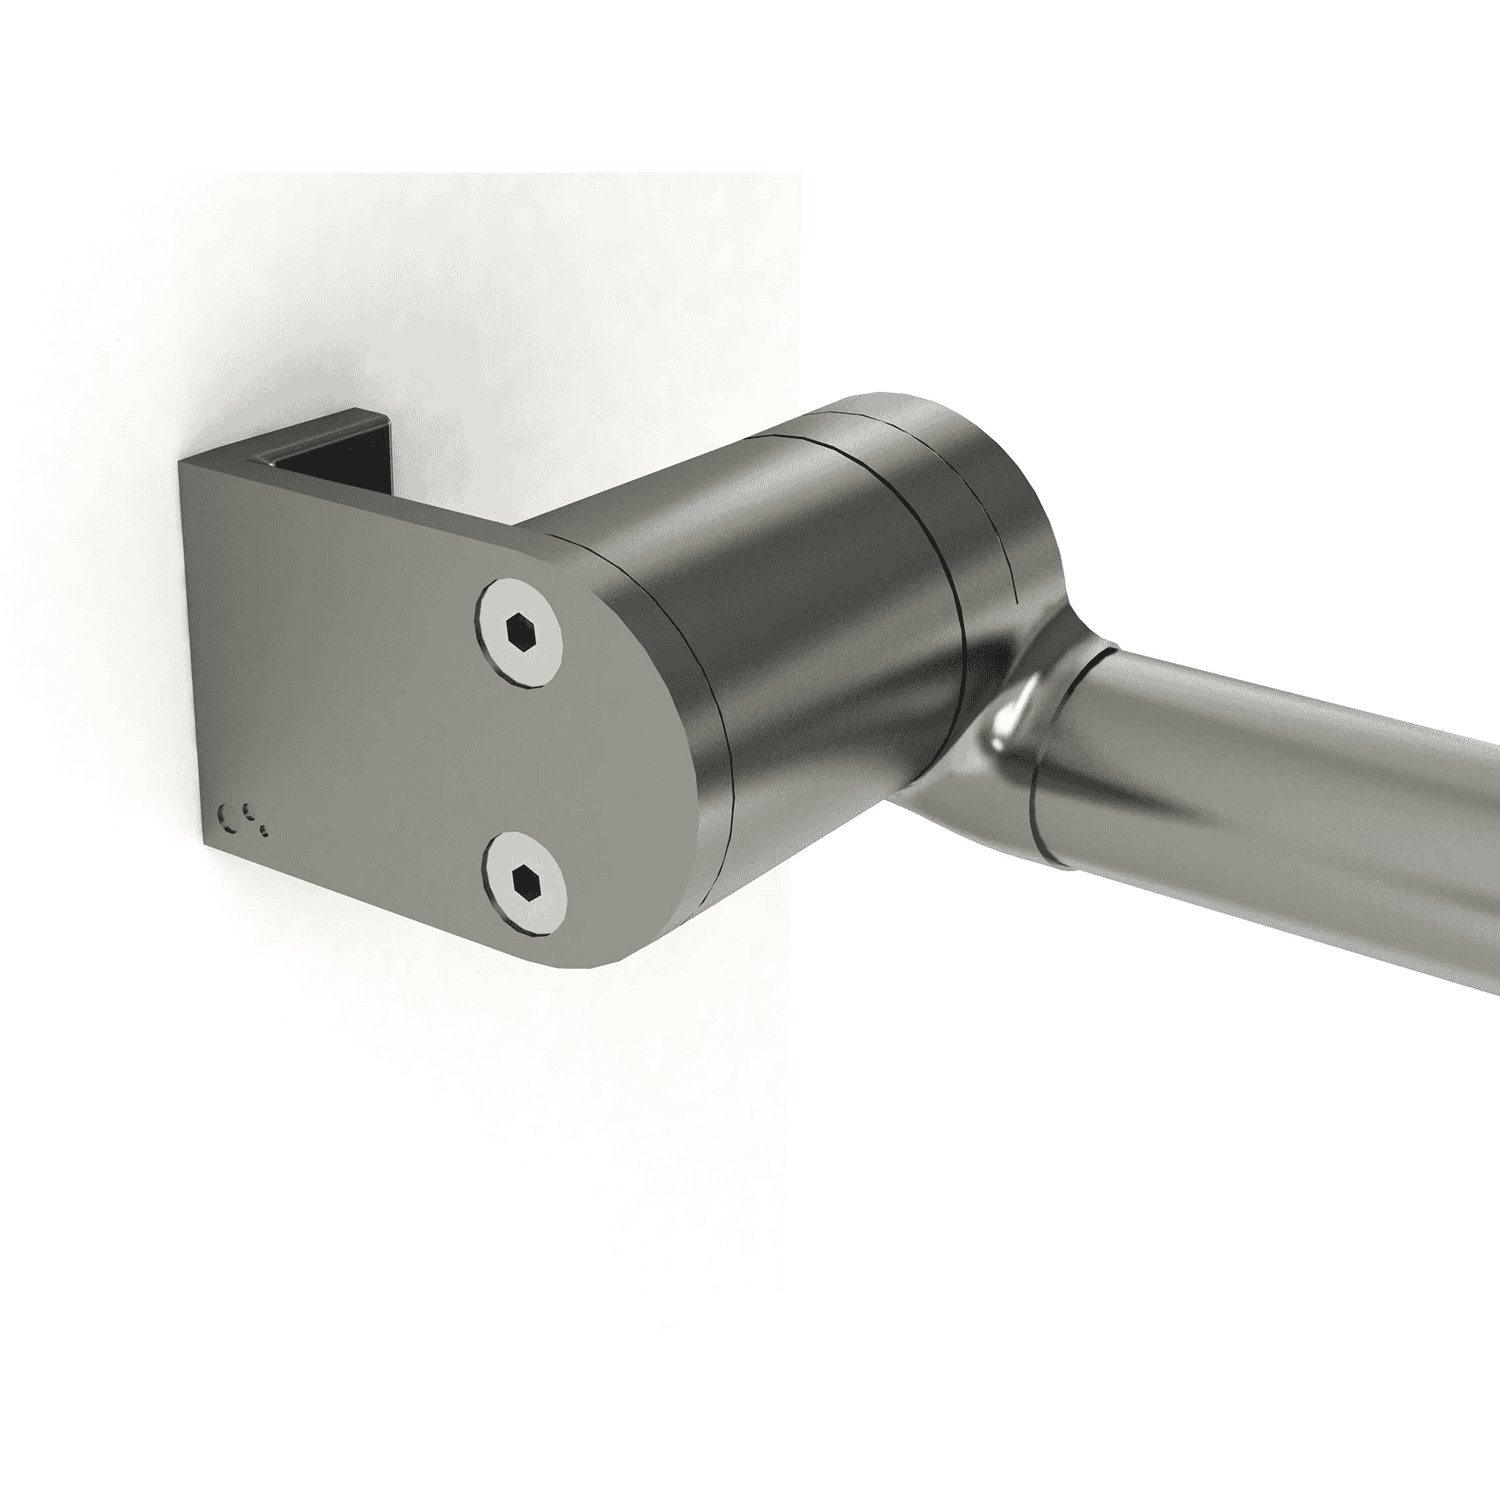
- • Pivot arm awning kit (including cassette, arms, brackets, and fixings)
- • Screws and anchors suitable for your mounting surface
Step-by-Step Installation Guide
1. Prepare the Installation Area
- • Choose a location that is free from obstructions like lights, vents, or other fixtures.
- • Ensure the wall or mounting surface is sturdy enough to support the awning’s weight.
- • Use a level to mark a straight line where the top of the cassette will be mounted.
2. Mount the Cassette (or Brackets)
- • Align the cassette (or brackets) with the marks you’ve made.
- • Drill pilot holes into the mounting surface.
- • Secure the cassette using screws, ensuring it is level and tightly fixed.
3. Attach the Pivot Arms
- • Determine the desired position for the arms (arm length is half the drop).
- • Drill pilot holes into the mounting surface.
- • Secure the arms ensuring they are level with each other and vertically level.
4. Install the Awning Fabric
- • Carefully unroll the awning fabric and attach it to the cassette (or brackets).
- • Unroll the awning down and then attach arms to the bottom bar.
- • Ensure the fabric is taut and free from wrinkles.
5. Adjust the Awning Angle
- • Adjust the pivot arms to achieve the desired angle for shade and ventilation.
- • Tighten all fasteners to secure the arms in place.
6. Test the Awning
- • Manually extend and retract the awning several times to ensure it operates smoothly.
- • Check that the awning is level and adjust if necessary.
Tips for a Successful Installation
- • Choose the Right Location: Install the blind in a sheltered area to protect it from strong winds.
- • Handle with Care: Avoid pulling the blind too tightly during installation, as it can expand and contract with temperature changes.
- • Safety First: Always use a ladder safely and wear appropriate safety gear.
Content goes here .. (2)
There are no reviews yet. Be the first one to write one.
Featured Collections
Chris Grieger – 1962 x 2400 – Outdoor Zipscreen Blinds
Now starting from $719.16! (Was $799.06 – Save 10%)
Chris Grieger – 1967 x 2410 – Outdoor Zipscreen Blinds
Now starting from $719.16! (Was $799.06 – Save 10%)
Chris Grieger – 2165 x 2410 – Outdoor Zipscreen Blinds
Now starting from $719.16! (Was $799.06 – Save 10%)
Chris Grieger – 2570 x 2400 – Outdoor Zipscreen Blinds
Now starting from $719.16! (Was $799.06 – Save 10%)
Chris Grieger – 1962 x 2400 – Outdoor Zipscreen Blinds
Now starting from $719.16! (Was $799.06 – Save 10%)
Chris Grieger – 1967 x 2410 – Outdoor Zipscreen Blinds
Now starting from $719.16! (Was $799.06 – Save 10%)









Reviews
There are no reviews yet. Be the first one to write one.