


| Location | Outdoor Blinds |
|---|
Sleek, Stylish, and Practical Outdoor Shade Solution
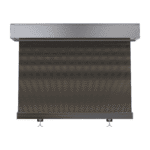
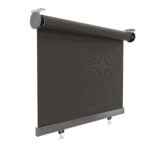
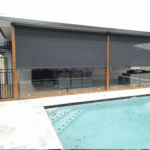
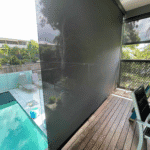
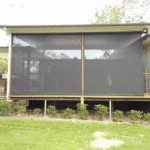
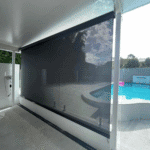
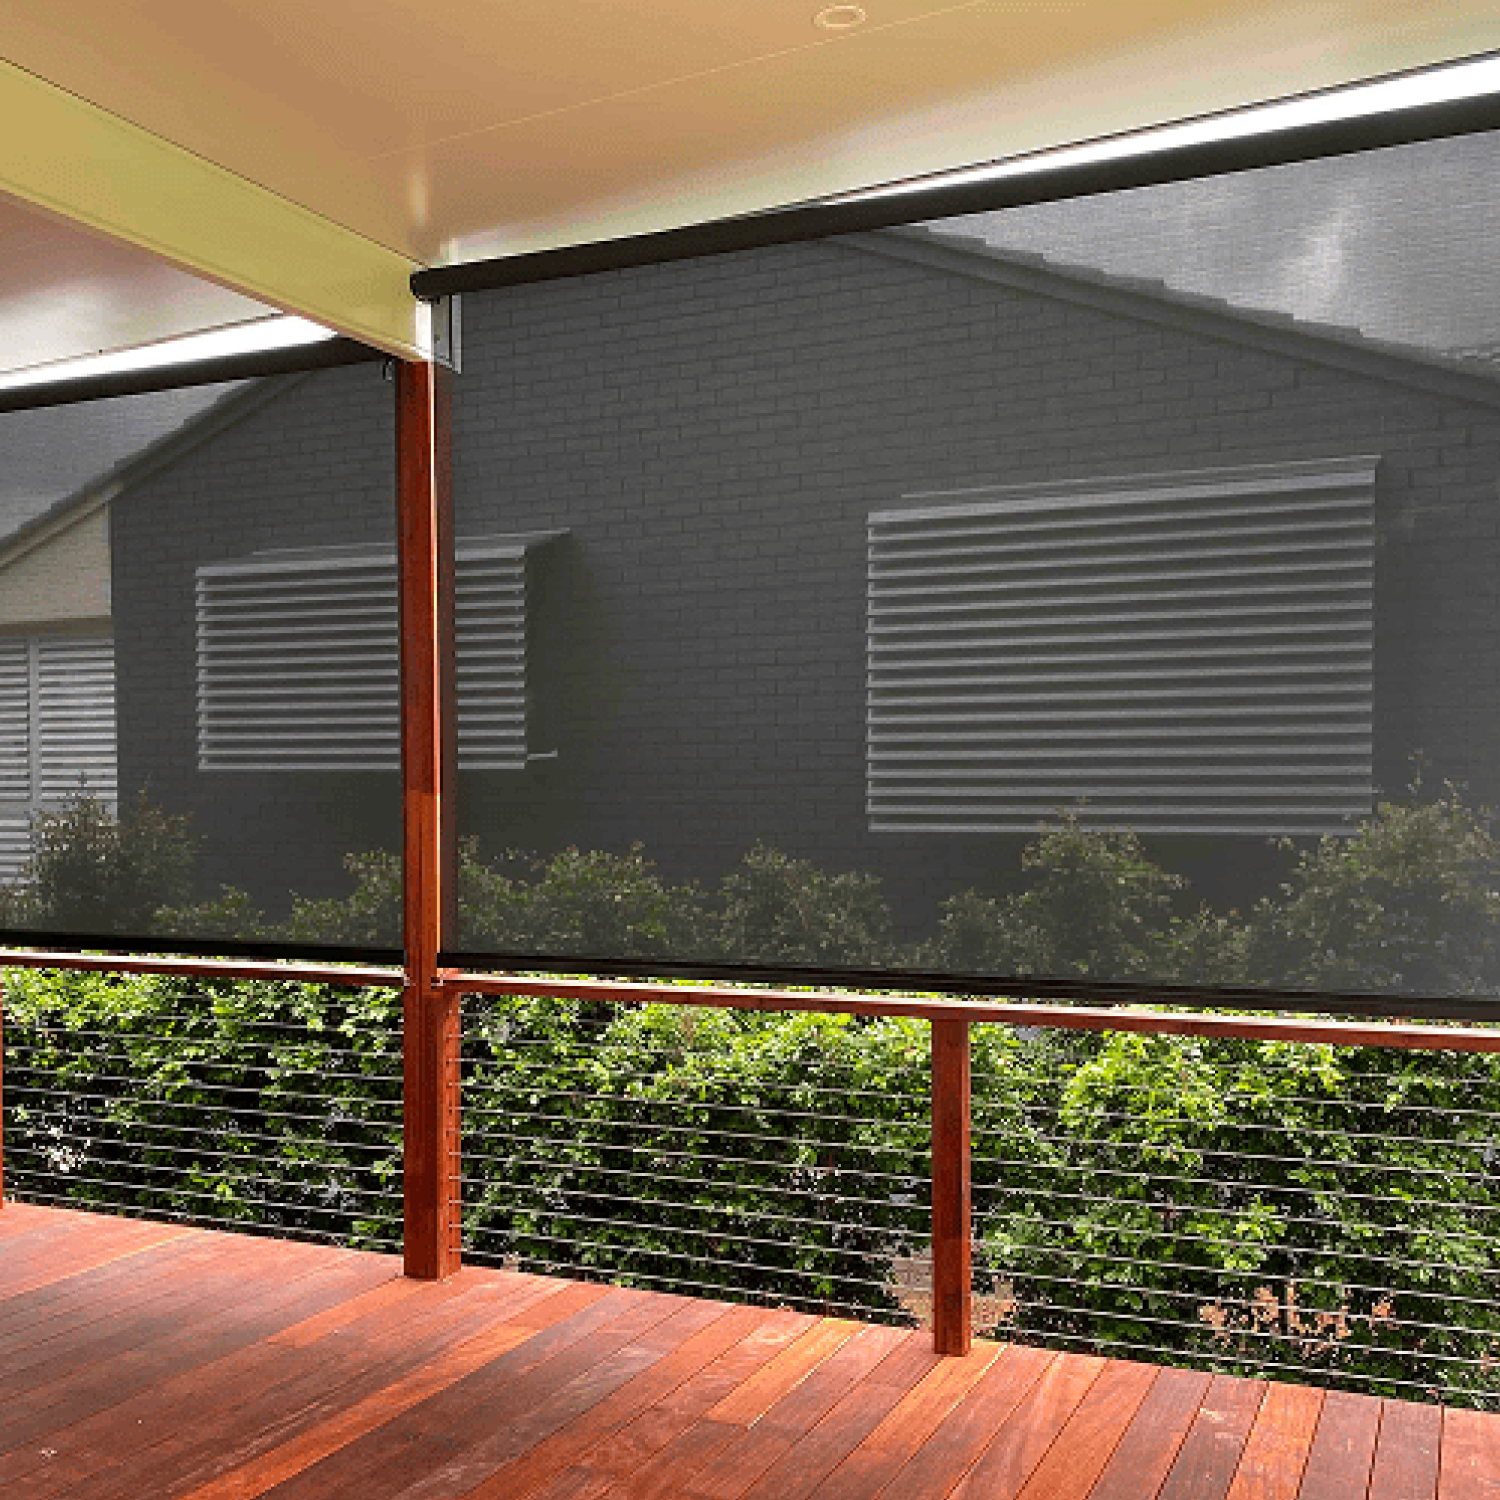
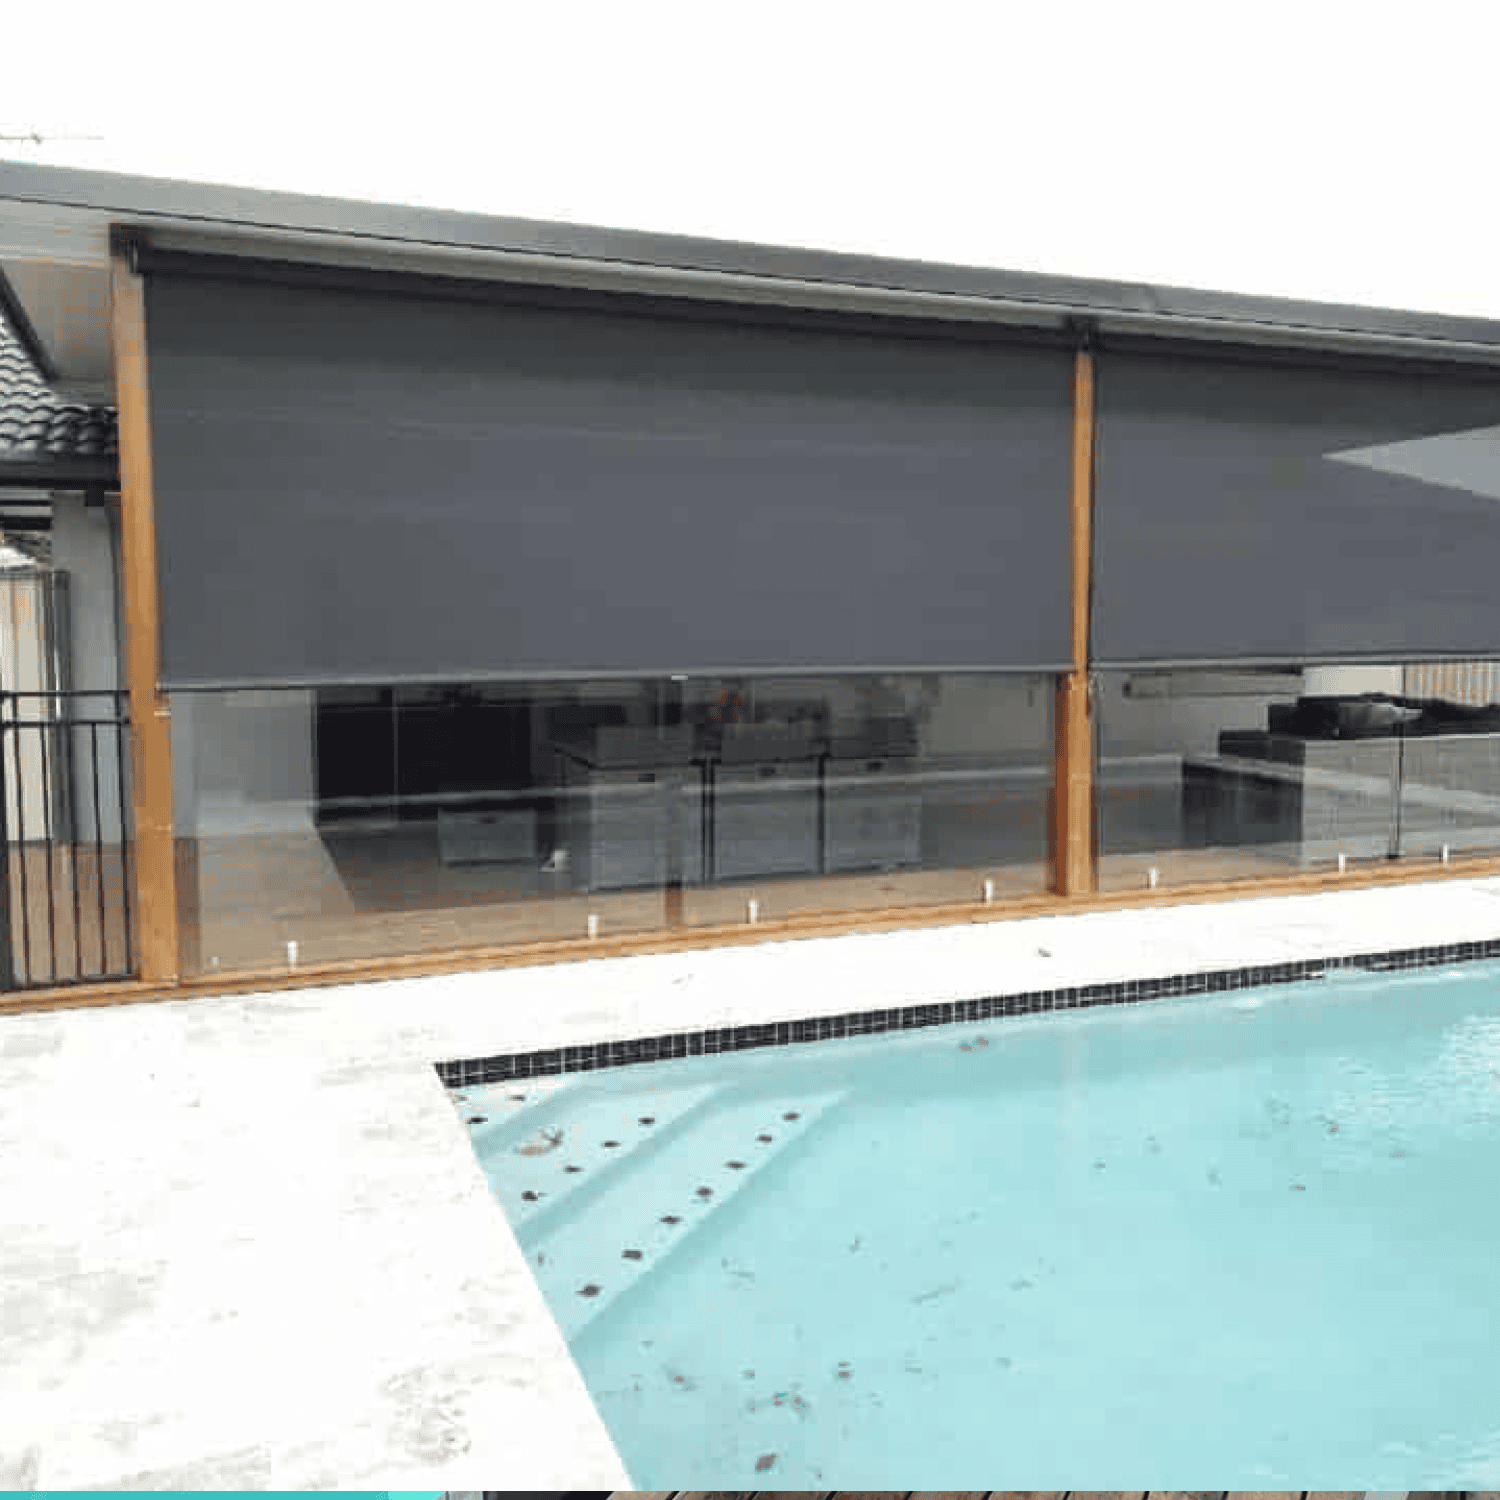
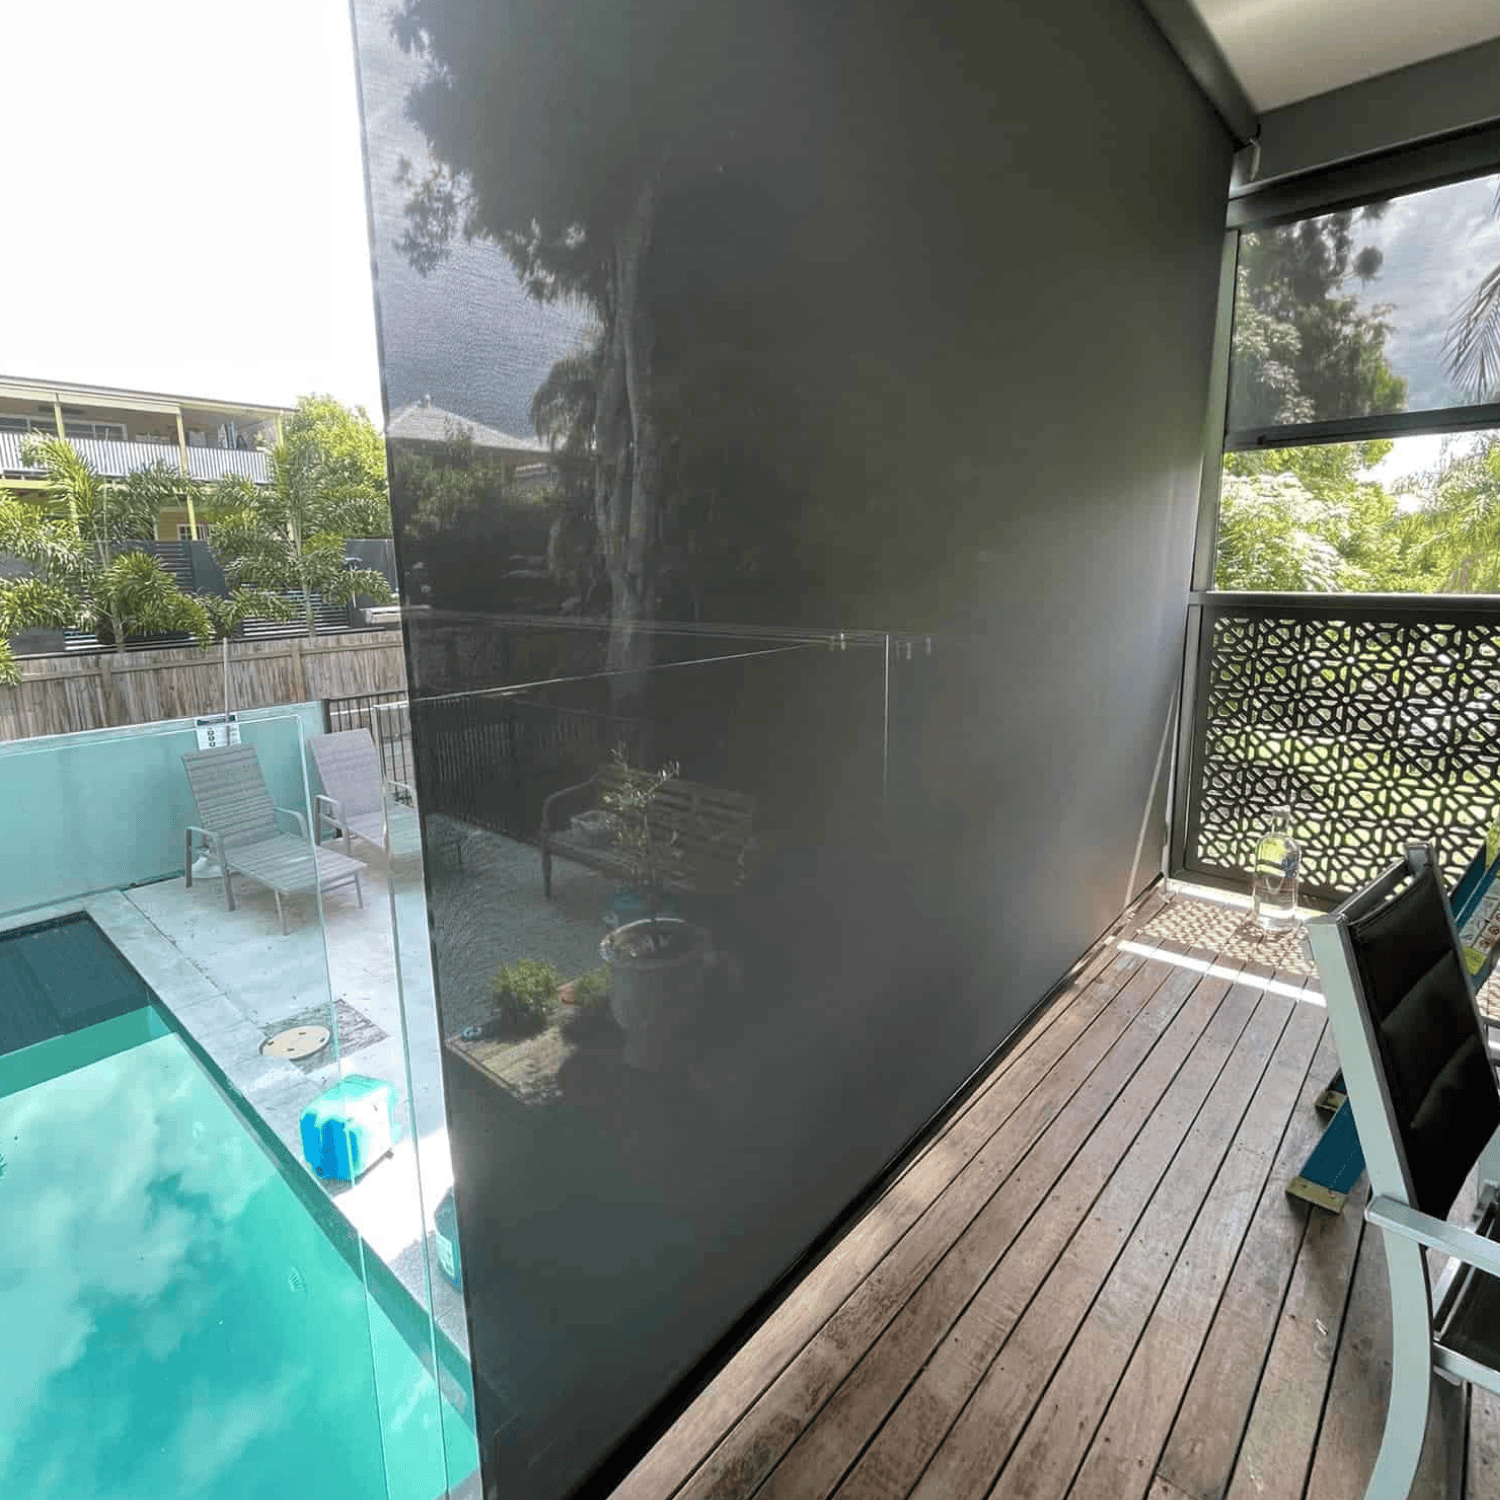
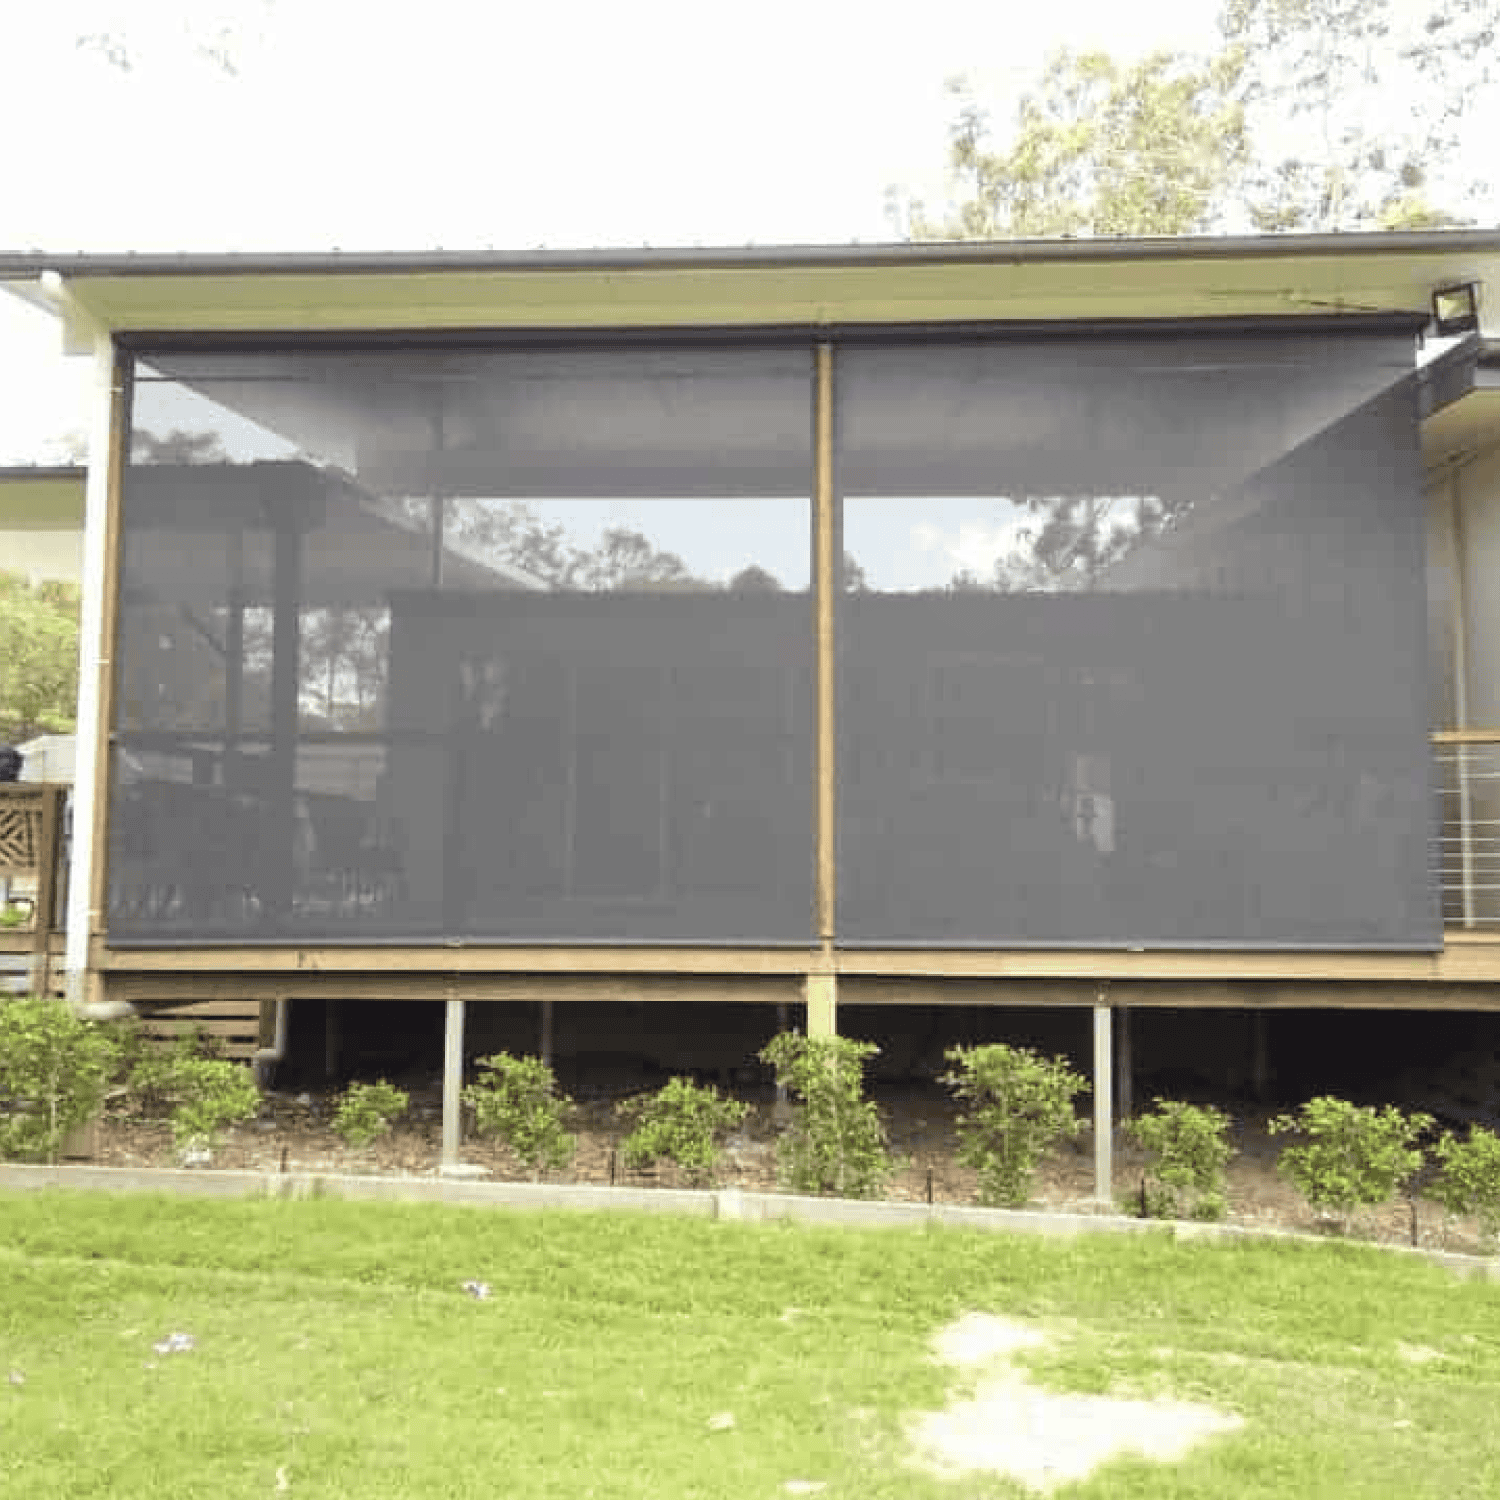
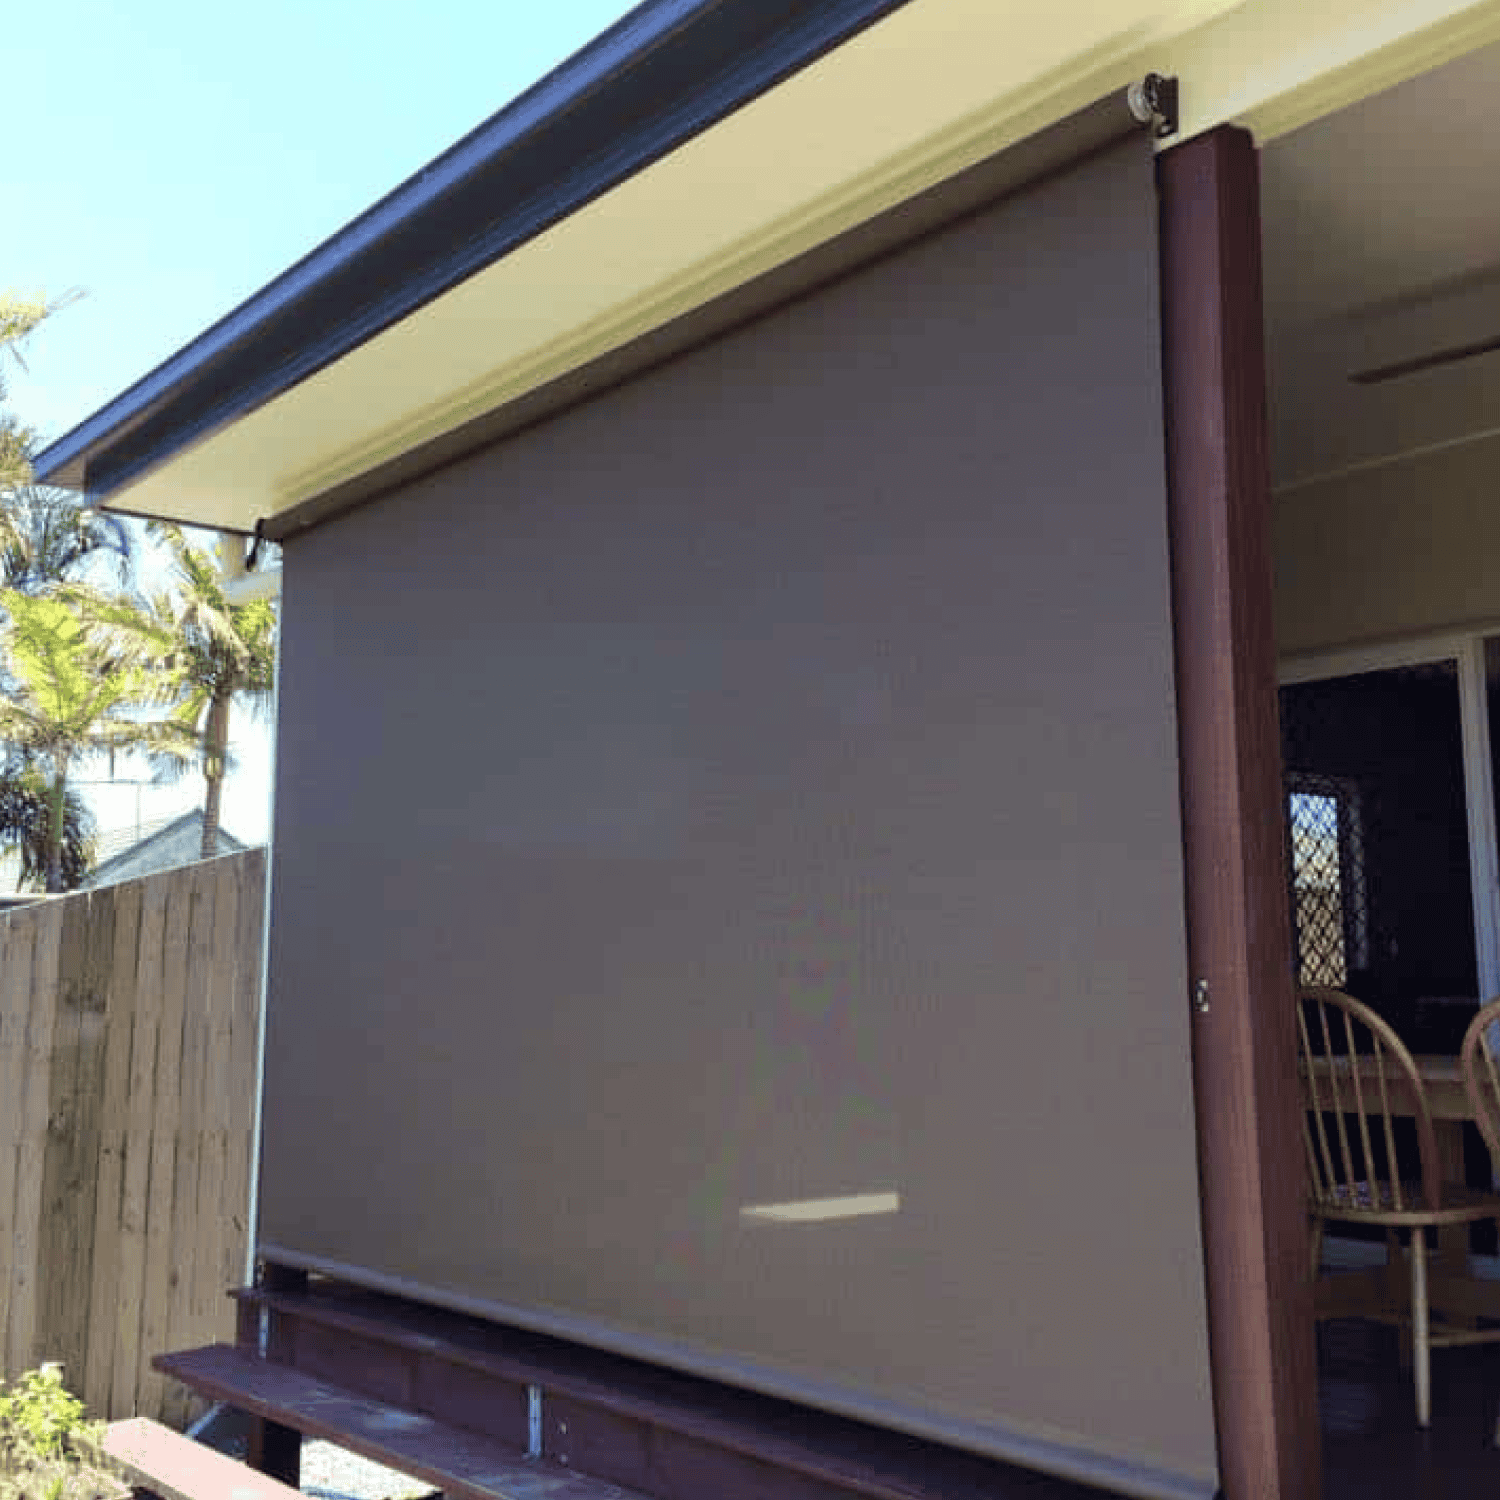
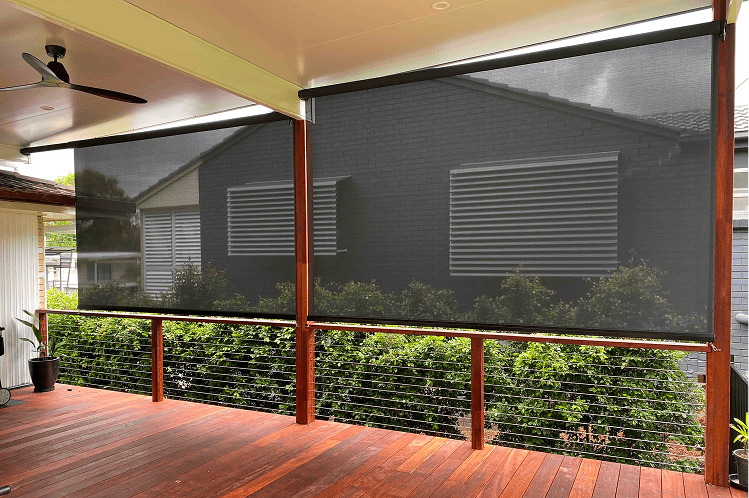
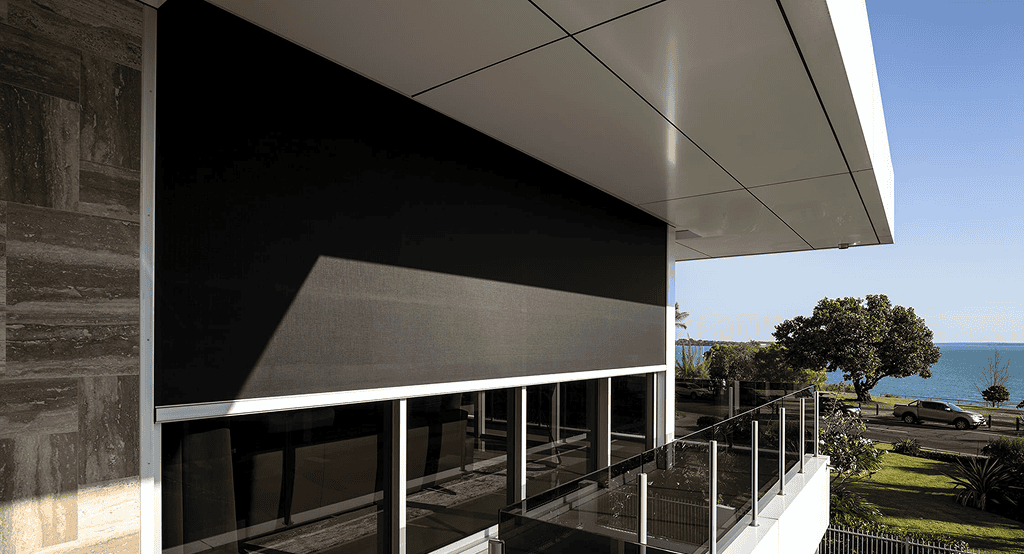
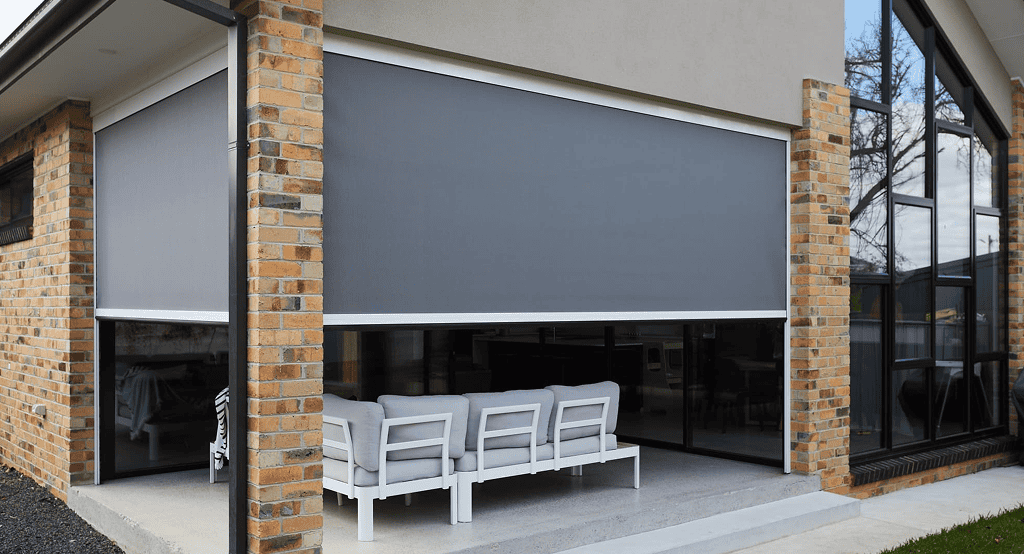
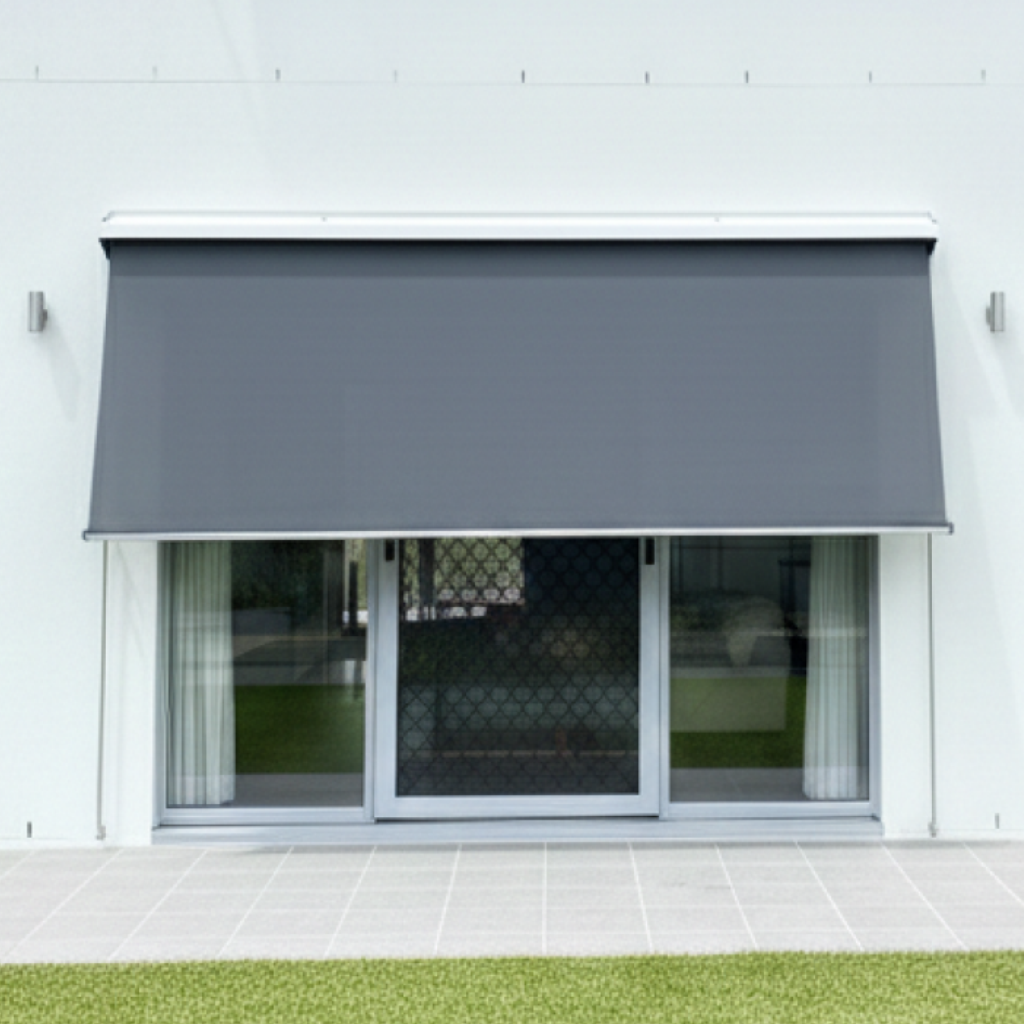
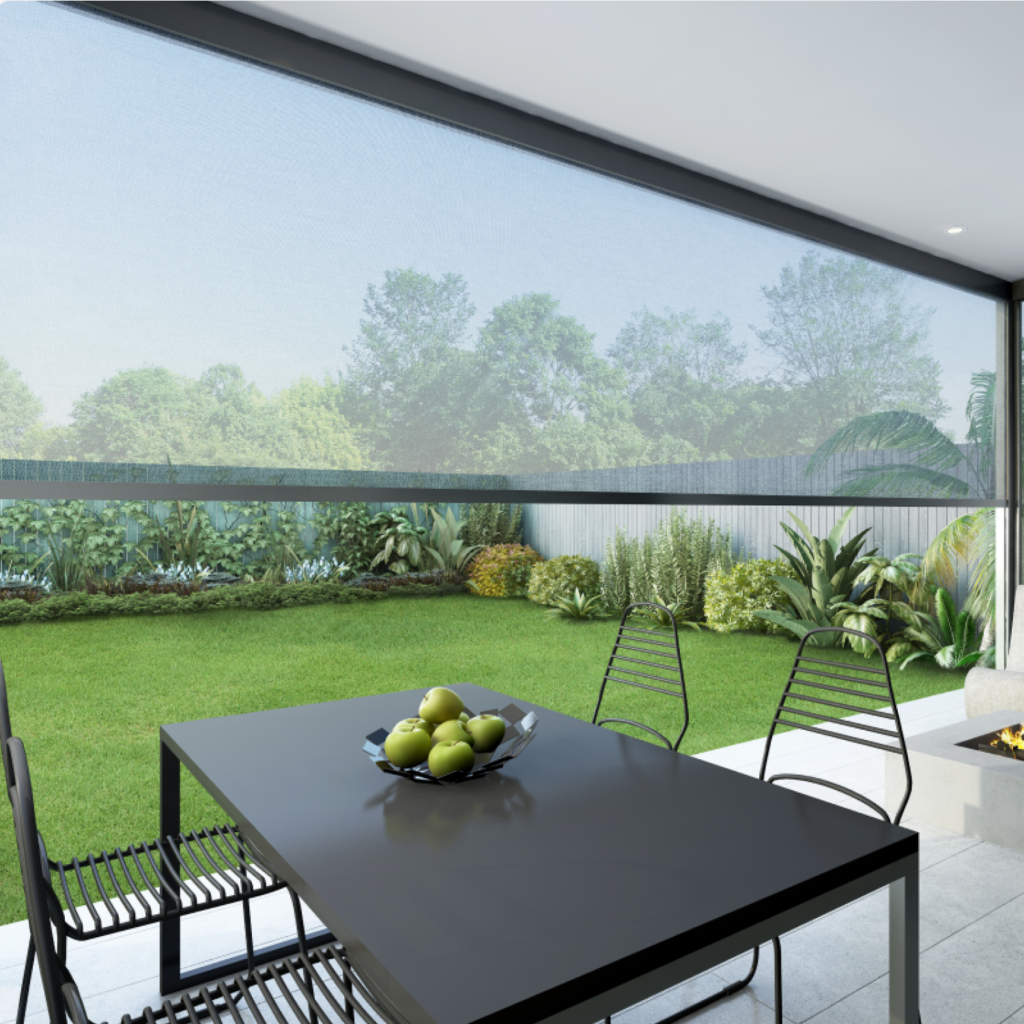
Enhance your outdoor space with the streamlined functionality of a Straight Drop Awning—the perfect blend of style and sun protection. Designed for durability and simplicity, this awning is ideal for windows, patios, balconies, and verandas where side-channel or guide systems aren’t required.
Made from high-quality UV-resistant fabric, the straight drop awning helps reduce heat and glare while maintaining your outdoor views and privacy. Operated via a manual crank, or motorised system, it effortlessly lowers vertically to provide shade when you need it and rolls away neatly when you don’t.
Made from high-quality UV-resistant fabric, the straight drop awning helps reduce heat and glare while maintaining your outdoor views and privacy. Operated via a manual crank, or motorised system, it effortlessly lowers vertically to provide shade when you need it and rolls away neatly when you don’t.
Features
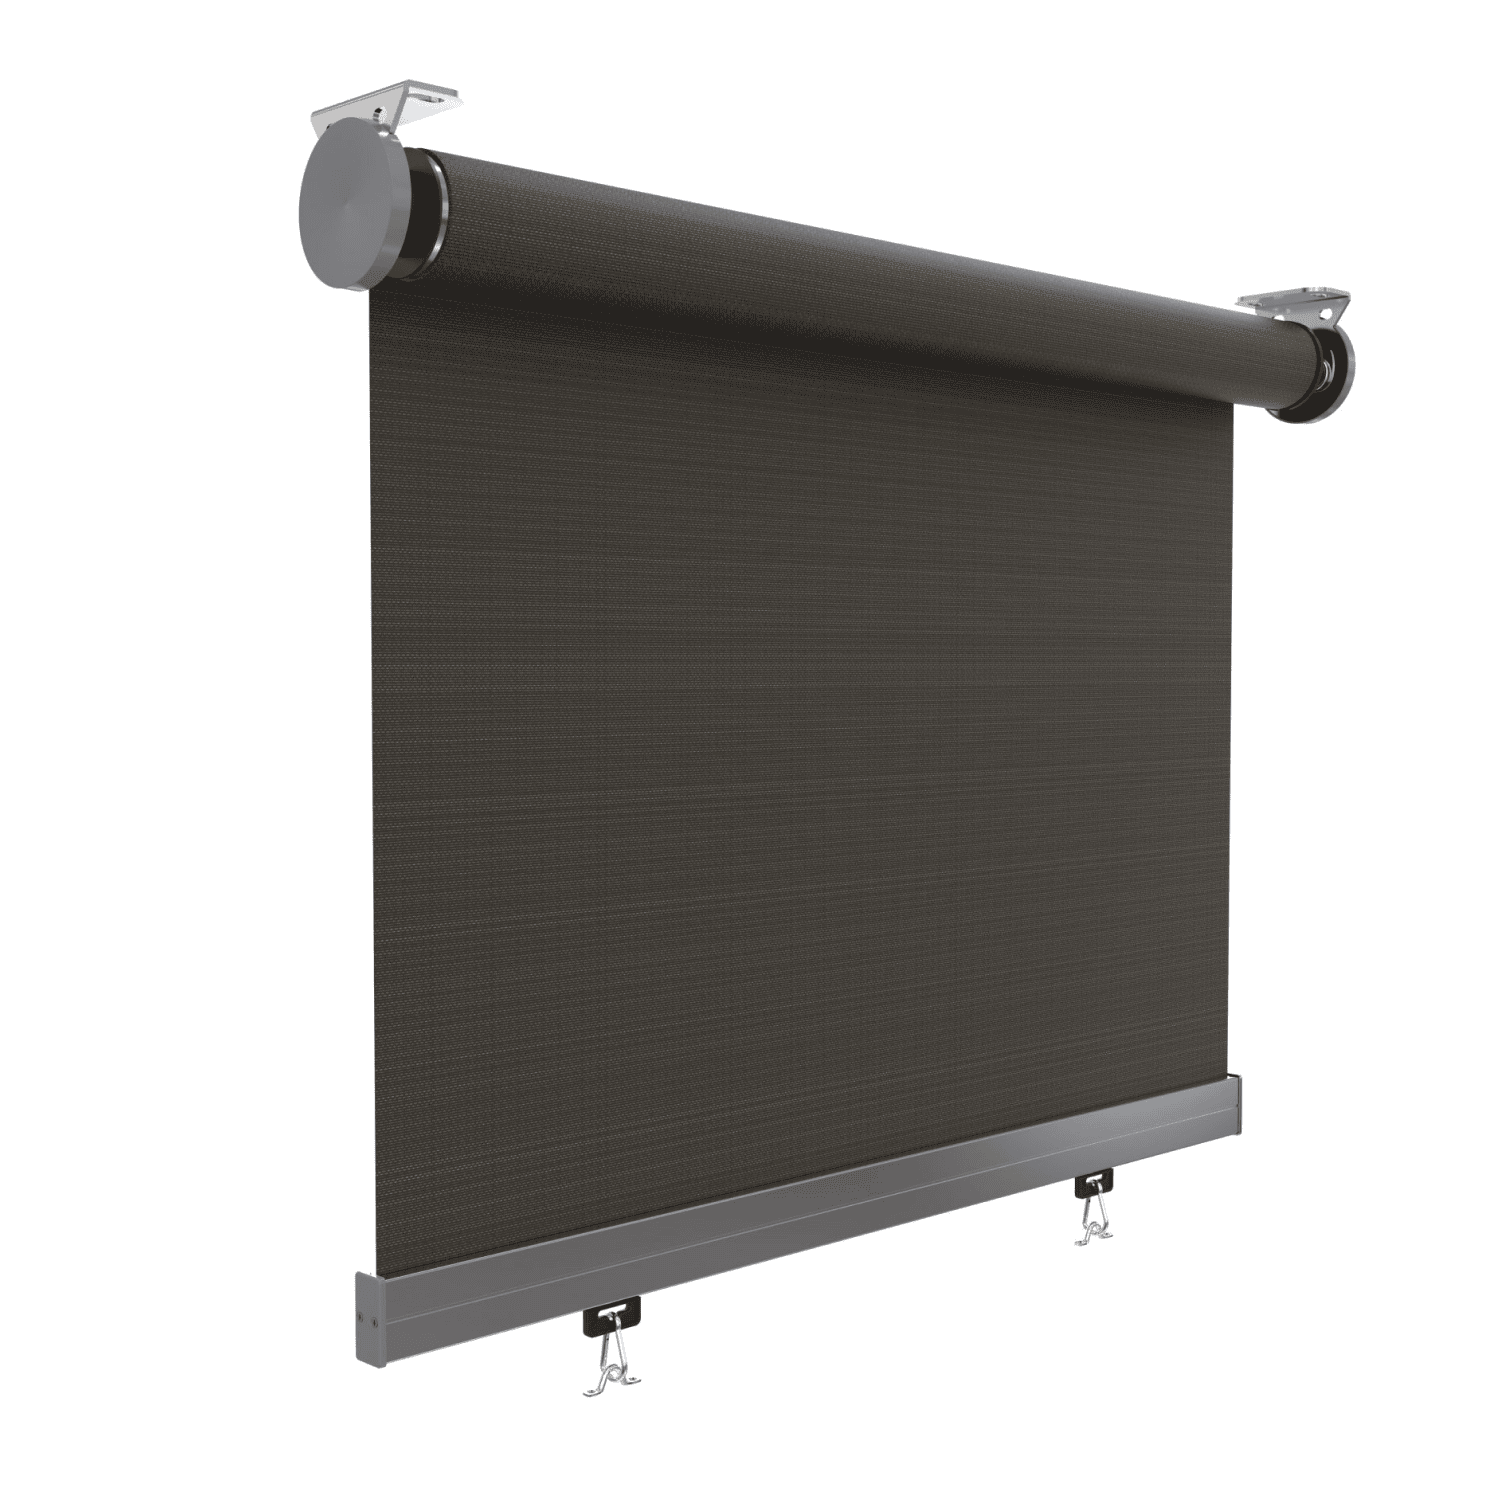
- Minimalist Design – Clean vertical drop for modern appeal
- UV & Weather Protection – Blocks harsh sunlight and light rain
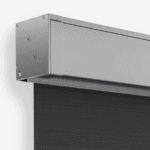
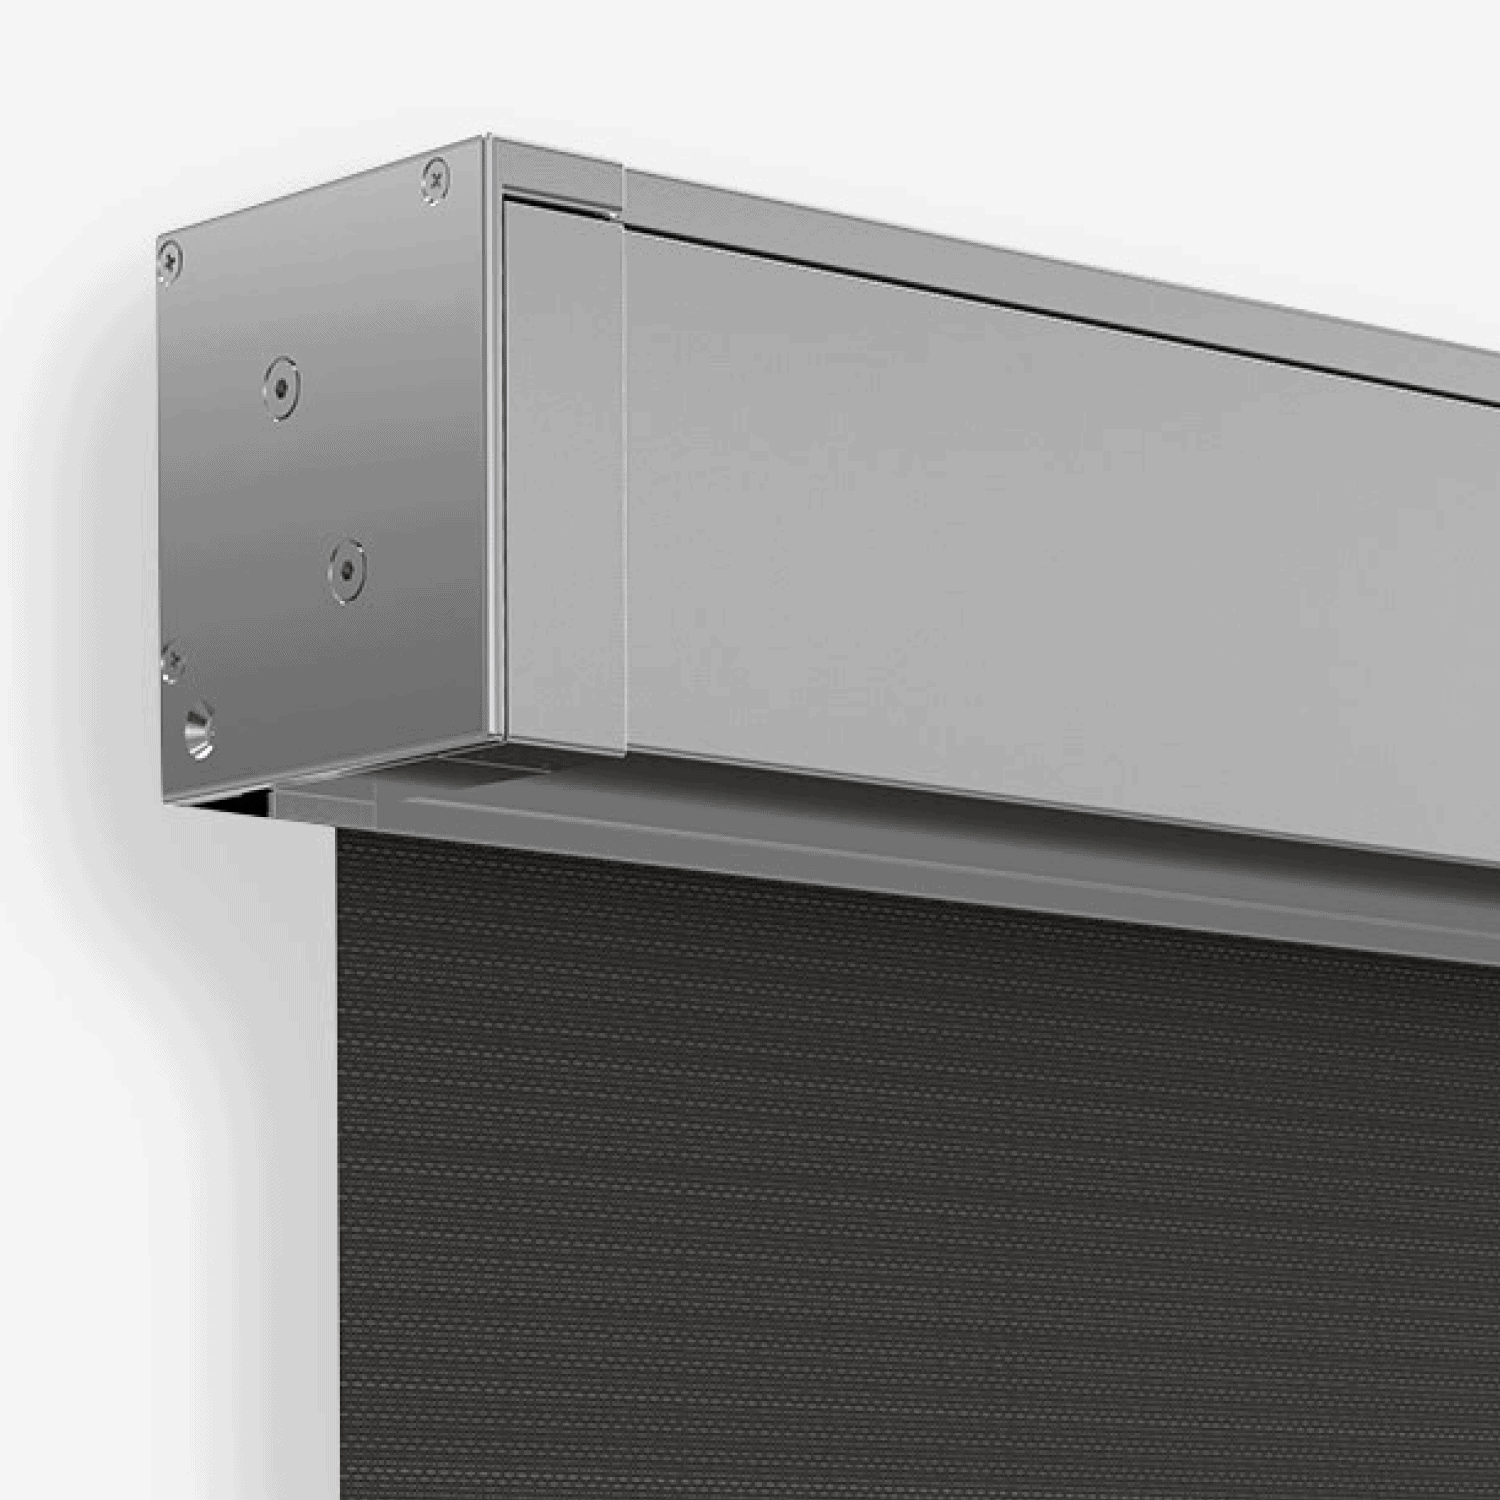
- Flexible Installation – Fix to the wall, ceiling, or under eaves
- Easy Operation – Manual or motorised control options available
- Premium Materials – Durable, fade-resistant fabric in a range of colours
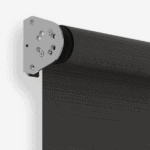
- Wind Smart – stainless steel clips for extra stability

Installation Guide
Installing an outdoor straight drop blind is a straightforward DIY project that can enhance your outdoor space by providing shade and privacy. Here’s a step-by-step guide to help you through the process:
Tools & Materials Needed
Tools:
- • Measuring Tape
- • Pencil or chalk
- • Level
- • Screws
- • Power drill with appropriate drill bits
- • Screwdriver
- • Ladder
- • Safety gear (gloves, safety glasses)
Materials:
- • Straight drop blind kit (including brackets & blind)
Step-by-Step Installation Guide
1. Measure and Mark Mounting Points
- • Determine the desired position for your blind.
- • Use a measuring tape to mark the locations for the top brackets, ensuring they are level and equidistant from each end.
- • For a clean installation, use a chalk line to mark a straight line across the mounting surface.
2. Install the Top Brackets
- • Align the brackets with the marks you’ve made.
- • Drill pilot holes into the mounting surface (e.g., wall or ceiling).
- • Secure the brackets using screws, ensuring they are tight and level.
3. Prepare the Blind
- • Unroll the blind and identify the control side (manual or motorized).
- • If your blind has a headbox, install it first before inserting the blind.
4. Attach the Blind to the Brackets
- • Lift the blind and hook it onto the installed top brackets.
- • Ensure the blind is securely seated and operates smoothly.
5. Install the Bottom Fixing Mechanism
- • Attach the bottom of the blind to the mounting surface or floor to prevent movement.
6. Adjust and Test the Blind
- • If your blind is motorized, follow the manufacturer’s instructions to set the upper and lower limits.
- • Manually test the blind to ensure it raises and lowers smoothly without obstruction.
Tips for a Successful Installation
- • Choose the Right Location: Install the blind in a sheltered area to protect it from strong winds.
- • Handle with Care: Avoid pulling the blind too tightly during installation, as it can expand and contract with temperature changes.
- • Safety First: Always use a ladder safely and wear appropriate safety gear.
Content goes here .. (2)
There are no reviews yet. Be the first one to write one.
You must be logged in to submit a review.
Only logged in customers who have purchased this product may leave a review.
Featured Collections
Sale 10% Off
Sale


Sale 10% Off
Sale


Sale 10% Off

Sale


Sale 10% Off
Sale
Australian Made Blinds
Expertly made, high-quality Australian blinds, built for durability — not mass-produced imports.

There are no reviews yet. Be the first one to write one.