

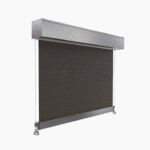

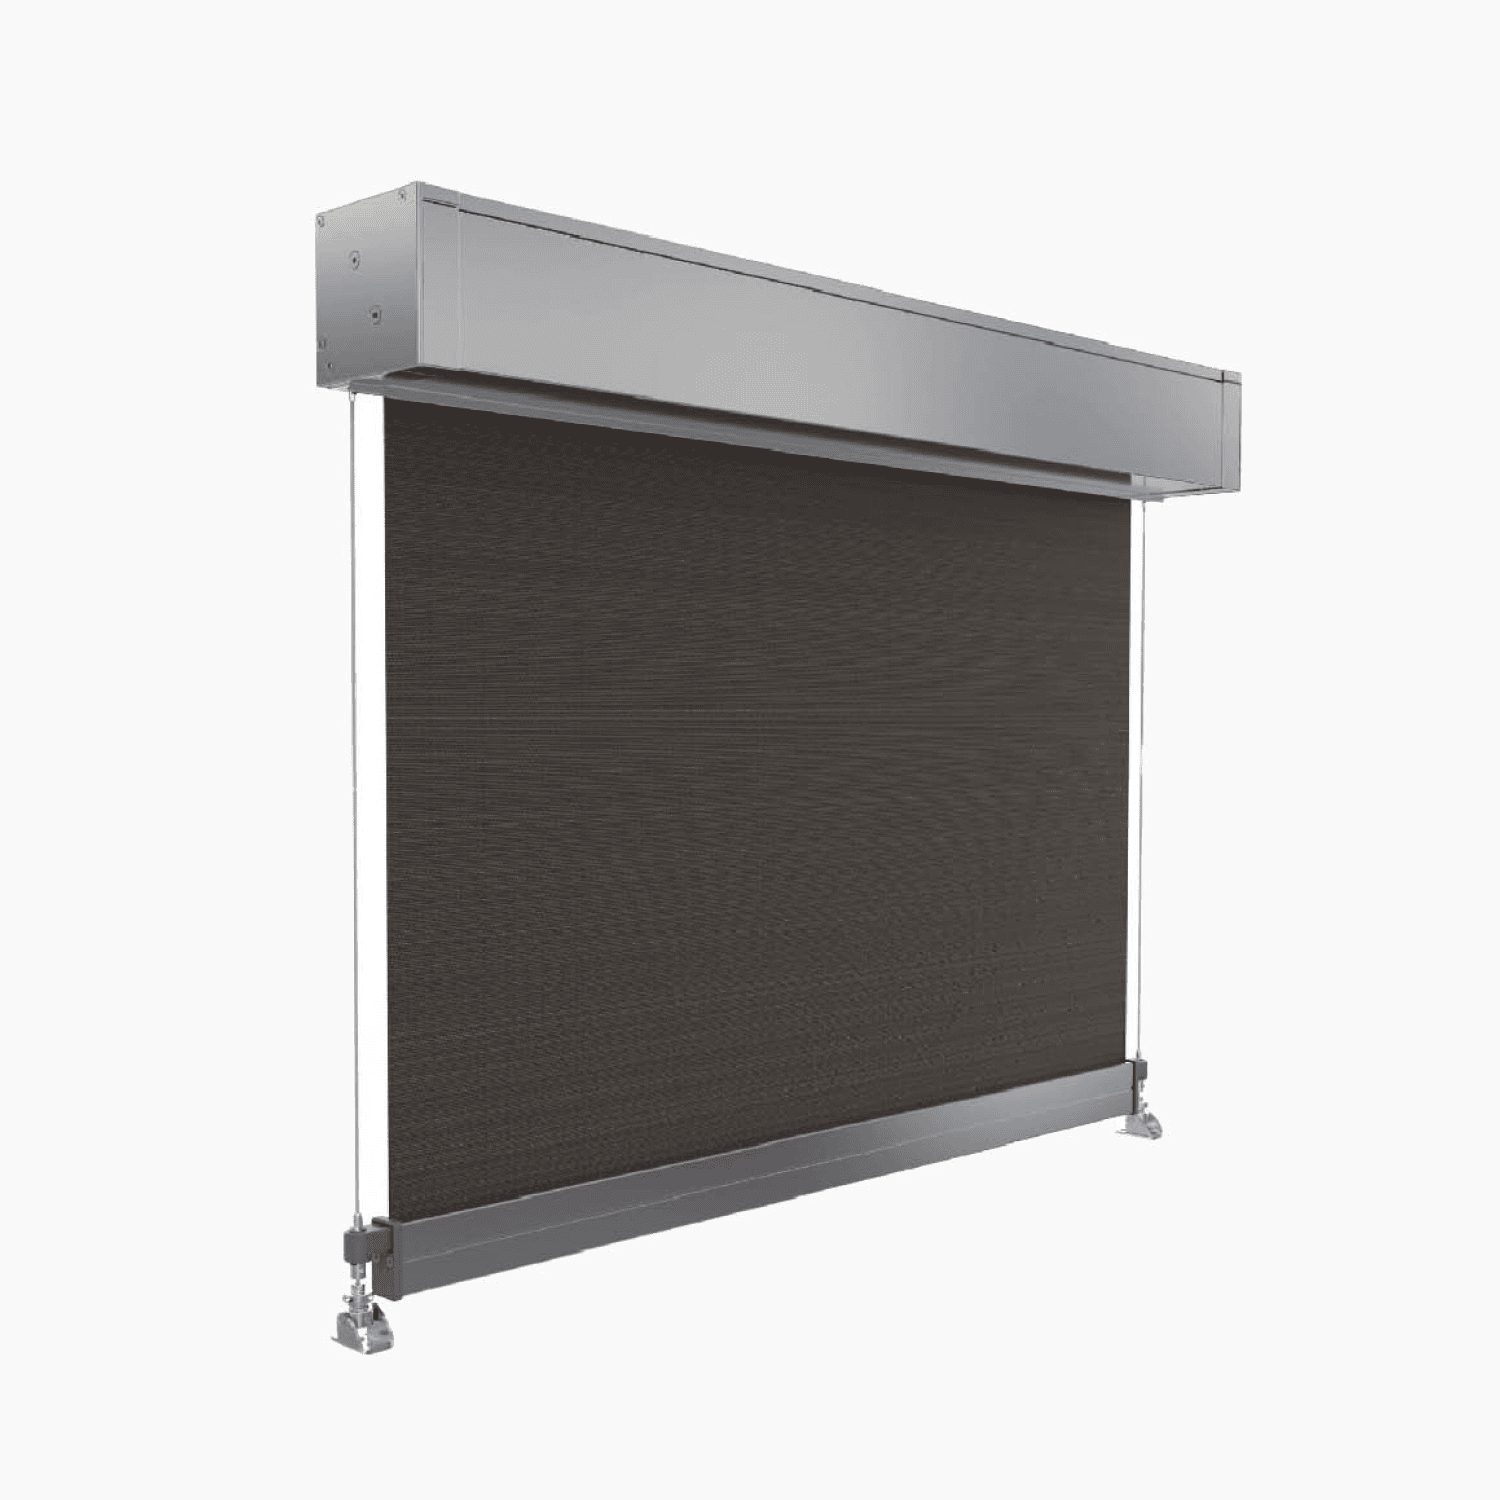
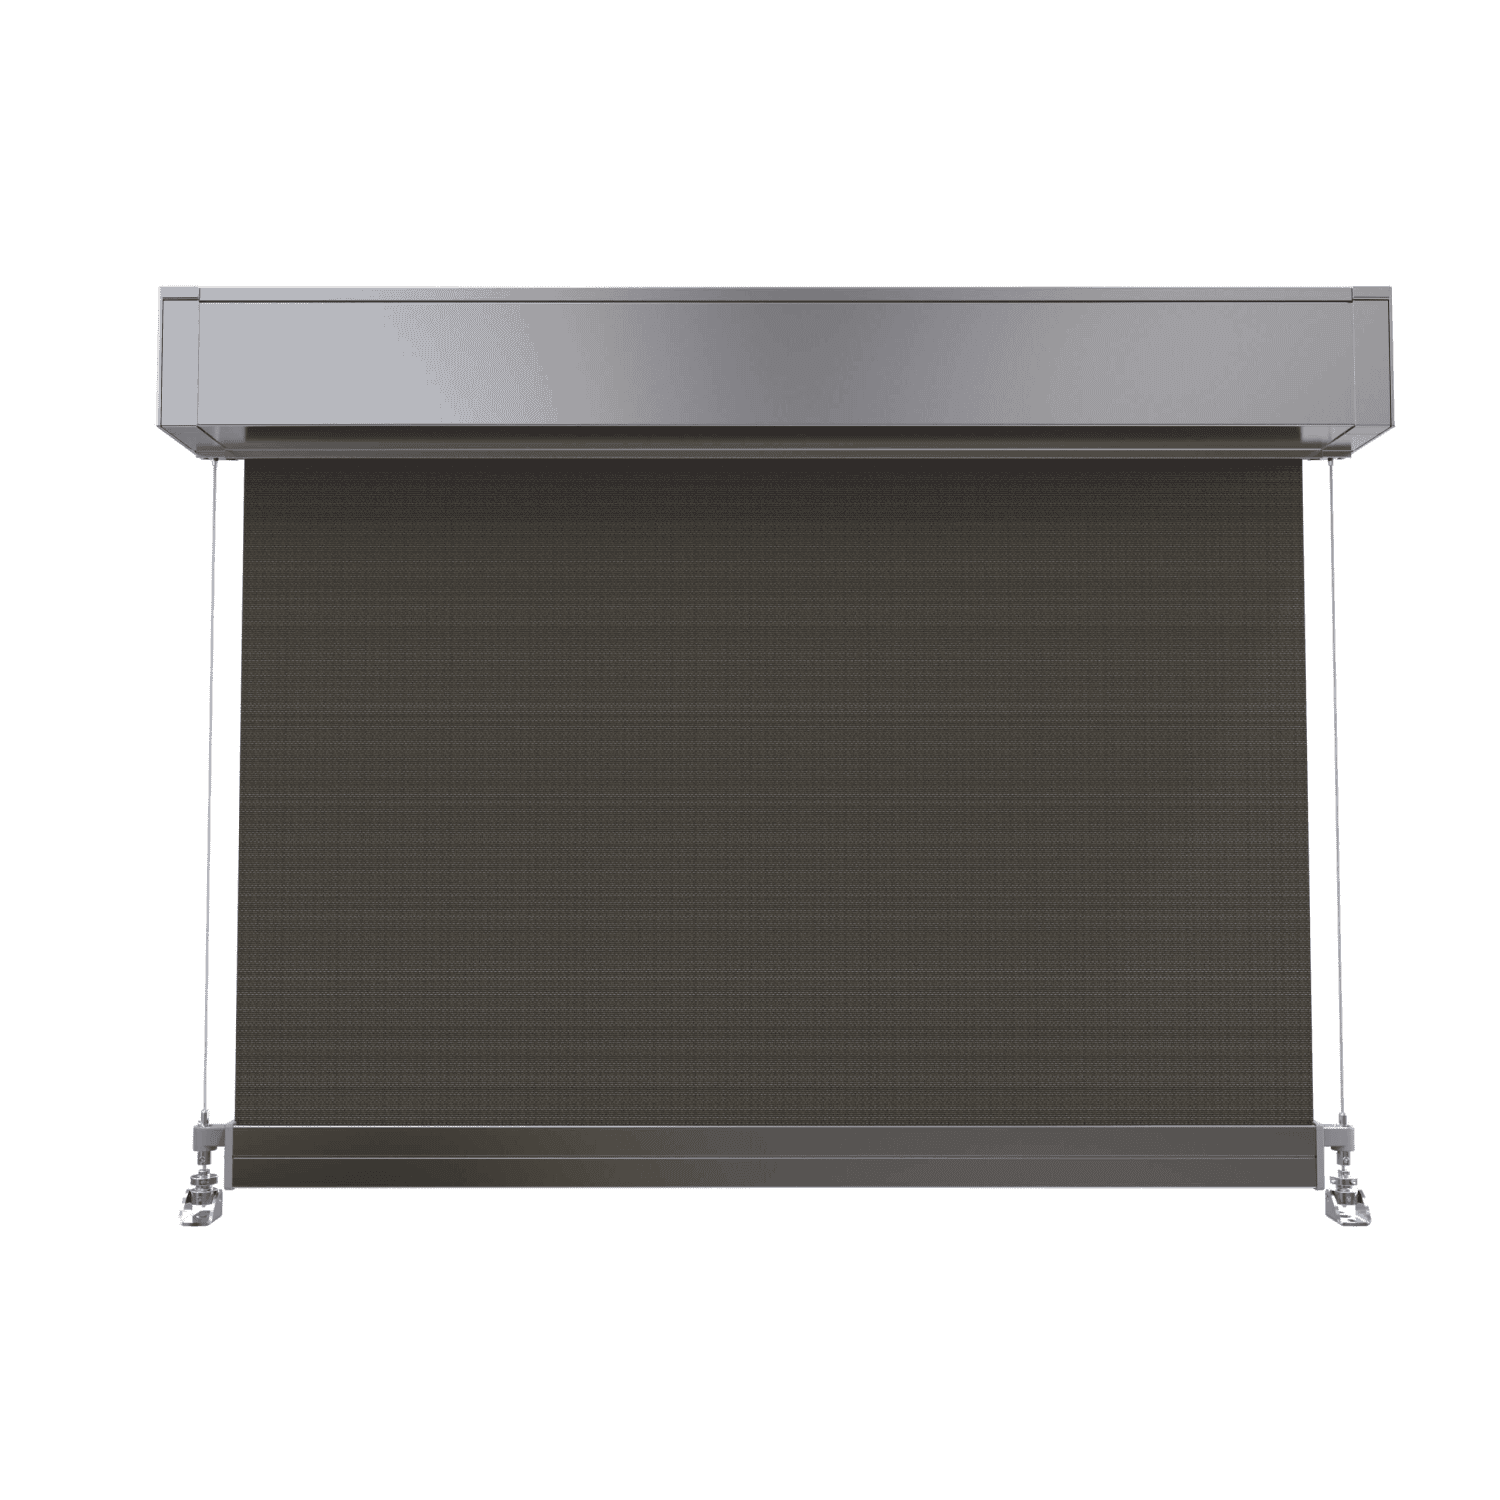


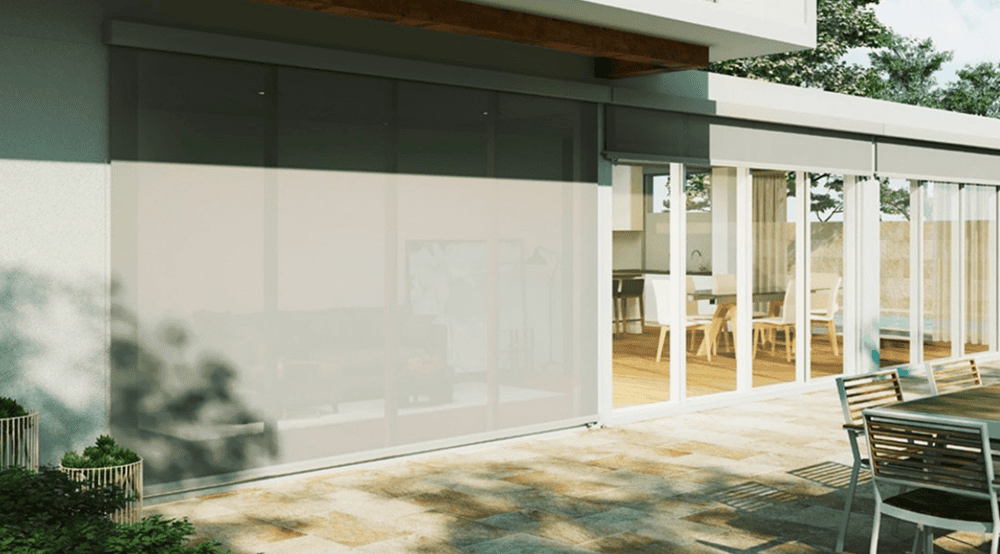
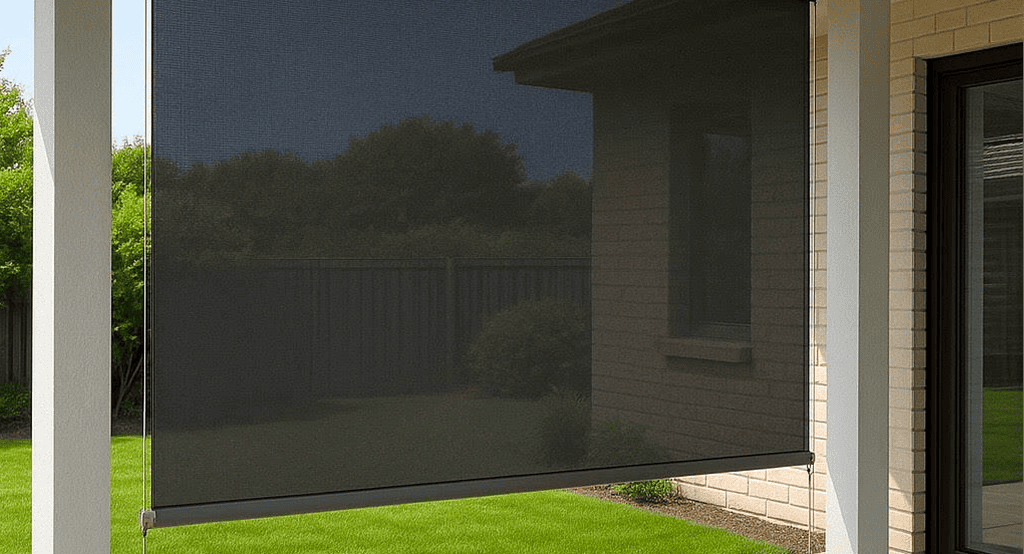
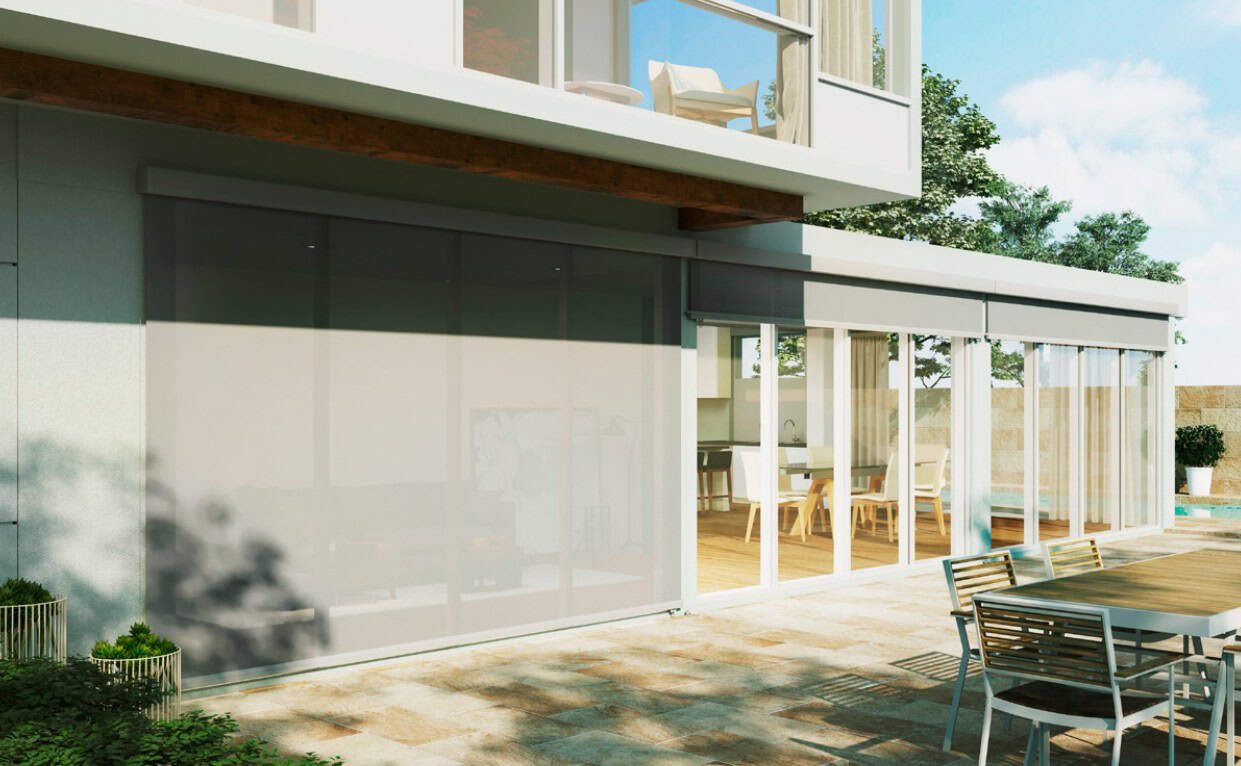
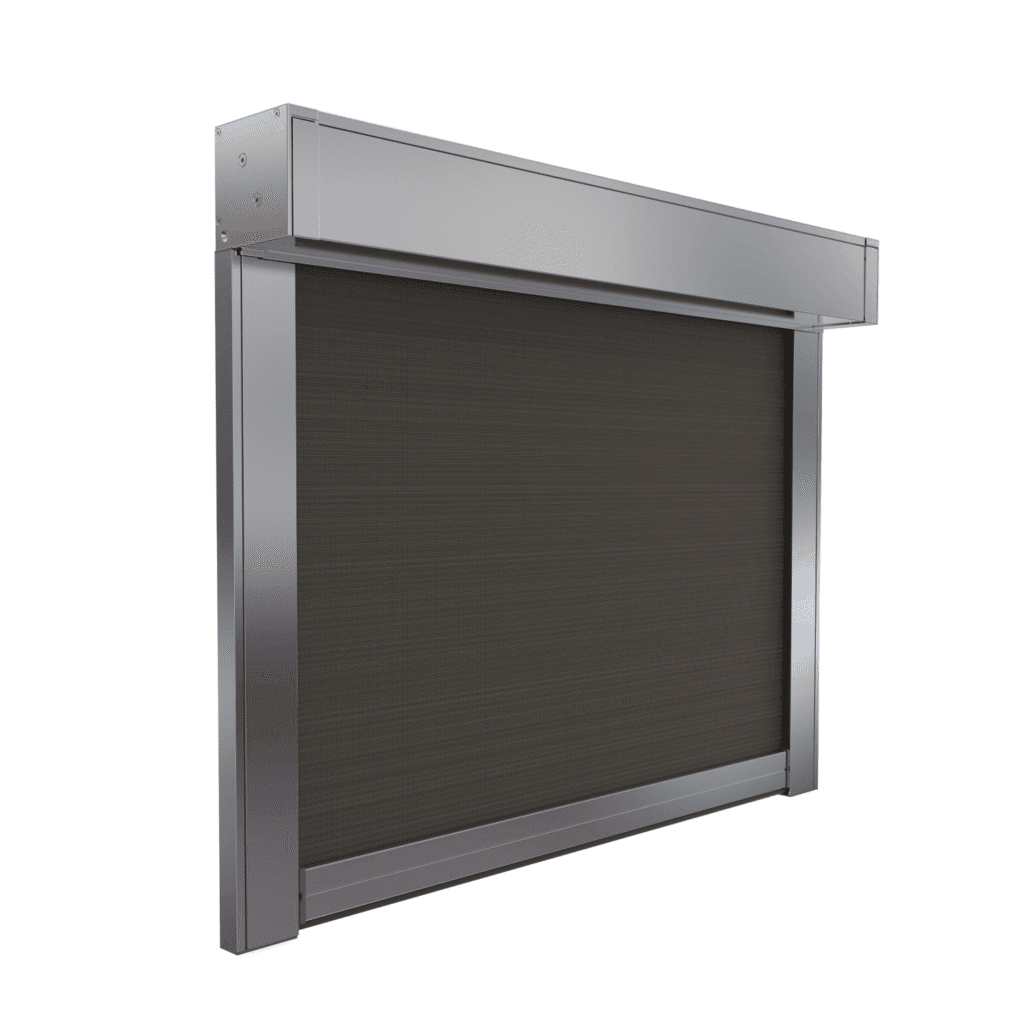
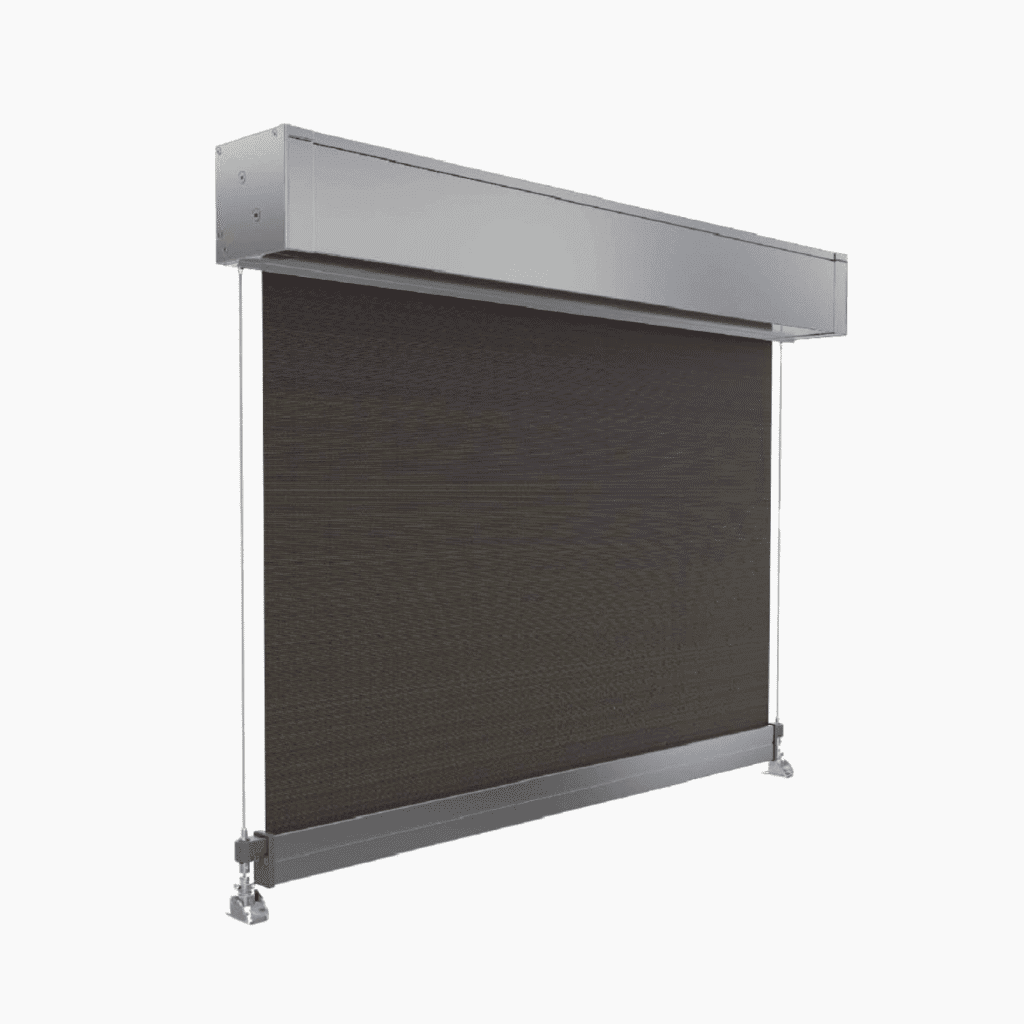
Contemporary Shade with Sleek Stainless Steel Guidance
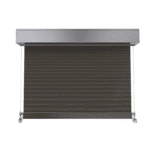
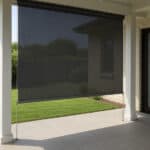
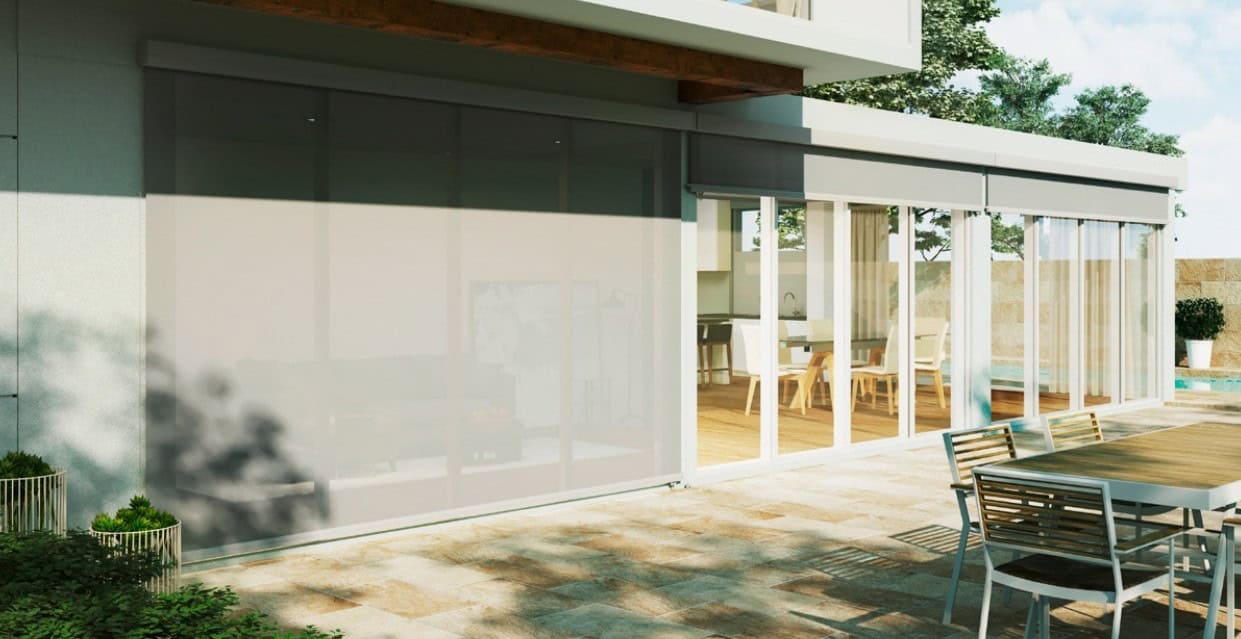
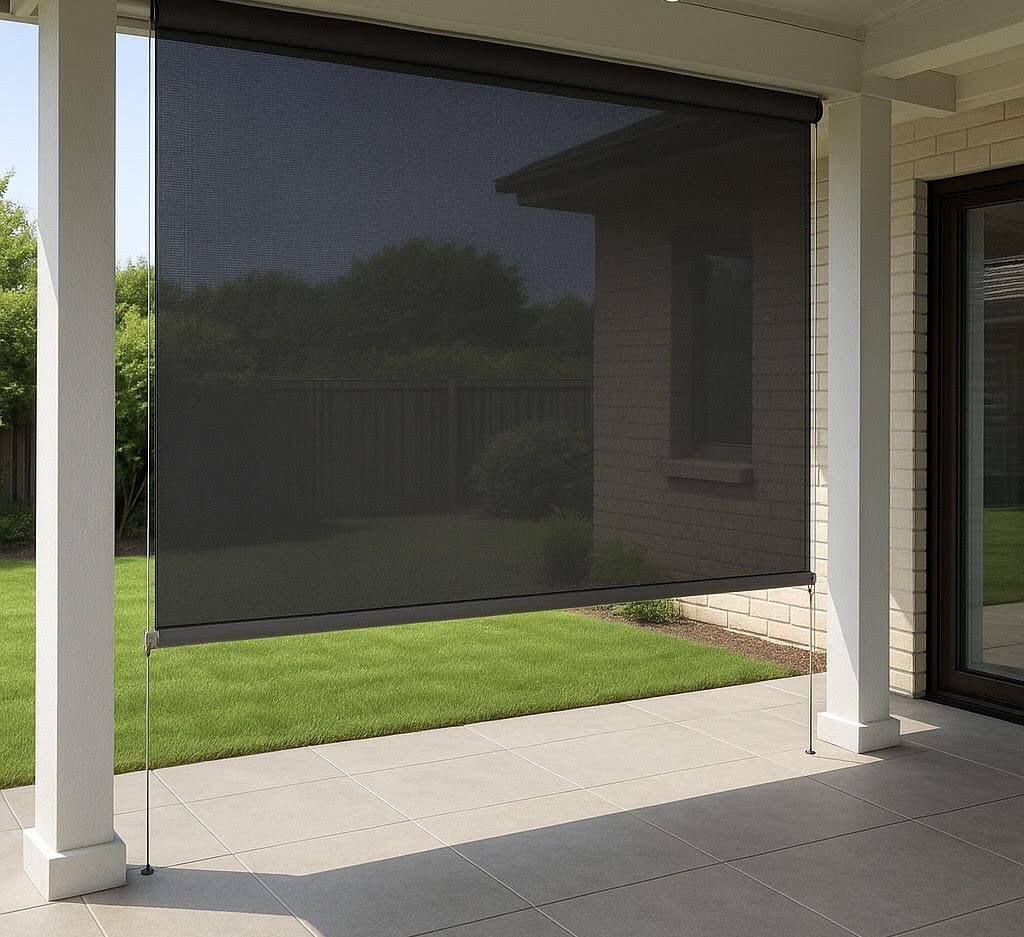
The Wire Guide Awning is the ideal solution for stylish, durable sun protection with a modern edge. Designed to provide vertical shade while maintaining airflow and visibility, this awning glides smoothly along stainless steel cables, offering stability and sleek aesthetics in one. Perfect for patios, balconies, and windows, the wire guide system allows the fabric to lower evenly and stop at any height, offering tailored protection from sun, wind, and prying eyes. The stainless steel cables keep the awning steady in breezy conditions without fully enclosing your space.
Whether you’re shading a glass façade or creating a comfortable outdoor living zone, the Wire Guide Awning adds sophistication and smart functionality to any home or commercial space.
Features
- Superior Sun & Privacy Control – Blocks UV rays while maintaining airflow
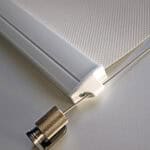
- Sleek Wire Guide System – Marine-grade stainless steel for strength and minimal design
- Flexible Operation – Choose manual crank, spring, or motorised control
- Customisable Aesthetics – Wide range of fabrics and colours to match your style
- Durable Construction – Built to withstand Australian weather conditions
- Precision Stop Points – Easily control the height for optimal shade

Installation Guide
Installing an outdoor wire guide blind is a practical way to enhance your alfresco or patio area with effective shade and wind resistance. Here’s a step-by-step guide to help you through the installation process:
Tools & Materials Needed
Tools:
- • Measuring Tape
- • Pencil or chalk
- • Level
- • Screws
- • Power drill with appropriate drill bits
- • Screwdriver
- • Ladder
- • Allen Key
- • Safety gear (gloves, safety glasses)
Materials:
- • Wire guide blind kit (including brackets, blind, and guide wires)
- • Screws and anchors suitable for your mounting surface
- • Wire guides
Step-by-Step Installation Guide
1. Measure and Mark Mounting Points
- • Determine the desired position for your blind.
- • Use a measuring tape to mark the locations for the top brackets, ensuring they are level and equidistant from each end.
- • For a clean installation, use a chalk line to mark a straight line across the mounting surface.
2. Install the Top Brackets
- • Align the brackets with the marks you’ve made.
- • Drill pilot holes into the mounting surface (e.g., wall or ceiling).
- • Secure the brackets using screws, ensuring they are tight and level.
3. Prepare the Wire Guides
- • Trim the wire to the appropriate length, allowing for some slack.
4. Mount the Roller Blind
- • Position the side guides against the mounting surface, aligning them with the top brackets.
- • Secure the guides in place at the top only.
- • Ensure the wires are vertical and attach bottom brackets to the floor (do not secure wires to the bottom brackets yet).
5. Install the Blind
- • Lift the blind and hook it onto the installed top brackets.
- • Ensure the blind is securely seated and operates smoothly.
6. Install Bottom of Side Guides
- • Slot the wire guides through the ends of the blind’s bottom bar.
- • Screw the guides into the bottom brackets.
7. Adjust and Test the Blind
- • Manually test the blind to ensure it raises and lowers smoothly without obstruction.
- • Adjust the side guides if necessary to ensure the blind moves freely.
Tips for a Successful Installation
- • Choose the Right Location: Install the blind in a sheltered area to protect it from strong winds.
- • Handle with Care: Avoid pulling the blind too tightly during installation, as it can expand and contract with temperature changes.
- • Safety First: Always use a ladder safely and wear appropriate safety gear.
Content goes here .. (2)
There are no reviews yet. Be the first one to write one.
Featured Collections
Sale 10% Off
Sale
Anthony White 2990 x 2995 Reverse Bottom Bars Deep Channel Blinds ( Right Control Side )
Now starting from $711.36! (Was $790.40 – Save 10%)


Sale 10% Off
Sale
Anthony White 2990 x 2995 Reverse Bottom Bars Deep Channel Blinds ( Left Control Side )
Now starting from $711.36! (Was $790.40 – Save 10%)
Sale 10% Off
Sale
Paul Varley 2413 x 1485 Gearbox Outdoor Wired Guide Blinds
Now starting from $749.63! (Was $832.92 – Save 10%)
Sale 10% Off
Sale
Paul Varley 2428 x 1485 Gearbox Outdoor Wired Guide Blinds
Now starting from $749.63! (Was $832.92 – Save 10%)
Sale 10% Off
Sale
Anthony White 2990 x 2995 Reverse Bottom Bars Deep Channel Blinds ( Right Control Side )
Now starting from $711.36! (Was $790.40 – Save 10%)
Sale 10% Off
Sale
Anthony White 2990 x 2995 Reverse Bottom Bars Deep Channel Blinds ( Left Control Side )
Now starting from $711.36! (Was $790.40 – Save 10%)

Reviews
There are no reviews yet. Be the first one to write one.