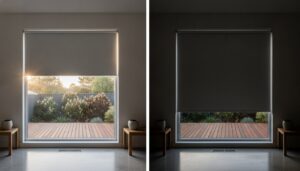

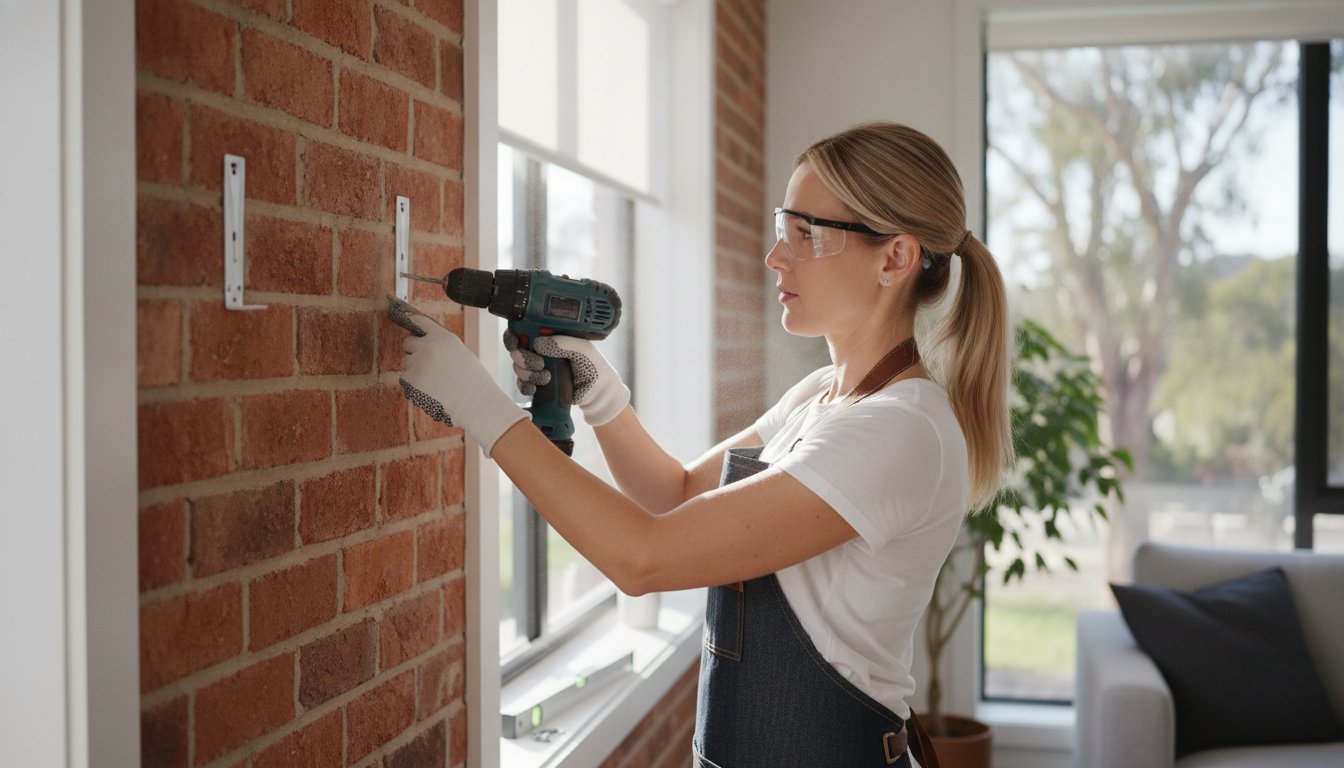
You might think drilling into masonry is a recipe for disaster, but brick is actually the most reliable and secure mounting surface for your window treatments when you follow a masonry-first workflow. We know the common fears: the worry of cracking a brick, the confusion over which drill bit to grab, or the dread of seeing your beautiful new blinds pull away from the wall over time. It’s a daunting task for many Aussie DIYers, but it doesn’t have to be.
In this guide, we’ll help you master the art of installing blinds into brick wall surfaces with professional ease. We’ve simplified the process to ensure you get a level, secure fit that looks like it was done by an expert. We’ll walk you through the essential tools, explain the difference between reveal and face fits on masonry, and cover the latest 2024 cordless safety standards to keep your home modern and safe. By the time you’re finished, you’ll have the confidence to tackle any masonry project and a home that feels both stylish and secure.
Key Takeaways
- Learn why a hammer drill and tungsten carbide bits are essential for achieving a clean, crack-free finish on masonry.
- Discover the secret to a professional-looking result by mastering the techniques for installing blinds into brick wall surfaces, whether you choose a reveal or face fit.
- Find out how to prevent your drill from “skating” and damaging your home’s exterior by starting with a steady, non-hammer pilot hole.
- Understand the crucial differences between drilling into mortar versus brick to ensure your mounts stay secure and level for years to come.
- See how custom-made blinds simplify your DIY project by providing a millimetre-perfect fit that’s built for the tough Australian climate.
Understanding Your Brick Wall Installation
Brick is an incredible material for home construction, especially in our harsh Australian climate. It’s sturdy, fire-resistant, and provides a level of structural integrity that timber frames just can’t match. If you’re planning on installing blinds into brick wall areas, you’re choosing the most stable mounting surface available. This is particularly vital for heavier products like Zipscreen Outdoor Blinds, which require a firm grip to stay tensioned against the wind. However, brick isn’t a ‘one size fits all’ material. You might be dealing with solid clay bricks, hollow concrete blocks, or even rendered surfaces that hide the substrate. Identifying your wall type early helps you choose the right wall plug for a permanent hold.
Thermal expansion is another factor we often overlook. Australian brickwork moves as the temperature swings from a cool morning to a blistering afternoon. During the process of installing blinds into brick wall openings, you need to account for this movement. If you fit your blinds too tightly into a masonry opening, that slight shift can cause the tracks to bind. Giving yourself a tiny bit of breathing room ensures smooth operation year-round.
Choosing Between Reveal Fit and Face Fit
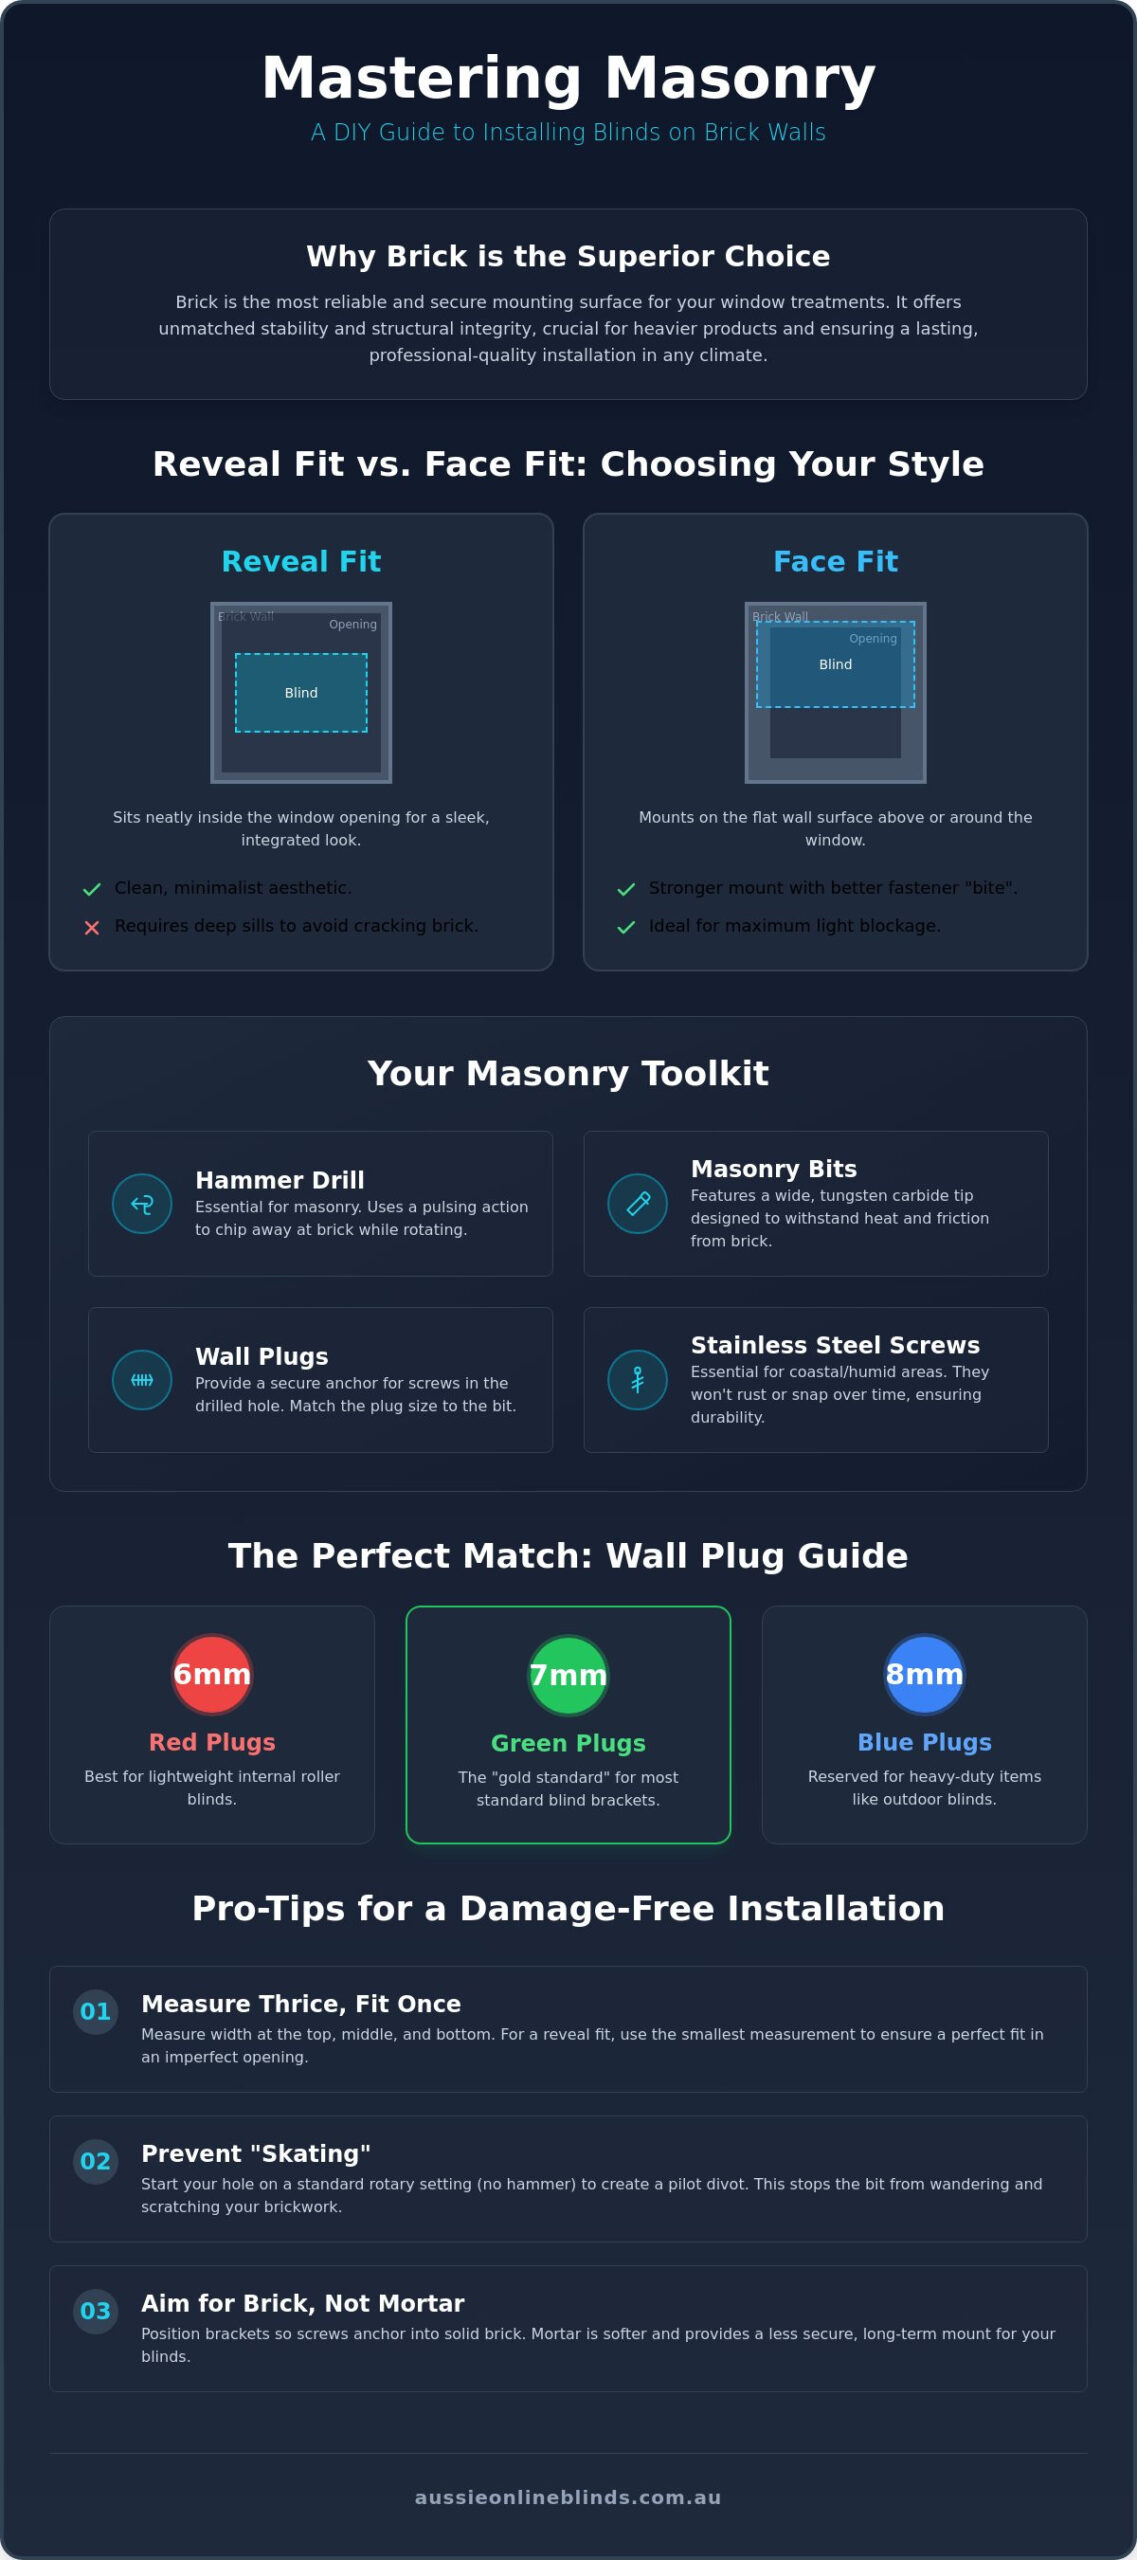
A reveal fit sits neatly inside your window opening, offering a sleek, integrated look. This works beautifully if your brick sills are deep enough to accommodate the brackets without the screws getting too close to the edge. A major downside of reveal fitting on narrow sills is the risk of ‘blowing out’ the brick face if you drill too close to the corner. For many outdoor applications, a face fit is the smarter choice. By mounting the brackets directly onto the flat surface of the wall above the window, you get a much stronger ‘bite’ for your fasteners. This is the preferred method for our DIY Blinds when maximum light blockage or weather protection is the goal.
Measuring Twice for Masonry
Brick openings are rarely perfectly square. Bricks can settle and mortar thicknesses vary, creating small inconsistencies that become obvious once you hang a straight blind. You should measure the width and height at three different points: the top, middle, and bottom. When you’re learning how to measure for blinds online, always use the smallest of these three measurements for a reveal fit. Also, pay attention to your mortar lines. Ideally, you want your brackets to sit on the solid part of the brick rather than the softer mortar joint, as this provides a far more secure anchor point for the weight of the blind.
Essential Tools for Drilling into Masonry
Having the right tools makes the difference between a five-minute job and a frustrating afternoon. If you’ve ever tried to use a standard rotary drill on Australian clay bricks, you likely saw plenty of smoke but very little progress. For installing blinds into brick wall surfaces successfully, you need a hammer drill. Unlike a standard drill that simply spins, a hammer drill uses a rapid pulsing action to chip away at the masonry while it rotates. This mechanical punching is what allows the bit to penetrate hard surfaces without overheating your equipment or burning out the motor.
Your drill is only as good as the bit attached to it. You’ll need a dedicated masonry bit, which is easily identified by the wide, tungsten carbide tip that looks like a small arrowhead. This hardened tip is designed to withstand the heat and friction of stone and brick. If you aren’t sure about the technique, learning how to drill into brick properly involves letting the tool do the work rather than leaning your full body weight into it. If the bit starts glowing red or stops making progress, it’s likely blunt and needs a quick swap to avoid damaging the brick face.
Once your hole is ready, you’ll need reliable wall plugs to host your screws. In most Australian hardware stores, these are colour-coded for easy identification:
- Red Plugs (6mm): Best for lightweight internal roller blinds.
- Green Plugs (7mm): The “gold standard” for most DIY Blinds, providing a sturdy hold for standard brackets.
- Blue Plugs (8mm): Reserved for heavy-duty items like Zipscreen Outdoor Blinds or wide pivot arm systems.
Don’t settle for the cheap zinc-plated screws that often come in bulk packs. For our coastal and humid environments, stainless steel screws are essential. They won’t rust or snap over time, ensuring your blinds stay exactly where you put them regardless of the weather. Our Blinds Online range is built to last, so it’s worth using hardware that matches that level of durability.
The Masonry Drill Bit and Plug Match
Precision is everything here. If you’re using a green wall plug, you must use a 7mm masonry bit. A hole that’s even half a millimetre too wide will result in a “spinning” plug that never tightens. To ensure you don’t drill too deep, wrap a small piece of electrical tape around your drill bit at the length of the wall plug. This gives you a clear visual stop-sign so you don’t disappear into a wall cavity.
Safety Gear for Brickwork
Drilling into masonry produces fine, abrasive dust that isn’t great for your lungs or your eyes. Always wear wrap-around safety glasses; brick can occasionally splinter, sending small shards flying at high speeds. If you’re working indoors, have a helper hold a vacuum nozzle directly under the hole as you drill to catch the red dust before it hits your carpet. Finally, don’t skip the earplugs. The high-pitched chatter of a hammer drill in a confined space can be surprisingly loud.
Step-by-Step Guide: Installing Your Blinds into Brick
When you’re ready to start installing blinds into brick wall surfaces, the first rule is to ditch the felt-tip marker. Markers tend to bleed into the porous surface of the brick, leaving a messy stain that’s impossible to remove if you need to adjust your position. A sharp carpenter’s pencil is your best friend here. It provides a crisp, clear mark that stays exactly where you put it. Once you’ve marked your bracket locations, you’re ready to move from planning to action. Mastering this process is about patience, not power. By following a logical sequence, you’ll ensure your brackets are rock-solid and perfectly aligned.
Marking and Leveling on Brick
Don’t assume your brick courses are perfectly straight. Over time, houses settle, and even the best bricklayers can have slight variations in mortar thickness. Always use a high-quality spirit level to mark your bracket heights rather than measuring up from a window sill that might be slanted. You also need to ensure your brackets have enough clearance for the blind to roll up without rubbing against the masonry. If you’re tackling this for the first time, our DIY blinds guide offers extra tips on positioning for different window types to help you get that professional finish.
Starting the hole is the most critical moment. To prevent your drill bit from “skating” across the face of the brick and leaving an ugly scar, start with the hammer function switched off. Use a slow speed and steady pressure to create a small pilot dimple. Once the bit is securely seated in that shallow crater, you can flick the switch to hammer mode and let the tool do the heavy lifting. This simple trick keeps your work area clean and your holes exactly where they belong.
The Drilling Technique
Apply firm, consistent pressure as you drill, but don’t lean your entire body weight into the machine. If you’re struggling to make progress, you might have hit a particularly hard inclusion in the brick. In these cases, it’s helpful to pull the bit back slightly while it’s still spinning to clear out the red dust. If you’re unsure about the speed or pressure required, checking out expert resources on how to drill into brick can provide additional perspective on managing different masonry densities. To avoid “blowouts,” where the back of the brick splinters, try to keep your drill perfectly perpendicular to the wall at all times.
After drilling to the required depth, clear the hole of any remaining debris. You can use a can of compressed air or a quick puff from a straw to ensure the wall plug has a clean surface to grip. Tap the plugs in gently with a hammer until they sit flush with the brick surface. If a plug sticks out, don’t just leave it; trim the end or drill slightly deeper. Finally, screw your brackets into place, click your new DIY Blinds into the mounts, and test the operation. There’s nothing quite like the satisfaction of a smooth-running blind that you’ve installed yourself on a challenging surface.
Pro Tips for a Damage-Free Installation
Getting the basics right is half the battle, but the “pro” secrets are what prevent long-term damage to your home. Many DIYers wonder if they should aim for the mortar or the brick face when installing blinds into brick wall surfaces. While mortar is softer and much easier to drill, it often lacks the structural integrity required for heavy window treatments. If you’re mounting something substantial, like our Zipscreen Outdoor Blinds, you must drill into the brick itself. Mortar can be crumbly and porous, meaning your wall plugs might eventually wiggle loose under the constant tension and weight of the blind.
Drilling into Mortar Joints
Using the mortar joint is a tempting shortcut because it’s much faster than grinding through a hard clay brick. It’s also far easier to patch with a bit of filler if you ever decide to move the blinds or change your window style. However, we only suggest this for lightweight indoor roller blinds that won’t be subject to wind or heavy use. If your mortar is old, sandy, or shows signs of cracking, it won’t provide the “bite” needed for a secure mount. Always check the condition of the joint before you commit to it.
Rendered walls add another layer of mystery to the project. Since you can’t see the bricks, you don’t know if you’re hitting a solid centre or a mortar line. A helpful trick is to tap the wall and listen for a solid “thud” versus a hollow sound. When drilling through render, ensure your wall plug is long enough to pass through the plaster and seat firmly into the brick substrate behind it. If the plug only grips the render, the weight of the blind will eventually cause the plaster to crack and pull away from the wall.
Preventing Brick Cracks
One of the biggest fears for any homeowner is splitting a brick, especially near the edge of a window reveal. To avoid this, keep your holes at least 25mm to 30mm away from the very edge of the brick. If the brick feels particularly brittle or hard, start with a 3mm masonry bit to create a small path before moving up to your final size. Taking care during the initial setup ensures your hardware stays secure for years. For more advice on keeping your window treatments in top shape, check out our guide to blind maintenance.
Mistakes happen to the best of us. If you accidentally drill in the wrong spot, don’t panic. You can hide the evidence by mixing a little bit of the red brick dust you collected during drilling with some clear exterior adhesive. Press this paste into the hole and smooth it over with a putty knife. Once it dries, the repair will be almost invisible against the rest of the wall. It’s these little details that separate a rushed job from a professional-looking DIY project.
Ready to upgrade your home’s exterior with a secure, professional finish? Take a look at our range of custom-made outdoor blinds and start your next project with confidence.
Why Custom DIY Blinds are the Best Choice for Brick
When you’re installing blinds into brick wall openings, there’s no room for “close enough”. Off-the-shelf blinds often require you to compromise on bracket placement, forcing you to drill into weak mortar or dangerously close to a brick’s edge just to make a standard size work. Choosing custom-manufactured blinds eliminates this headache. Because your blinds are made to your exact measurements, the brackets are designed to sit in the optimal position for your specific window. This precision fit doesn’t just look better; it makes the physical act of drilling much safer and more straightforward.
By taking the DIY route, you’re also keeping more money in your pocket. Professional installation for a single window can often cost between $109 and $198 in labour alone, based on industry averages. For a whole home project, those costs add up quickly. When you choose our DIY Blinds, you’re investing that money back into the quality of the product itself. You get high-end materials that are built to withstand the intense heat that brick walls can hold during a long Australian summer, ensuring your fabric won’t warp or fade prematurely.
Selecting the Right Style for Your Home
Not every blind is a perfect match for masonry. If you’re looking for the ultimate patio upgrade, zipscreen outdoor blinds are a fantastic choice for brick structures. Their side channels provide extra stability and a seamless look that complements the solid feel of a brick home. For a broader look at your options, our outdoor blinds guide covers everything from sunscreen fabrics to blockout materials. We even offer a variety of bracket colours, so you can match your hardware to your brickwork for a truly integrated, professional finish.
The Aussie Online Blinds Difference
We’re a family-owned Australian business, so we understand exactly what our local homes need. Our products come with a 3-year warranty, giving you peace of mind that your hard work will be protected for years to come. We’ve designed our entire process to demystify the technical side of home improvement, providing you with the tools and guidance to achieve professional results on your own terms. Our custom-made process simplifies the task of installing blinds into brick wall surfaces by ensuring every component fits correctly the first time. Explore our range of custom blinds today and see how easy it is to transform your home with a secure, stylish installation.
Take the Next Step Toward a Professional Finish
Mastering the process of installing blinds into brick wall surfaces is all about having the right gear and a bit of patience. You’ve learned why a hammer drill is your best friend on masonry, how to avoid common pitfalls like edge blowouts, and why custom-made measurements make the whole process much smoother. Taking on this project yourself doesn’t just save you on professional labour costs; it gives you the pride of a job well done that lasts for years.
If you find that you enjoy the technical challenge of home maintenance and want to further develop your practical expertise, Apeiro Institute provides vocational education opportunities to help you master new skills in a professional capacity.
As an Australian family-owned and operated business, we’re here to support your project journey from start to finish. Our blinds are custom-made for a perfect fit every time and come with a 3-year warranty on all products. We believe high-quality, bespoke furnishings should be attainable for every homeowner. Order your custom-made DIY blinds from Aussie Online Blinds today and start enjoying your updated space. You’ve got the knowledge and the tools; now it’s time to pick your perfect style and get started with confidence.
Frequently Asked Questions
Do I really need a hammer drill for installing blinds into brick?
You definitely need a hammer drill for this job. While a standard rotary drill works fine for timber, it lacks the pulsing action required to break through hard Australian clay bricks. Without that hammering motion, your drill bit will simply spin and generate heat, which can burn out your motor and ruin your masonry bits. Using the right tool ensures you get a clean hole without the frustration of a stalled project.
Is it better to drill into the brick or the mortar?
It is generally better to drill into the brick face for maximum structural security. While mortar is softer and easier to penetrate, it can be crumbly and may not hold the weight of heavy window treatments over time. If you are installing blinds into brick wall surfaces for outdoor use, the solid brick provides the essential “bite” needed to keep your brackets from pulling loose during a high wind event or heavy daily operation.
What size wall plug should I use for blind brackets?
A 7mm green wall plug is the most common choice for standard blind brackets in Australia. These plugs provide a reliable grip for the stainless steel screws typically used in DIY projects. If you’re hanging a particularly large or heavy system, such as our Zipscreen Outdoor Blinds, you might step up to an 8mm blue plug for added peace of mind. Always match your masonry drill bit size exactly to the plug colour for a snug fit.
How do I stop the drill bit from sliding on the brick?
You can stop the drill bit from sliding by starting your hole with the hammer function turned off. Apply steady pressure at a slow speed to create a shallow pilot dimple in the brick surface. Once the tip of the bit is securely seated in that small crater, you can switch back to hammer mode and increase the speed. This simple technique prevents “skating” and keeps your brickwork looking pristine.
Can I install outdoor zipscreens on a brick wall myself?
You can absolutely install Zipscreen Outdoor Blinds yourself on a brick wall. Because our products are custom-manufactured to your exact specifications, they arrive ready for a straightforward mounting process. As long as you have a hammer drill, a spirit level, and the correct masonry bits, you’ll find that the side channels and headbox align perfectly with your brickwork. It’s a great way to save on professional labour while achieving a high-end look.
What should I do if a brick cracks while I am drilling?
If a brick cracks, stop drilling immediately and assess the damage. You may need to move your bracket slightly to find a fresh, solid section of masonry, keeping at least 25mm away from any existing cracks or edges. You can hide the mistake by mixing a little bit of the red drilling dust with clear exterior adhesive to create a matching filler. Once dry, this patch blends into the natural texture of your home’s exterior.
How do I measure for a reveal fit if my brick opening is uneven?
You should measure the width and height at three different points: the top, middle, and bottom of the opening. Brickwork is rarely perfectly square, so taking multiple measurements is vital for a smooth reveal fit. Always use the smallest width measurement when ordering your custom blinds. This ensures the unit fits inside the opening without rubbing against protruding bricks, even if the walls are slightly out of alignment.
Are plastic wall plugs strong enough for heavy outdoor blinds?
High-quality plastic wall plugs are incredibly strong when they are correctly sized and seated into solid brick. They work by expanding against the sides of the hole as the screw is driven in, creating a powerful friction fit. For heavy outdoor blinds, ensure you use a plug that is long enough to reach the solid brick substrate, especially if you have a layer of render or plaster on the surface.